
Also known as the Akagama (Red kiln)
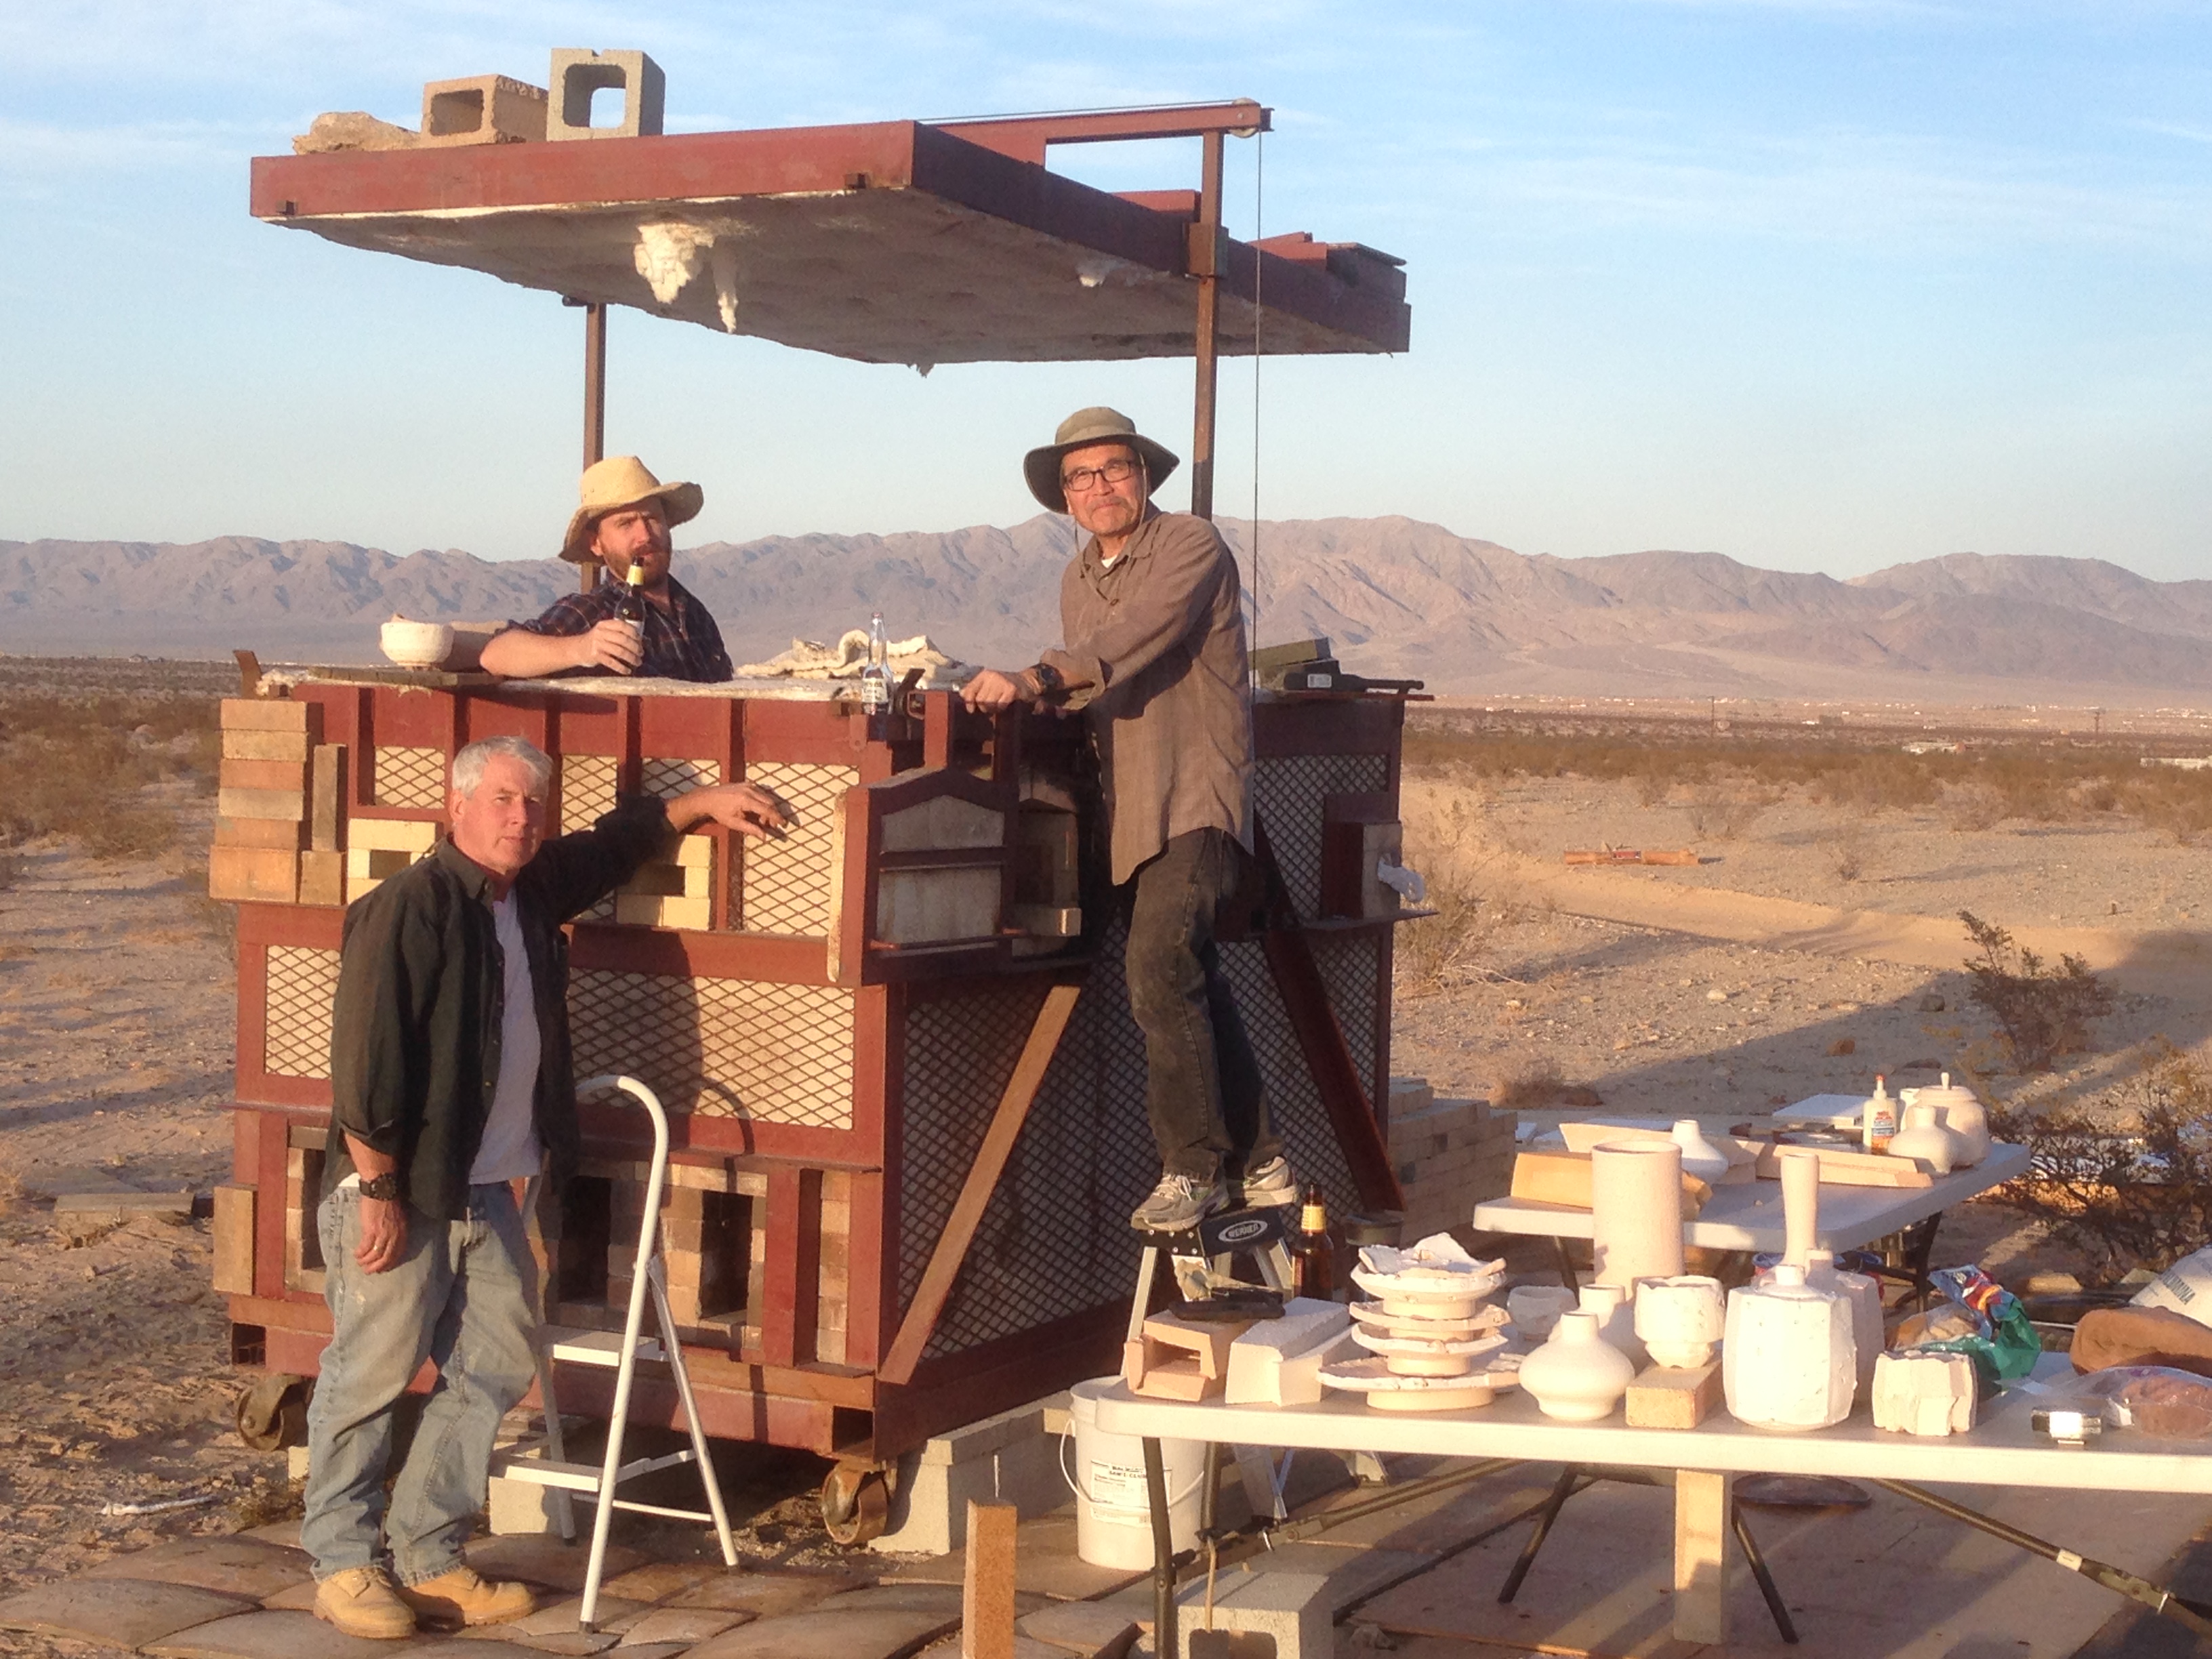
29 Palms Wood Firing – November 28 – 30, 2014 – First Firing

Steve Davis, Jamie Boran, Jonathan Cross & Kaz Ota
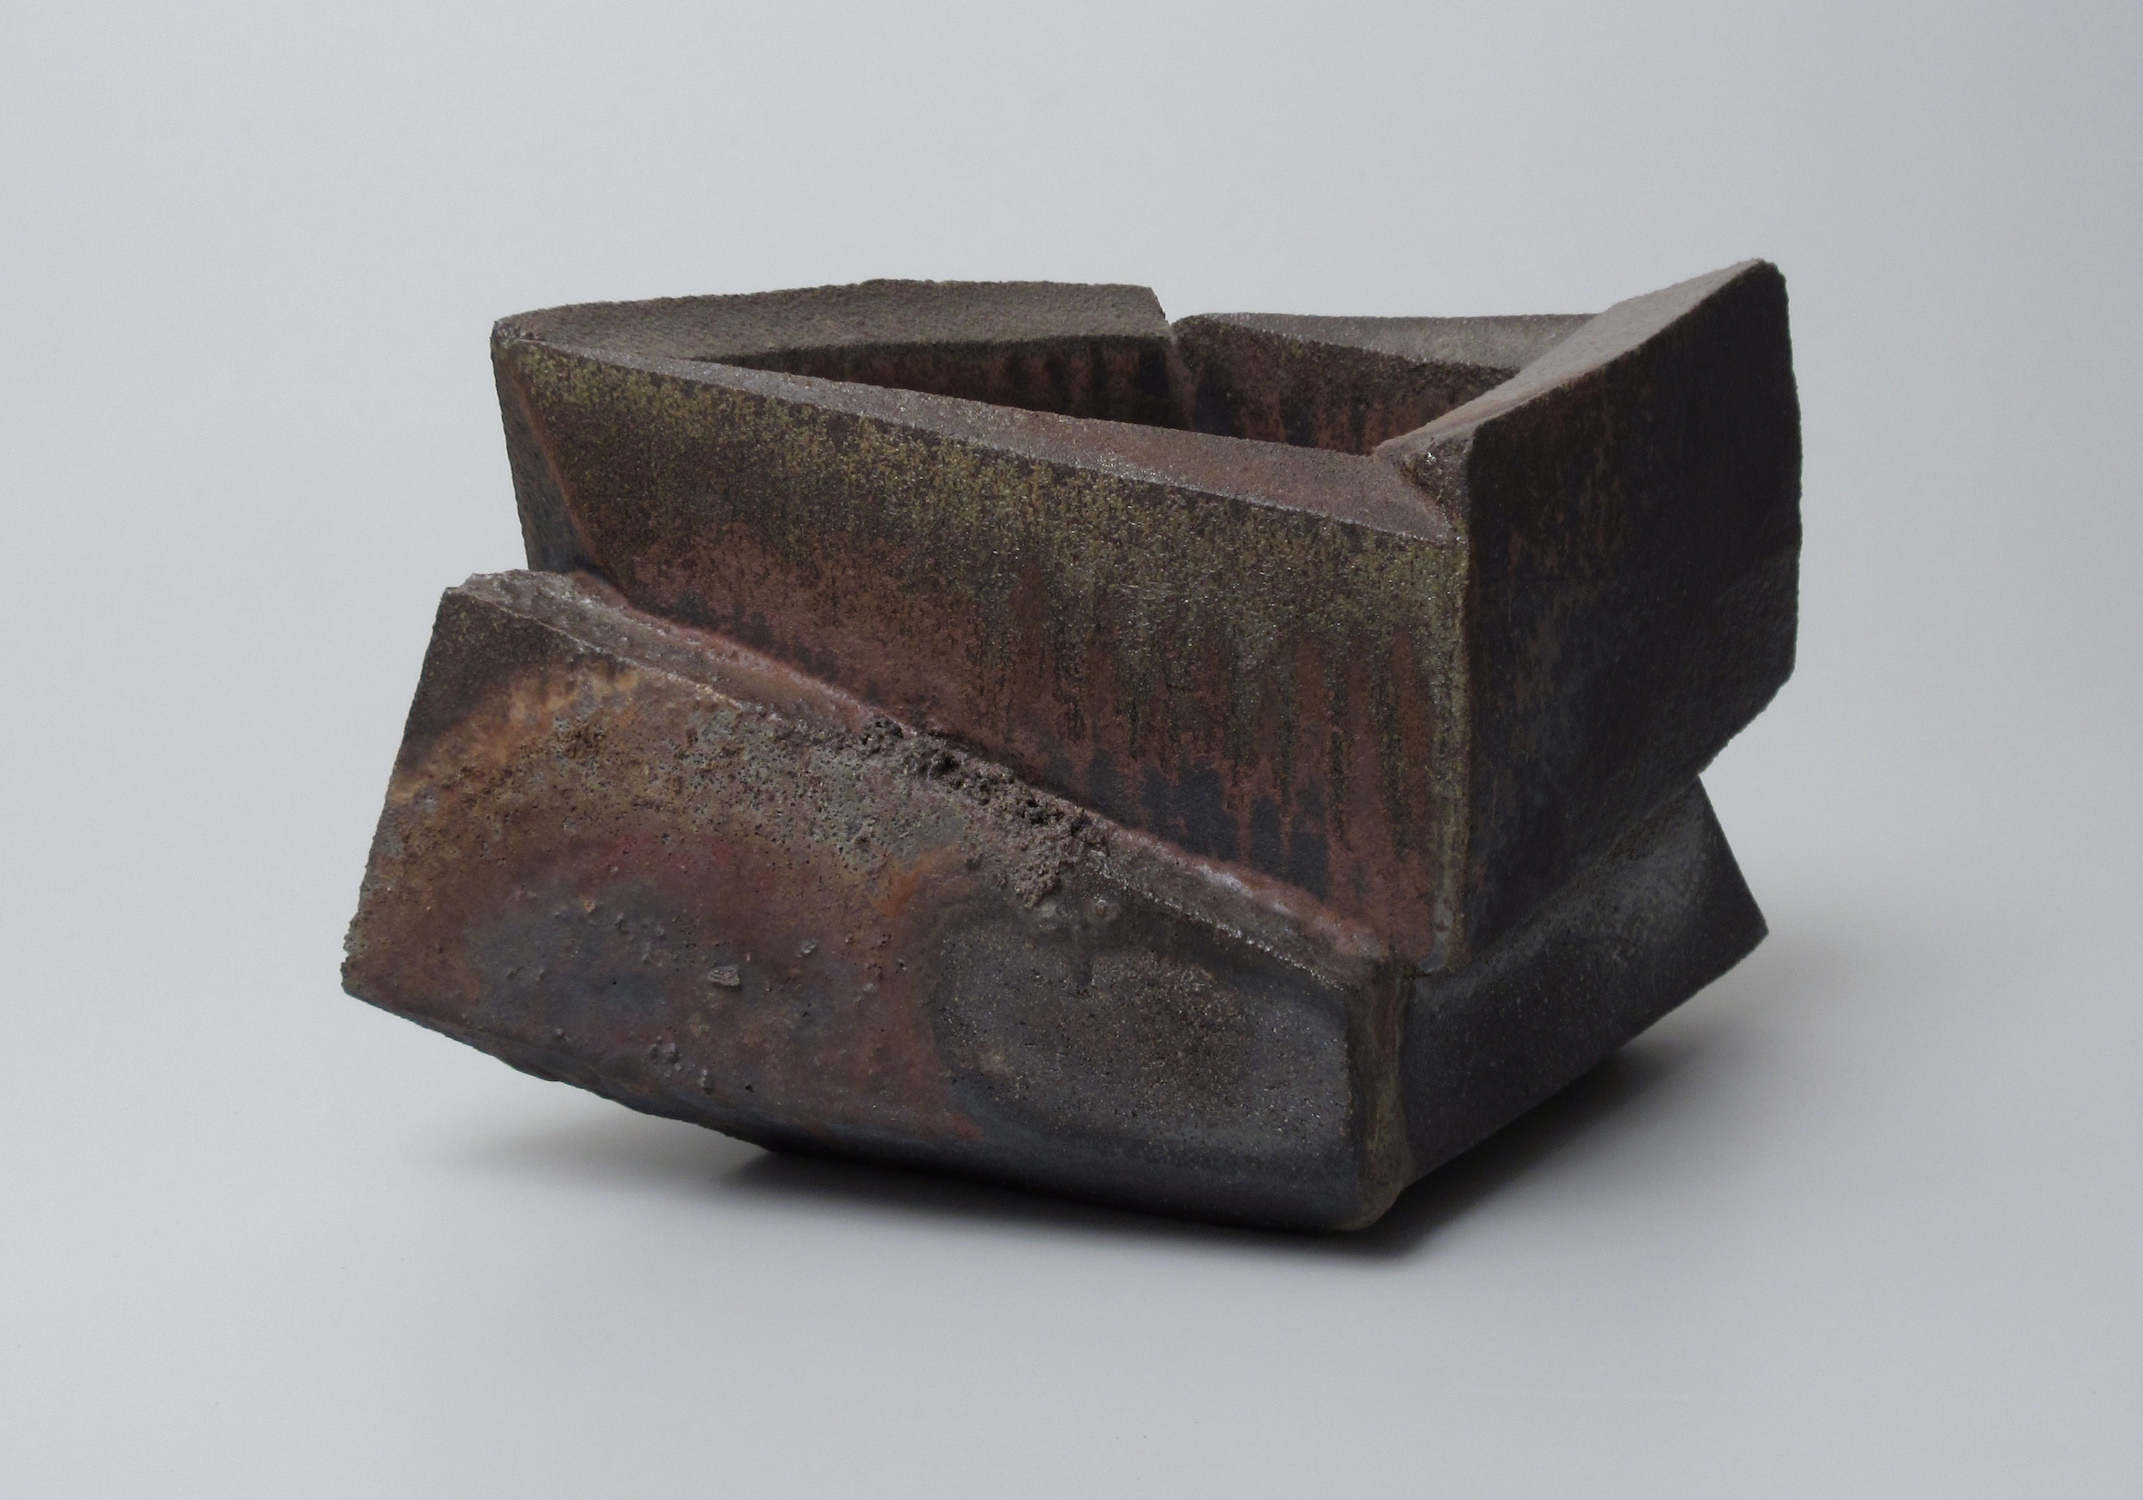
Planter by Jonathan Cross
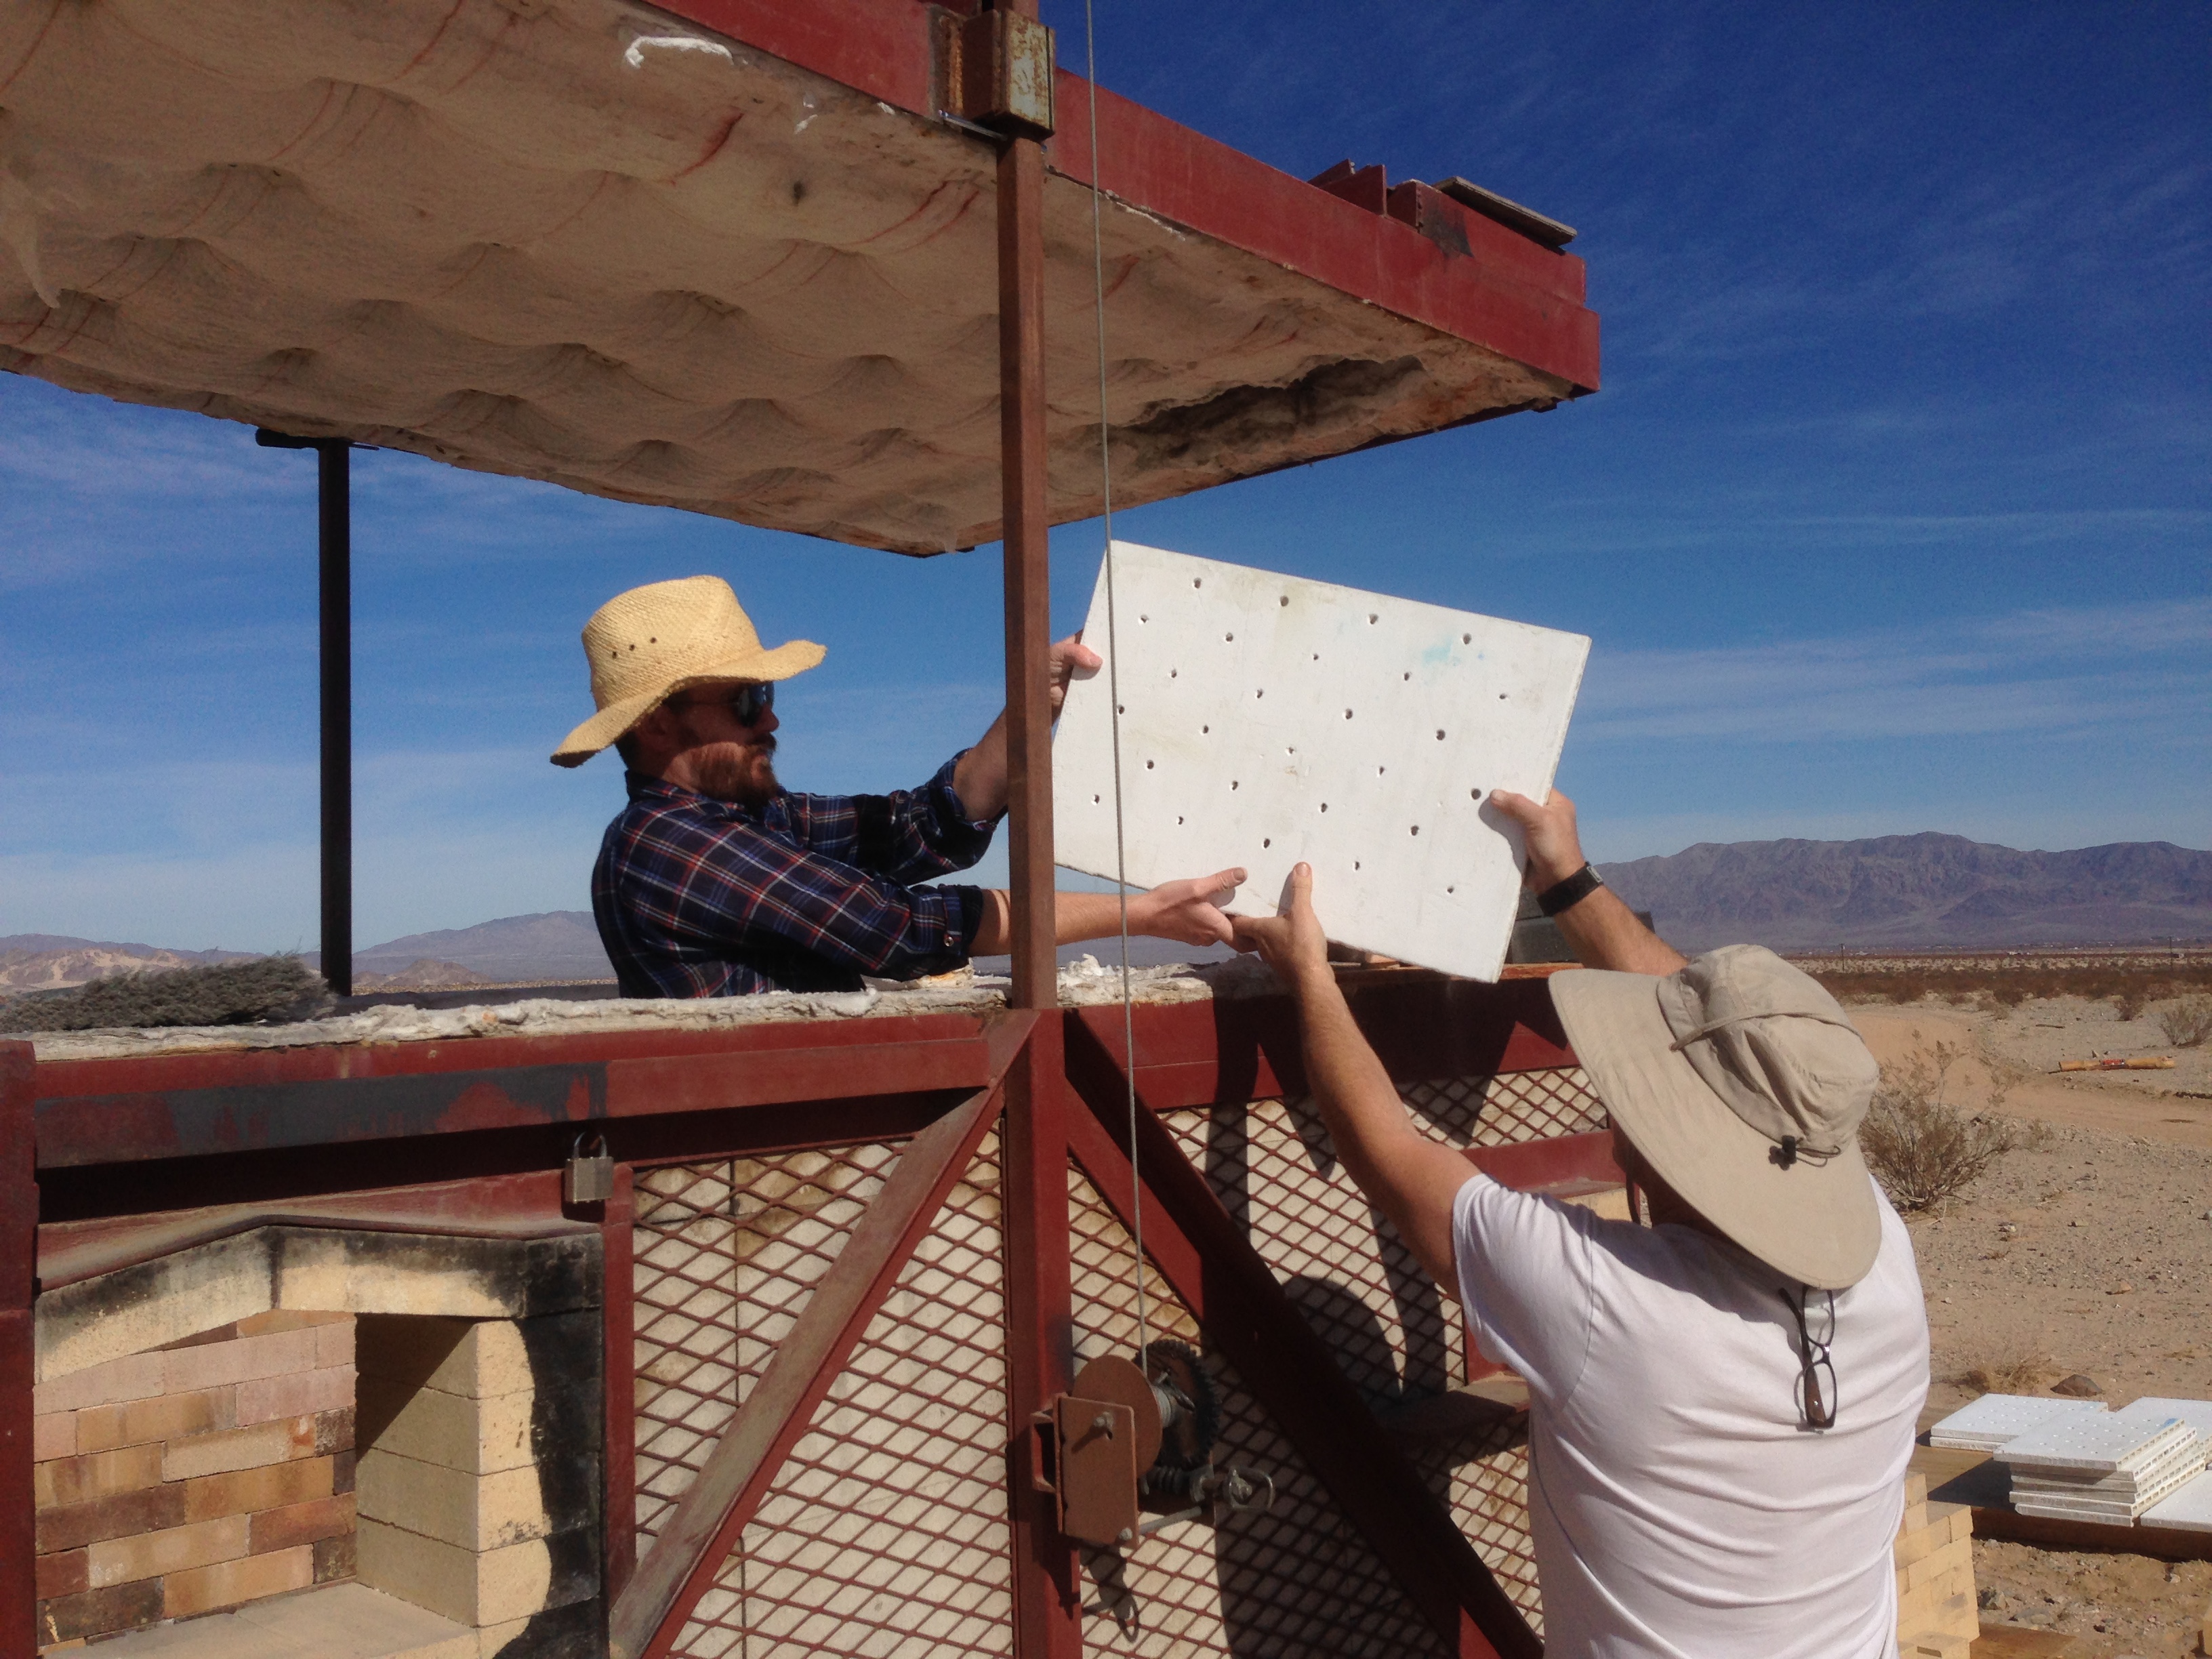
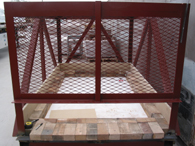
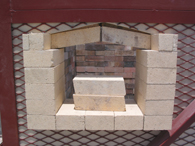
Jonathan Cross loading the kiln

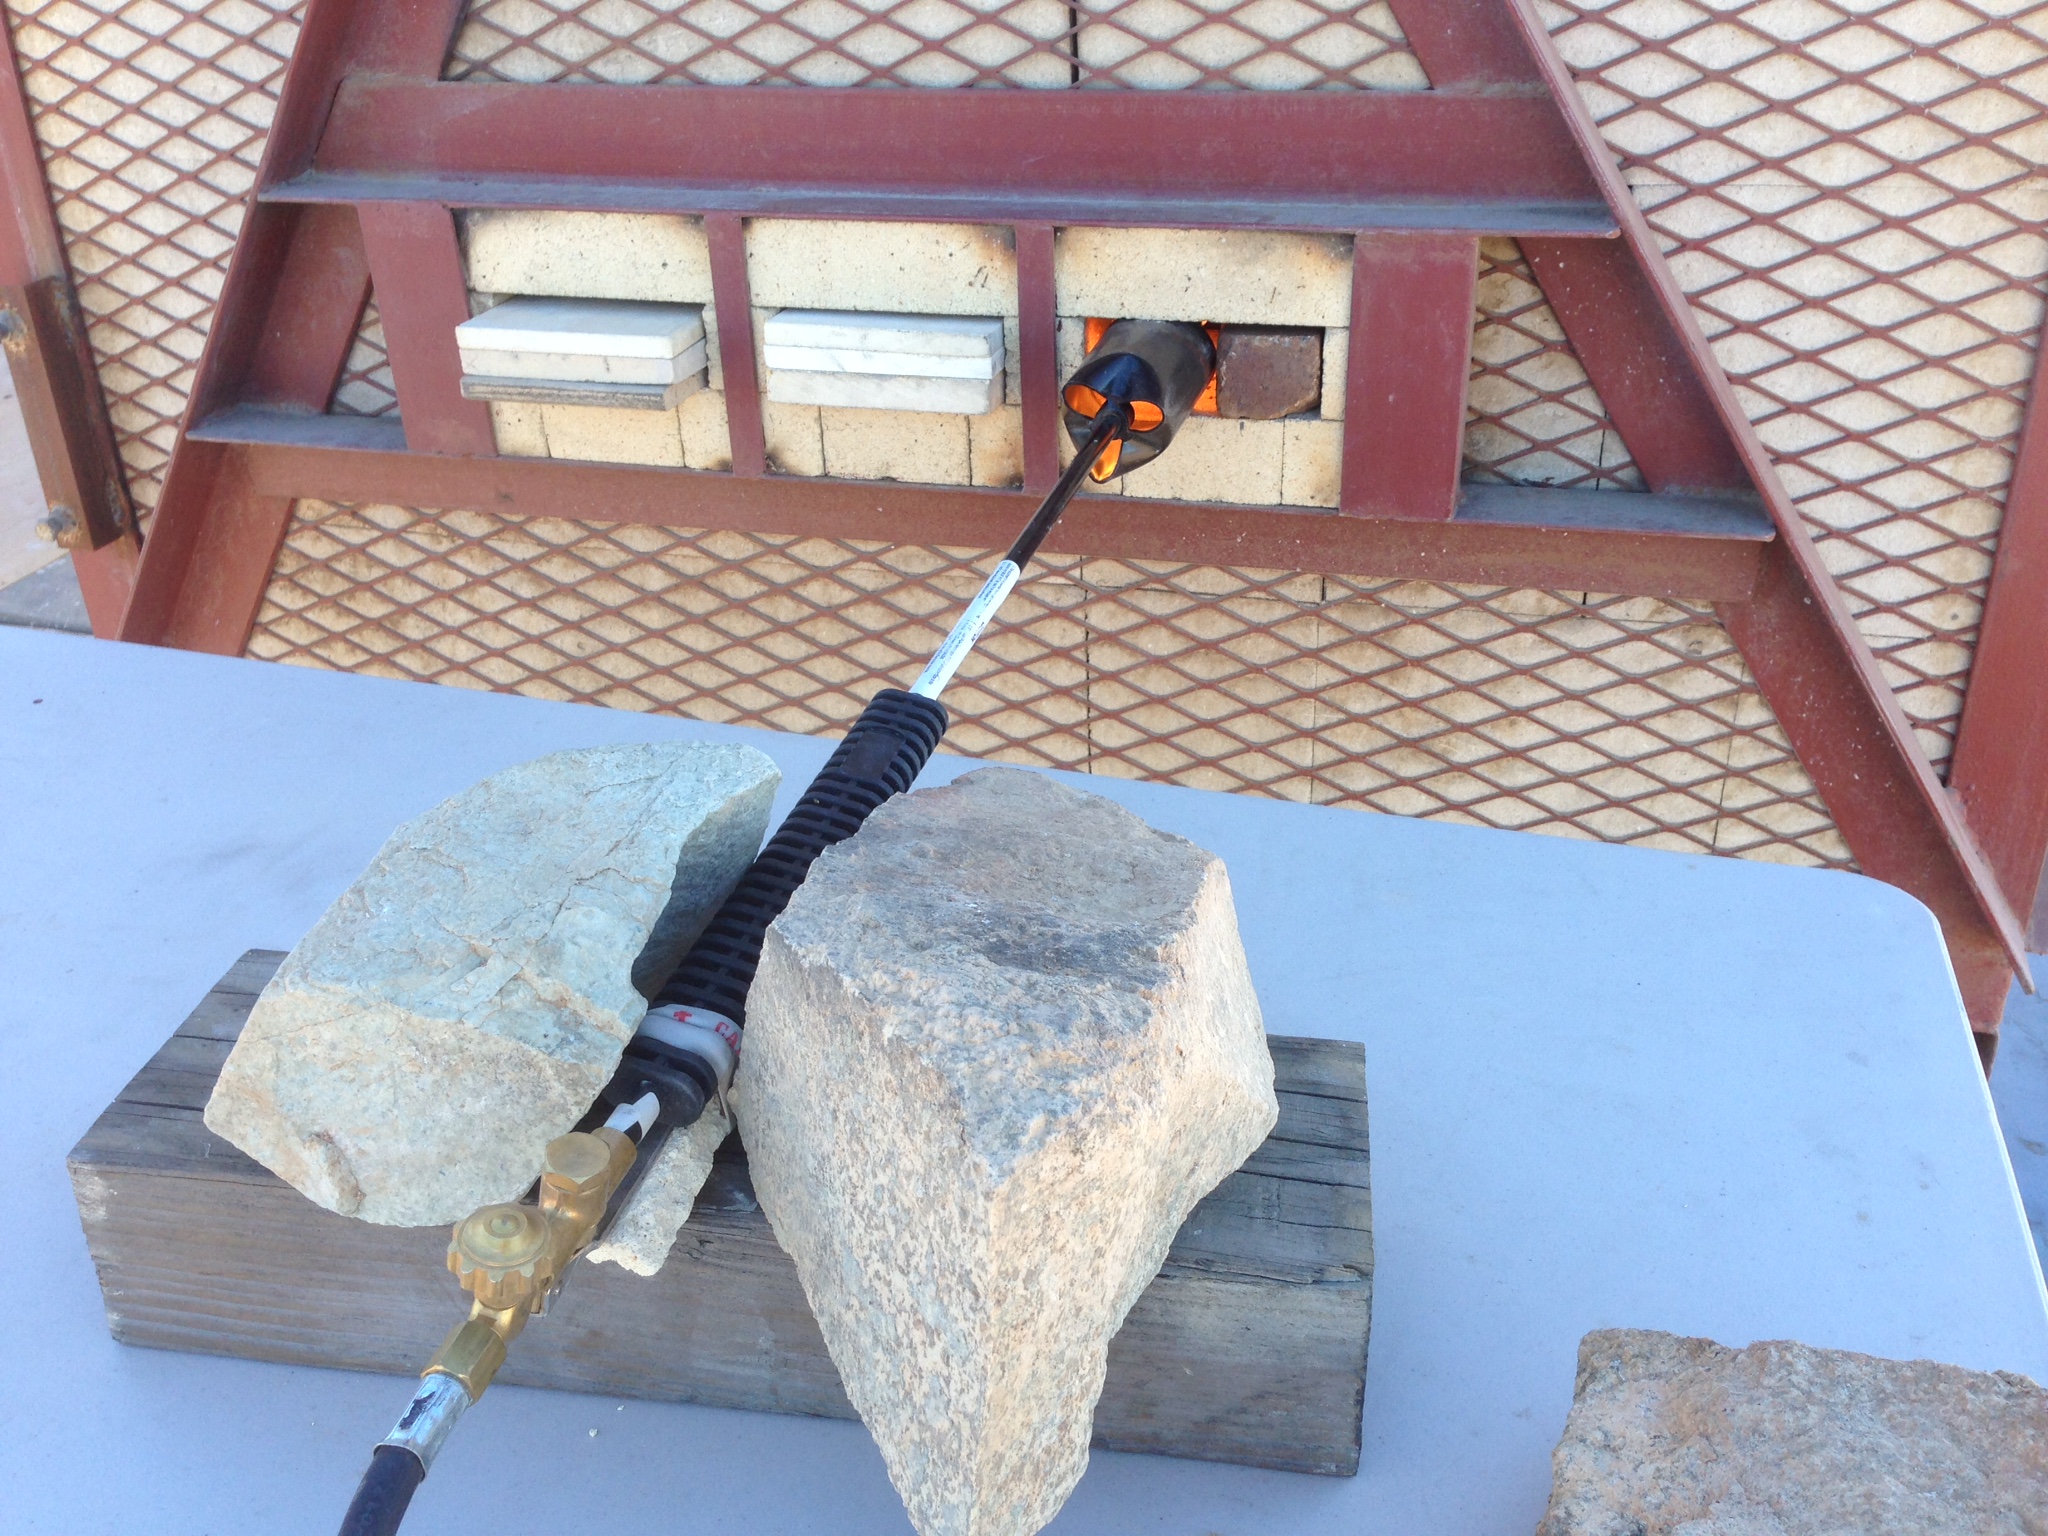
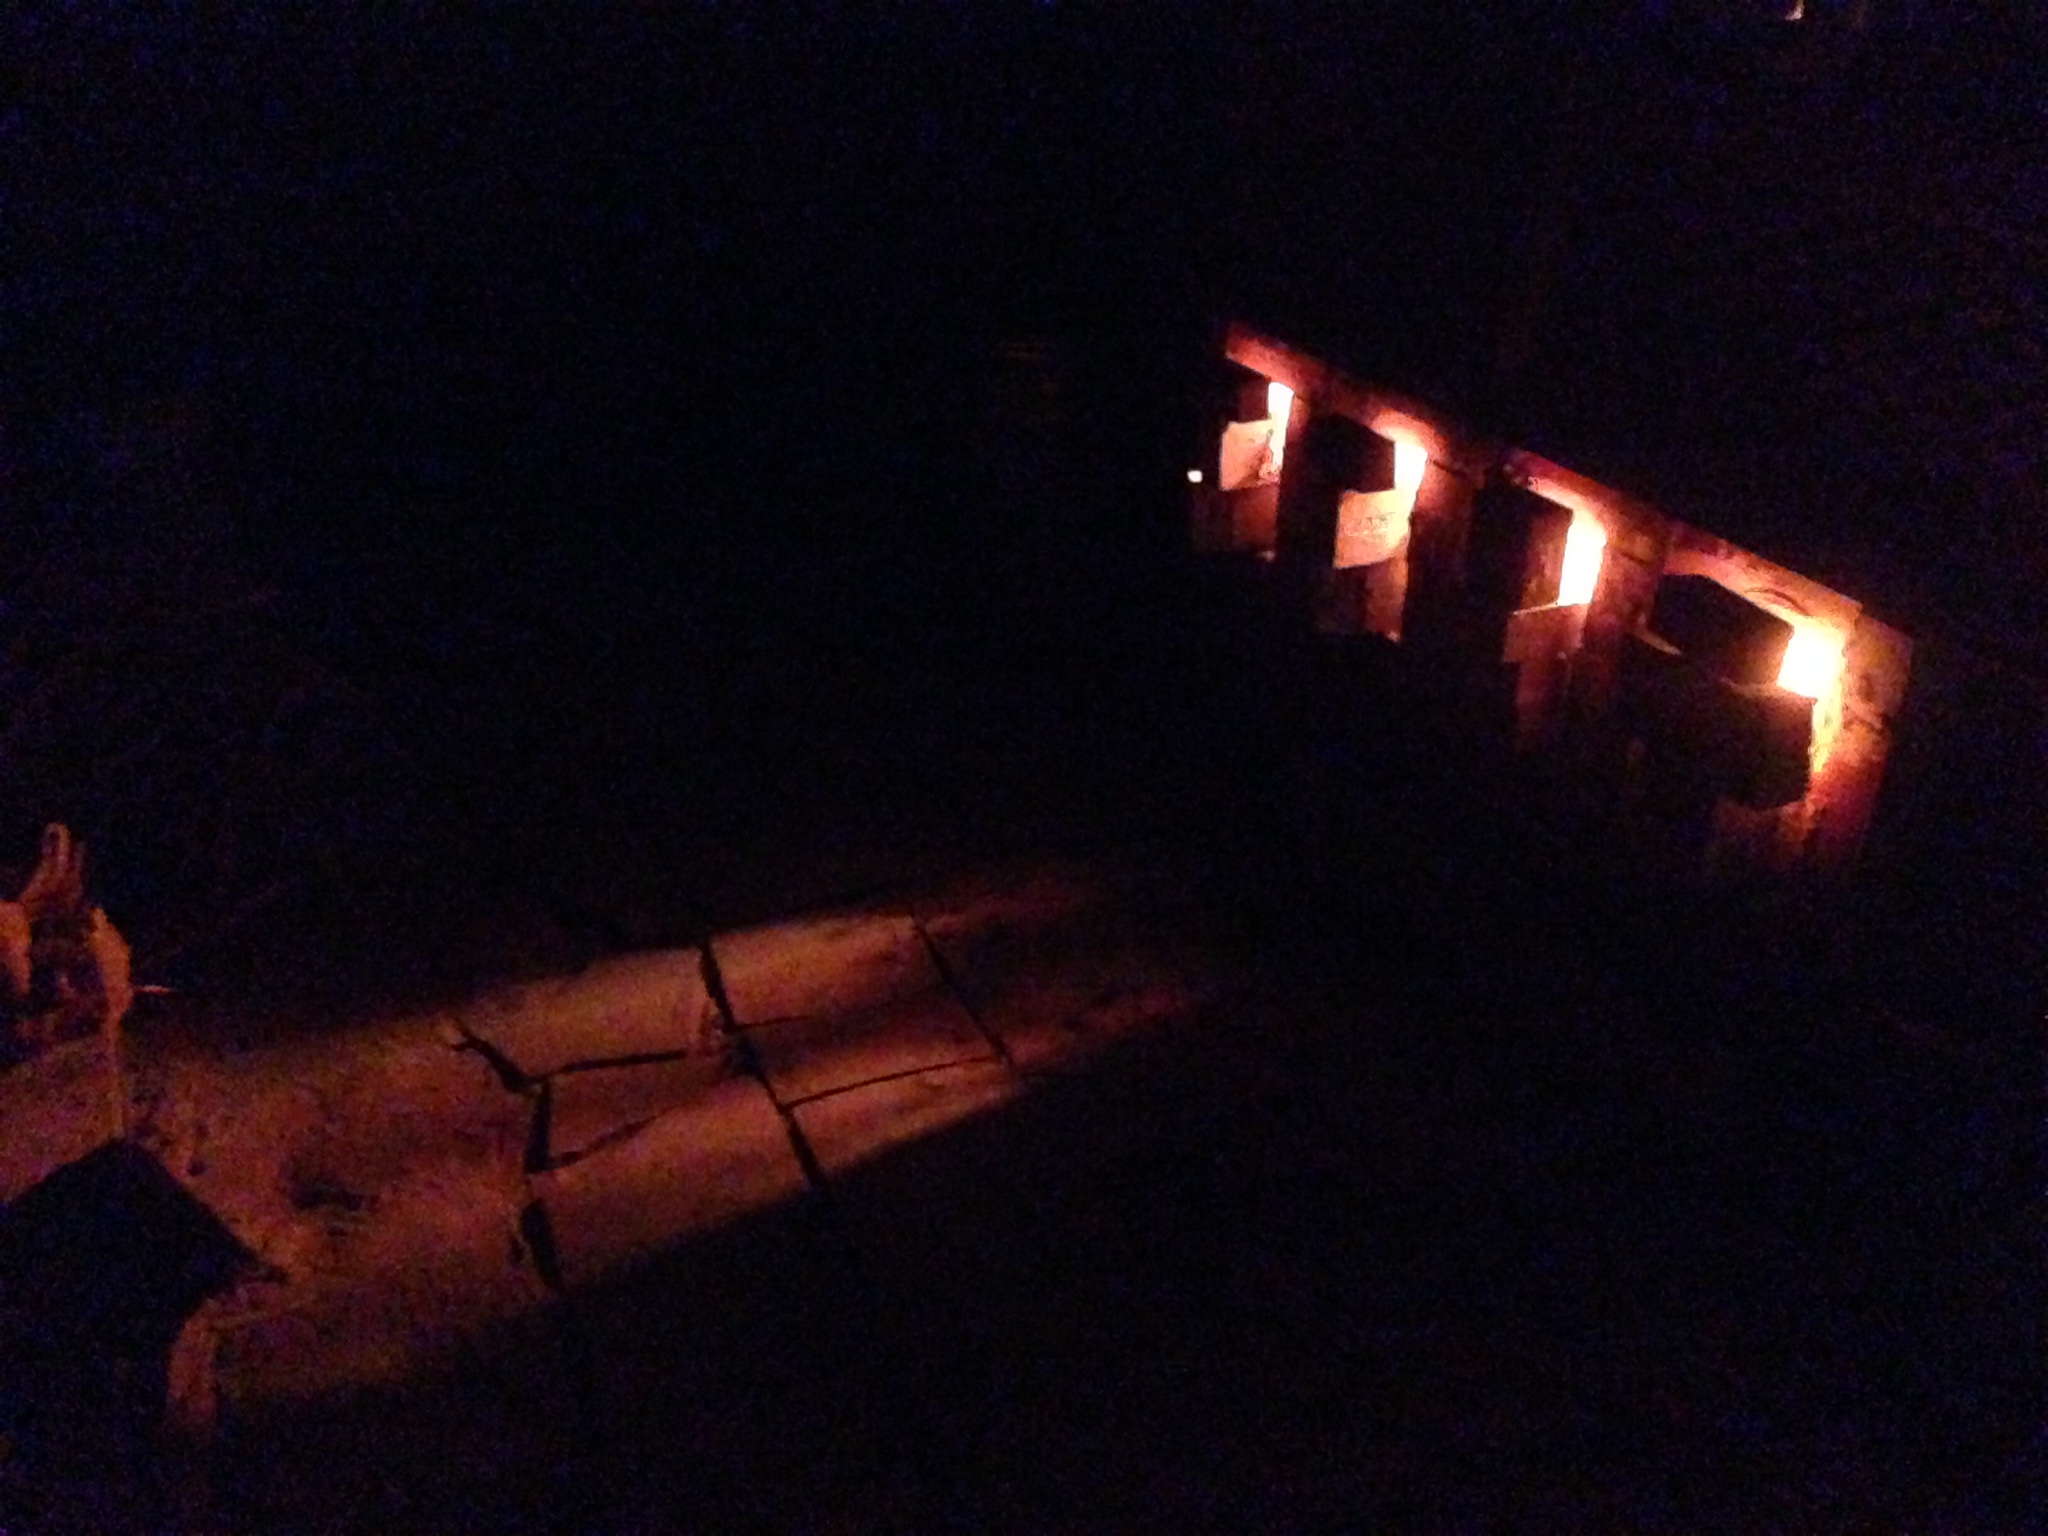
Warming the chimney
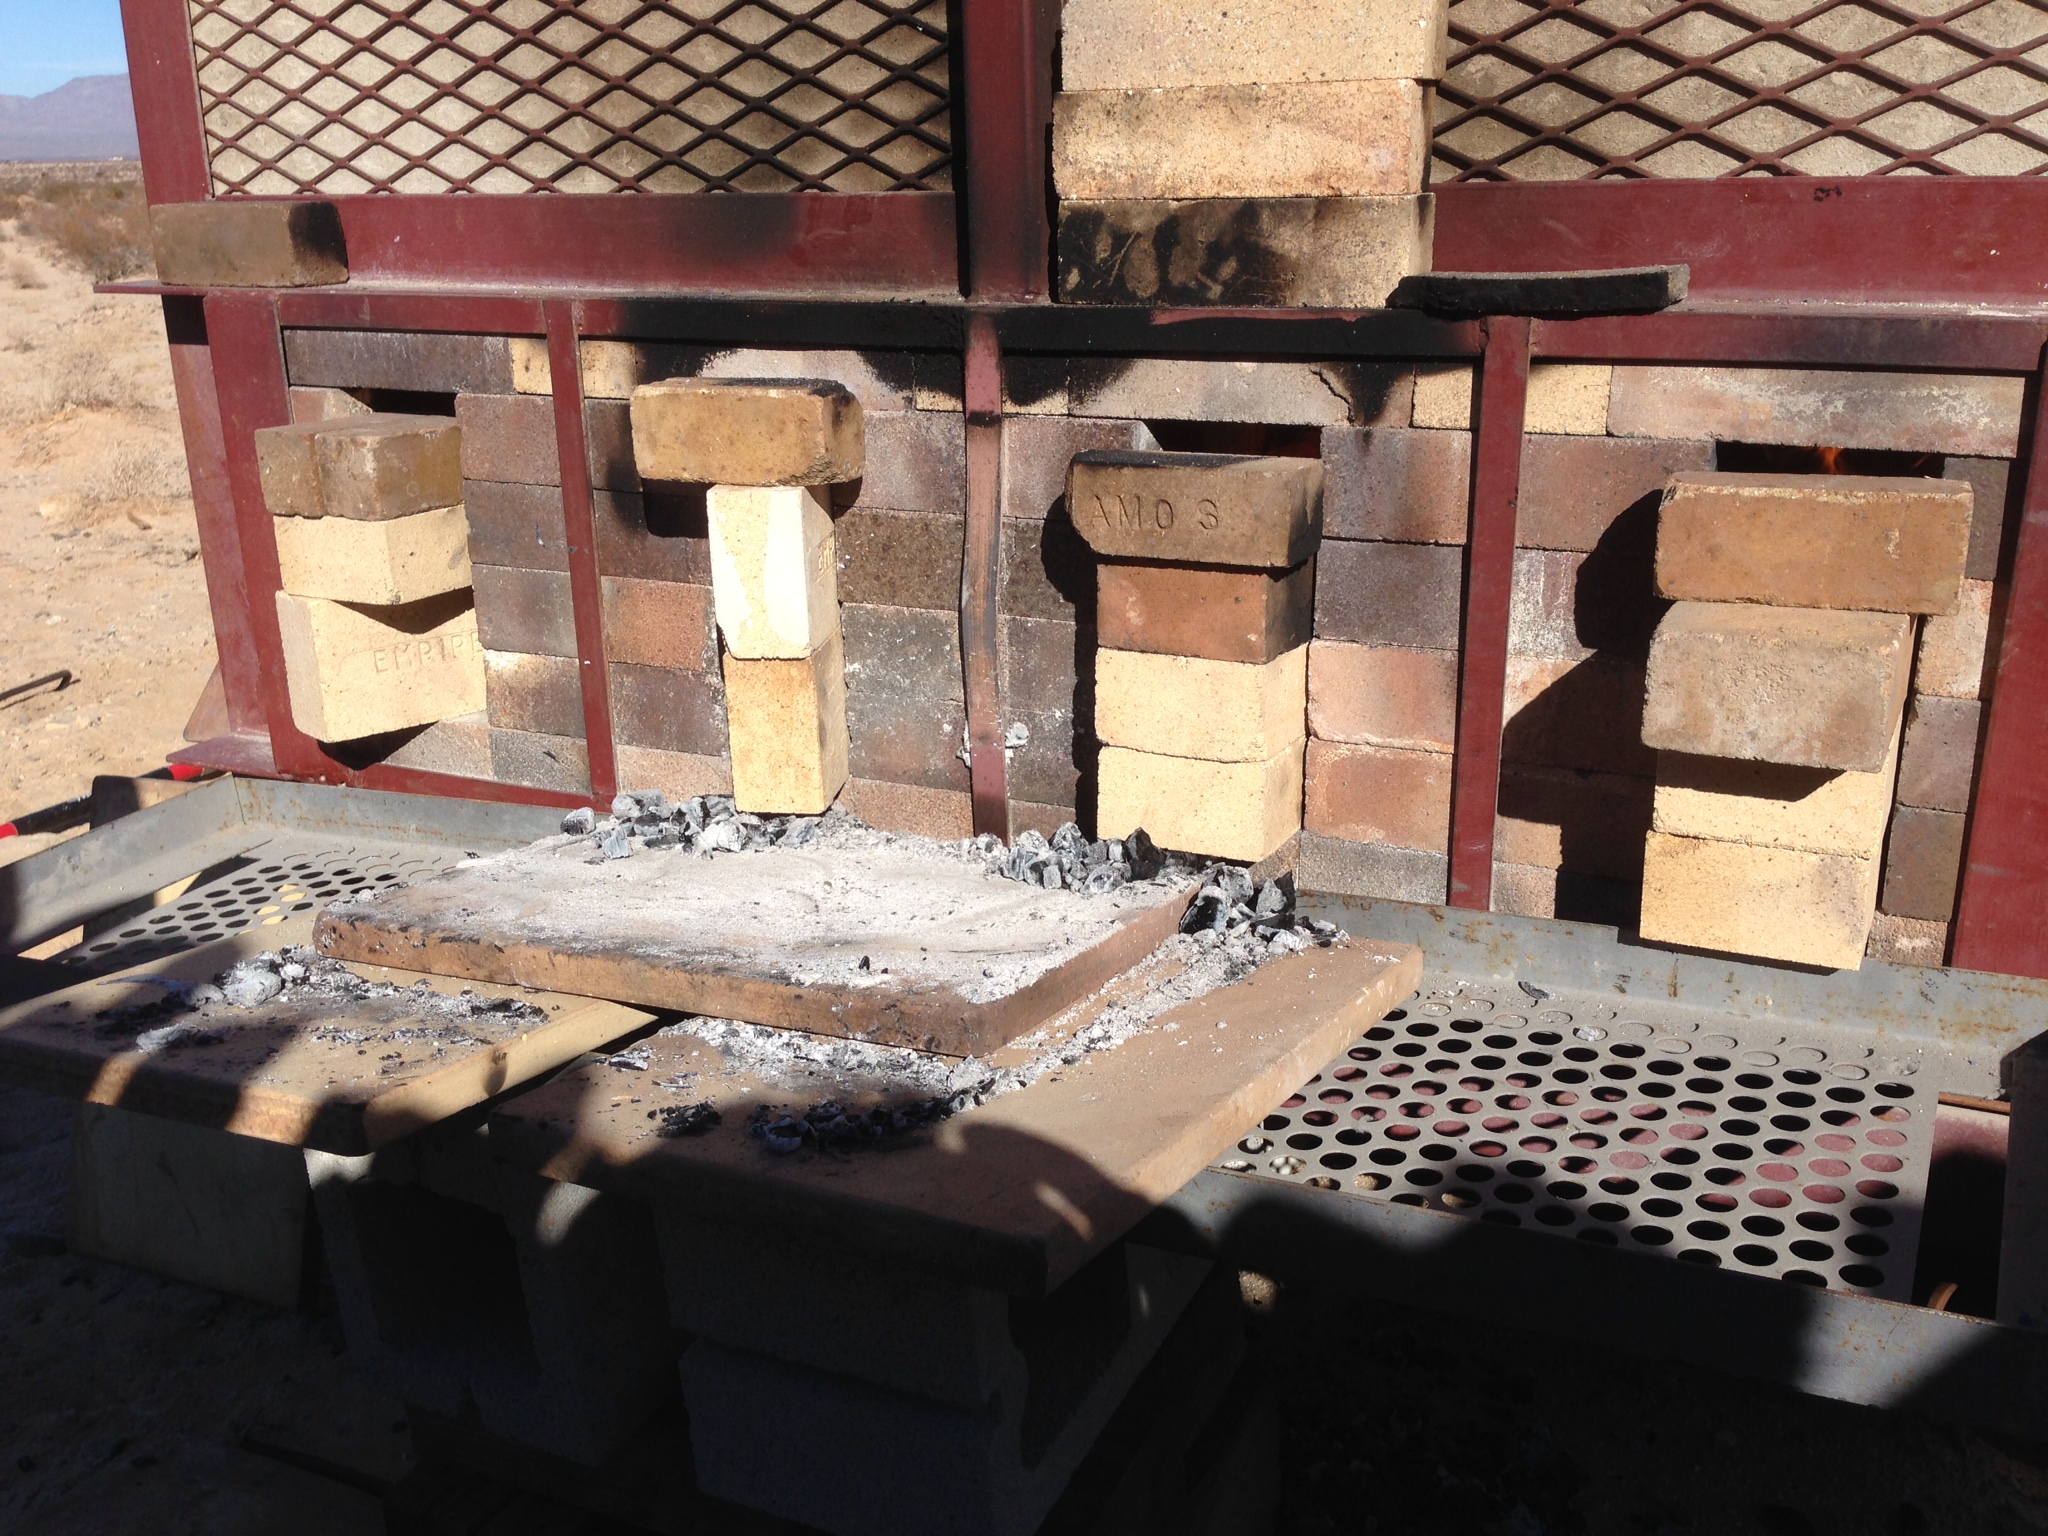
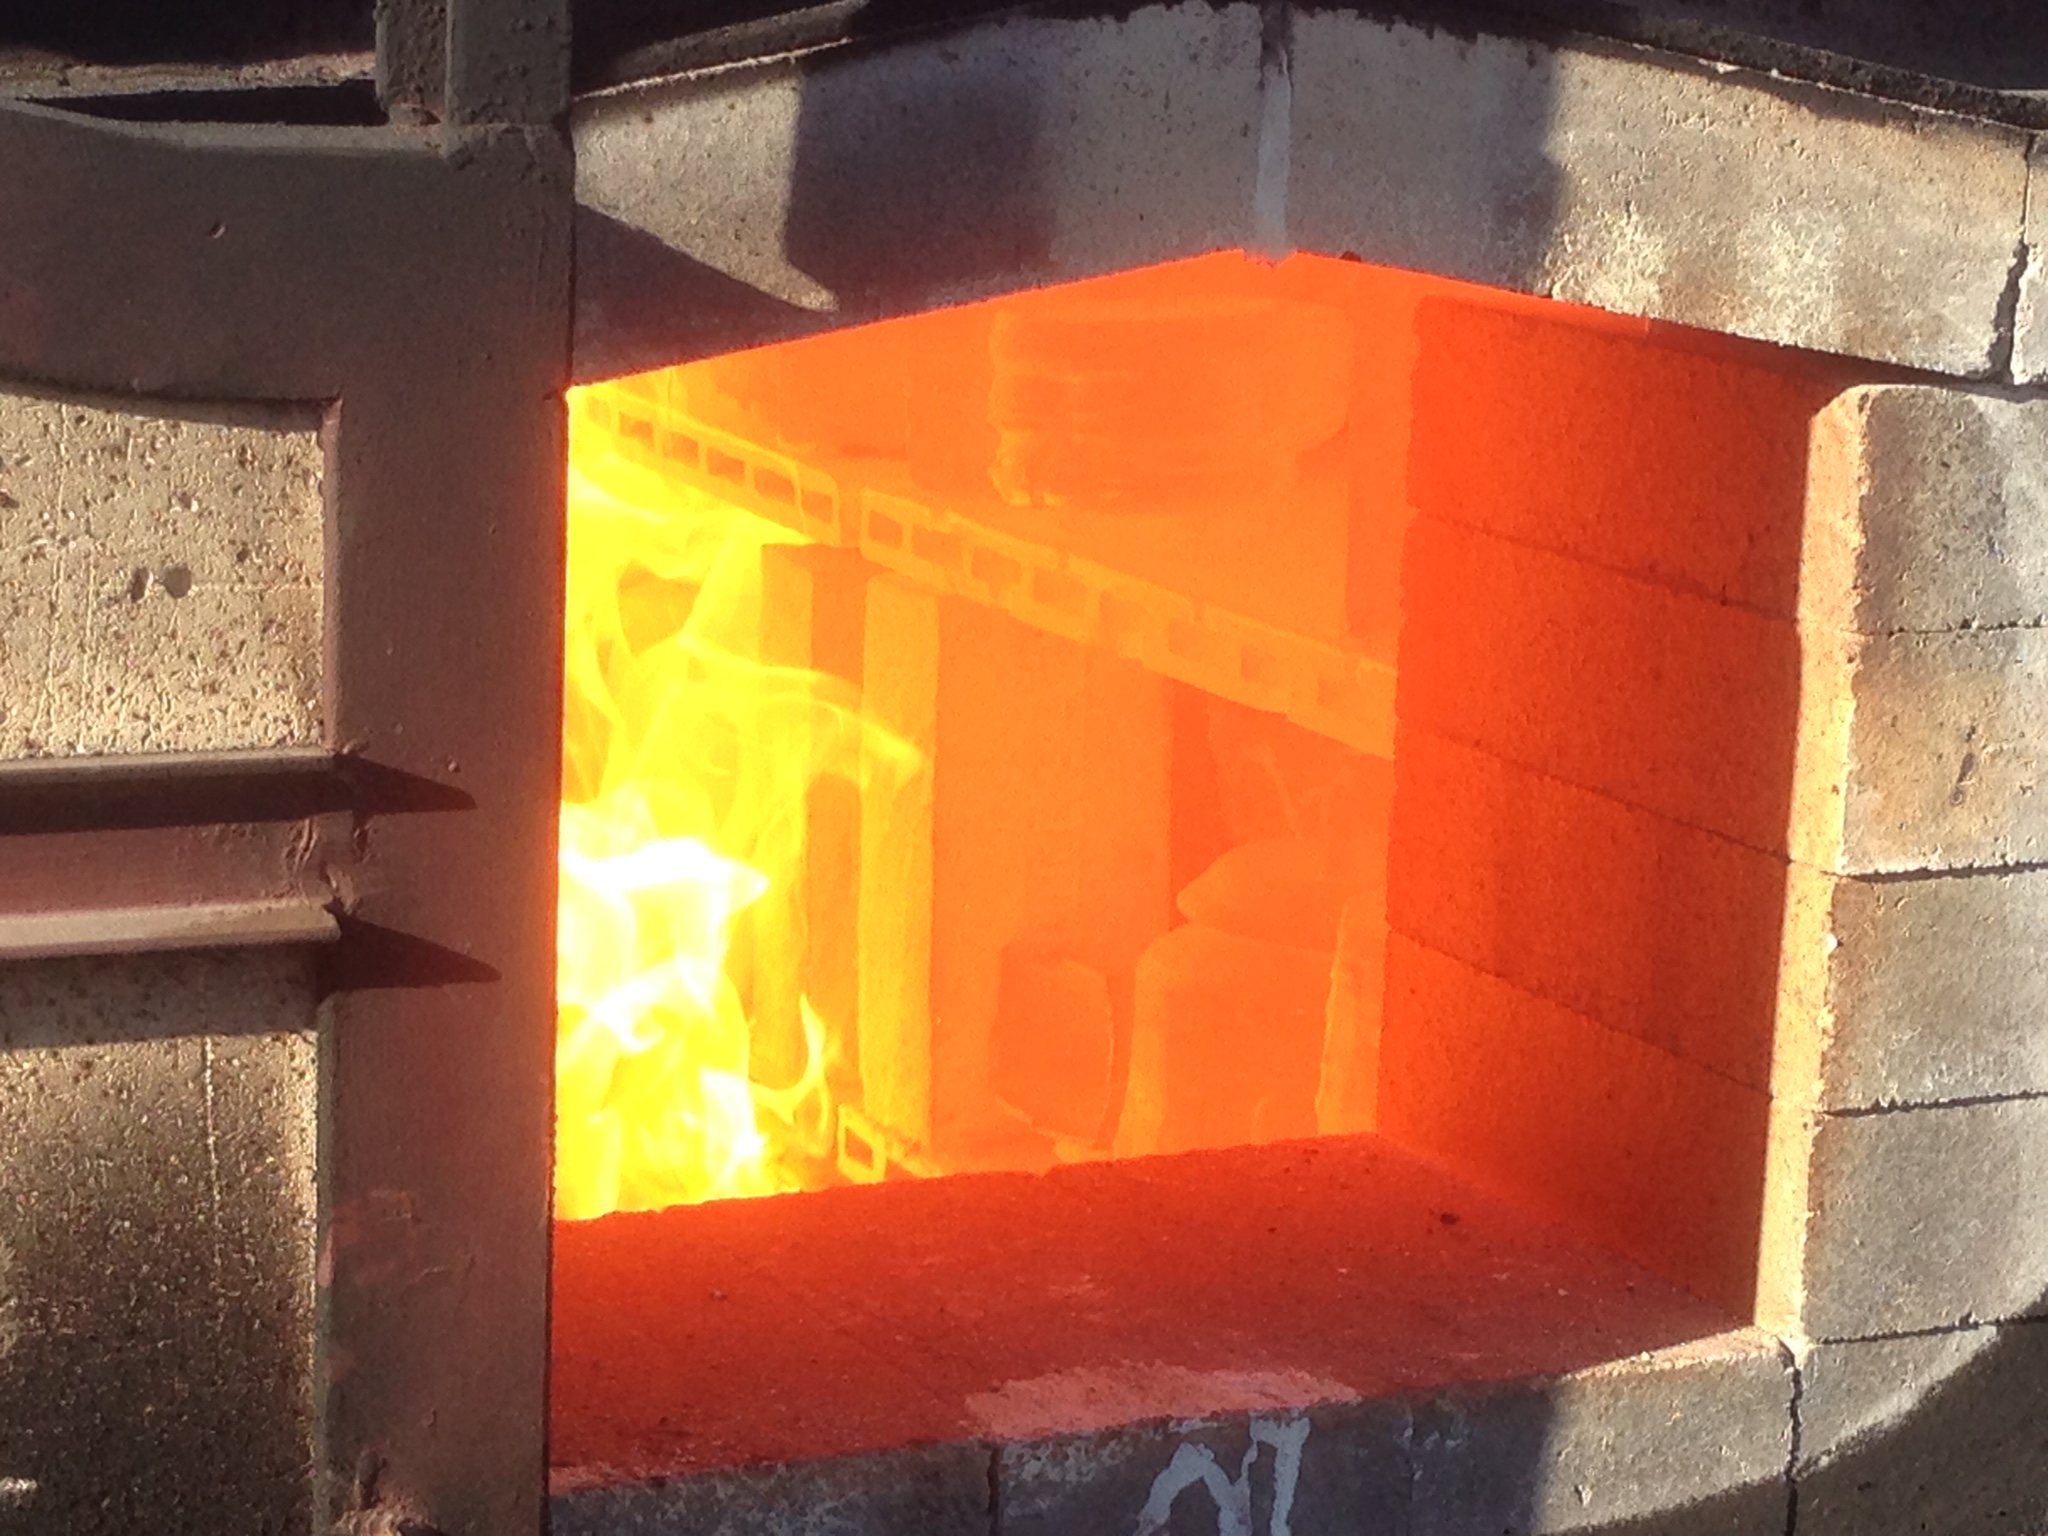


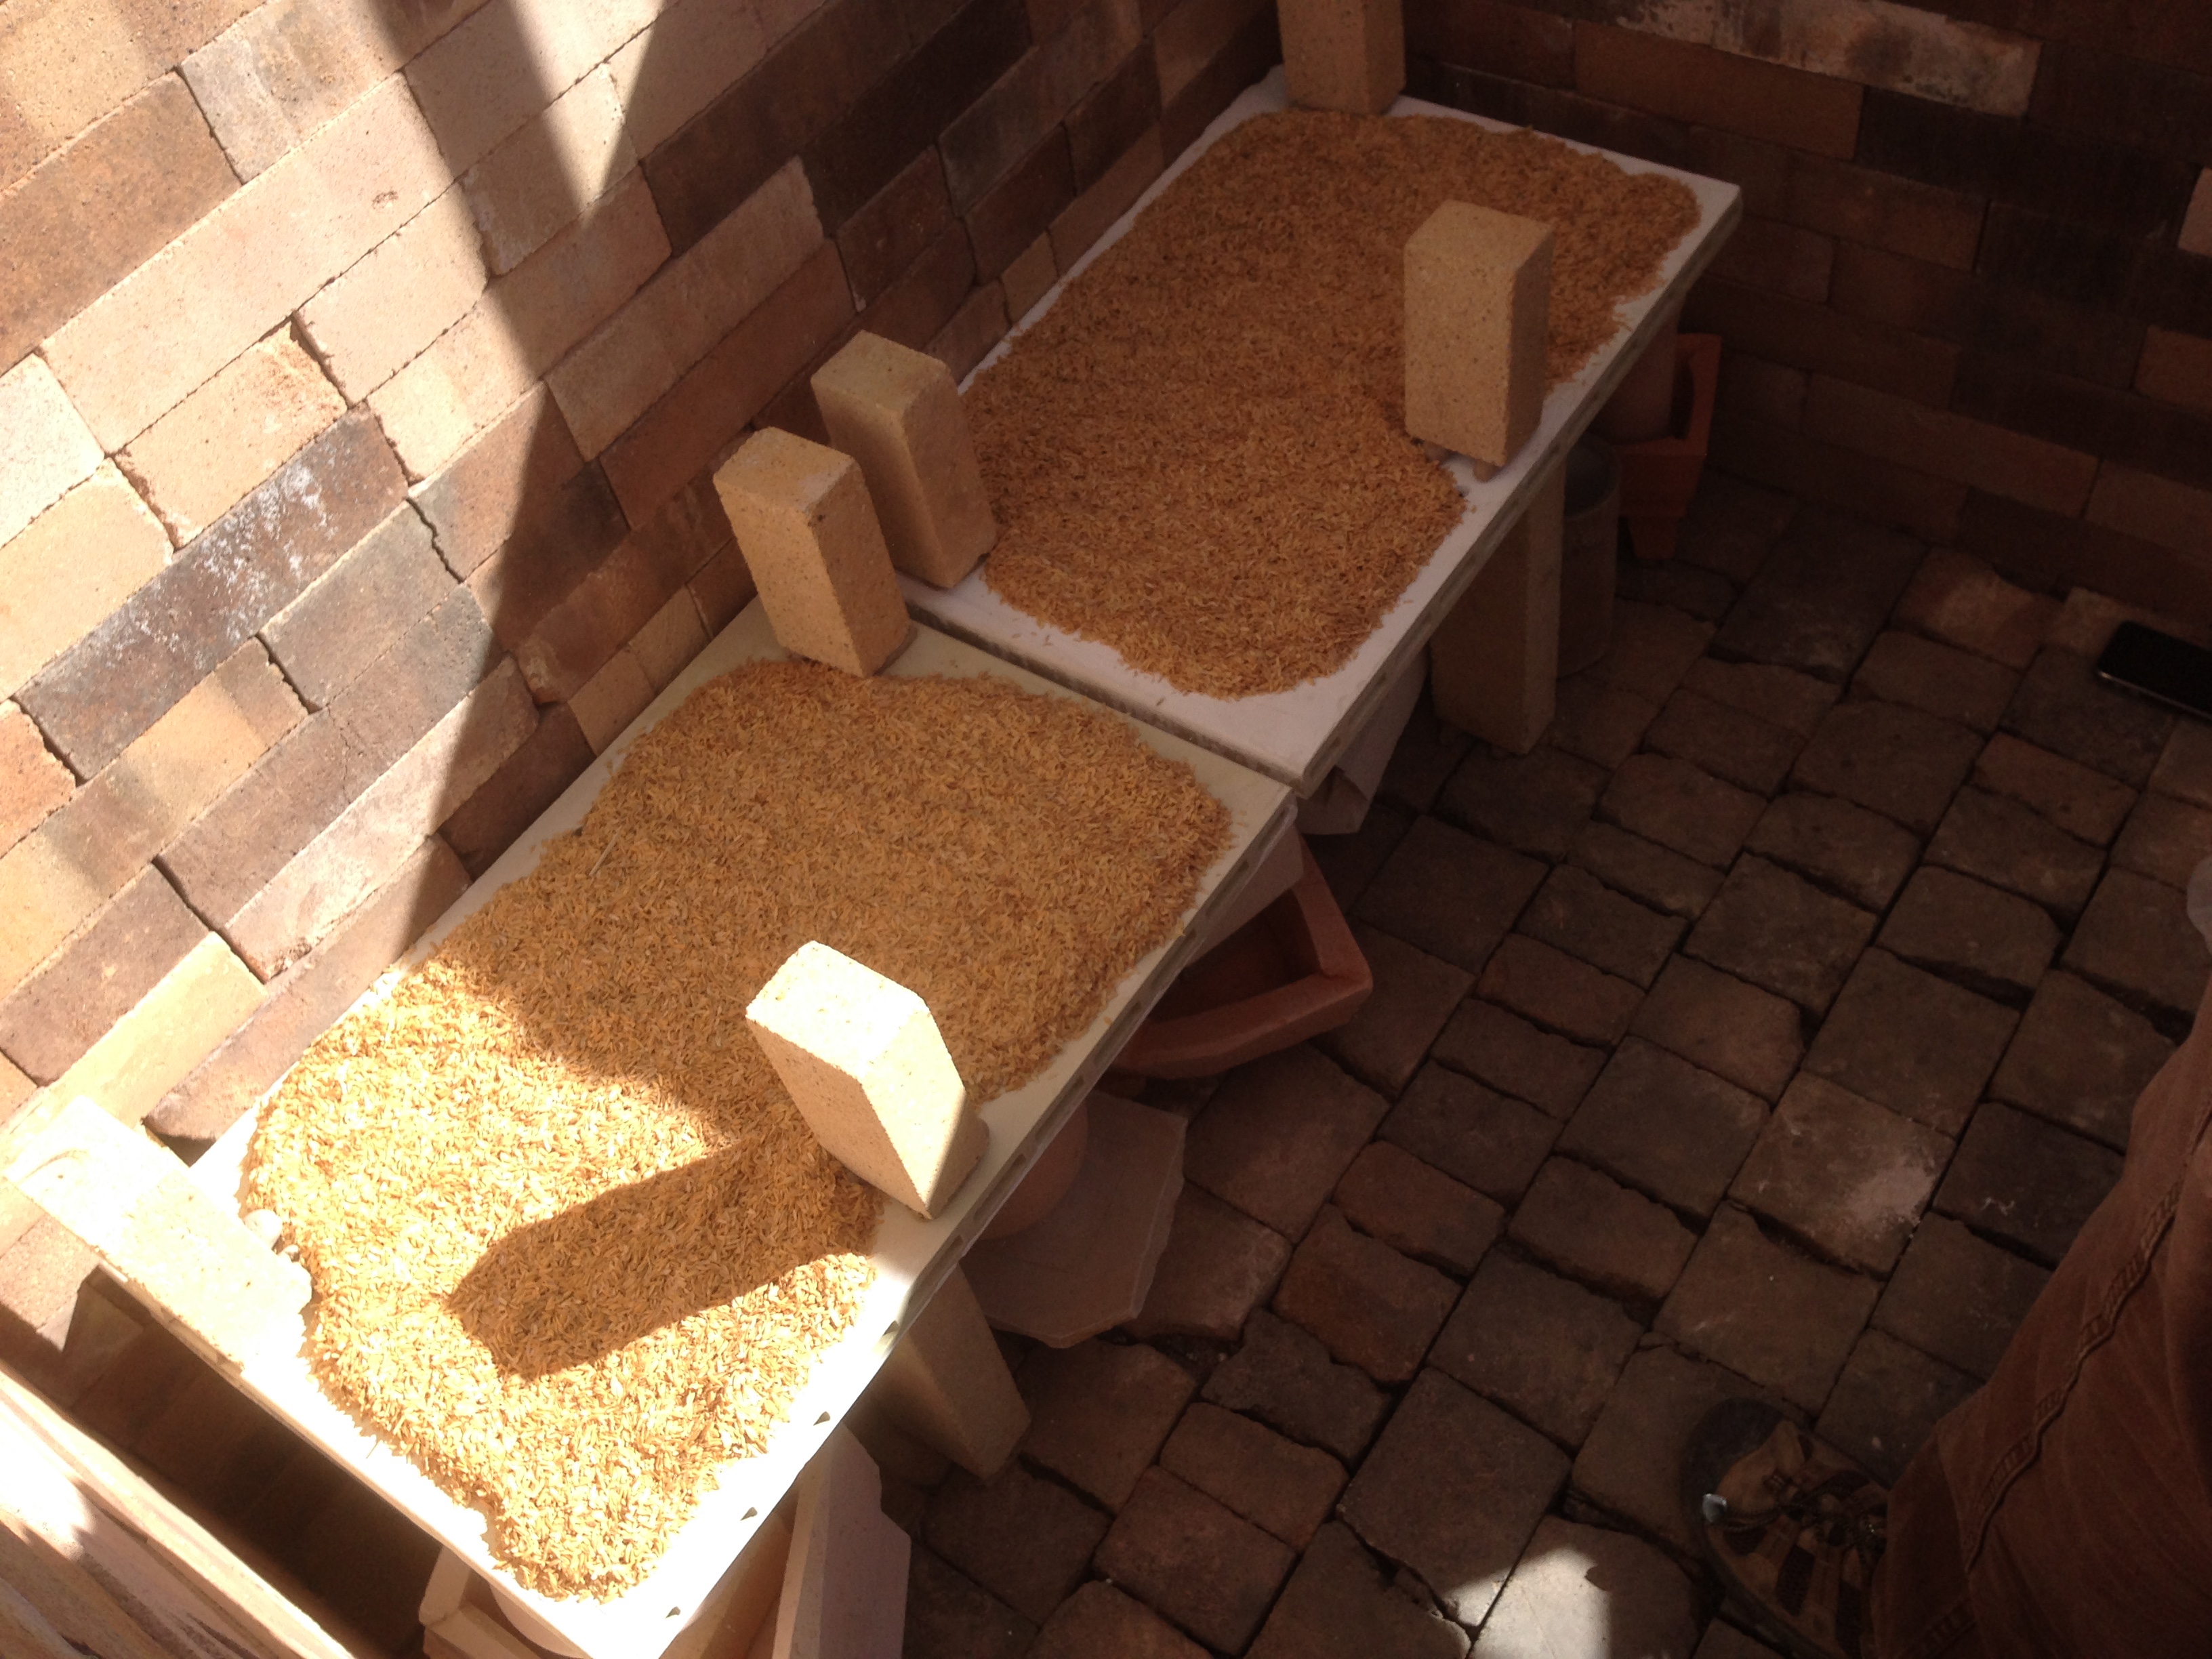
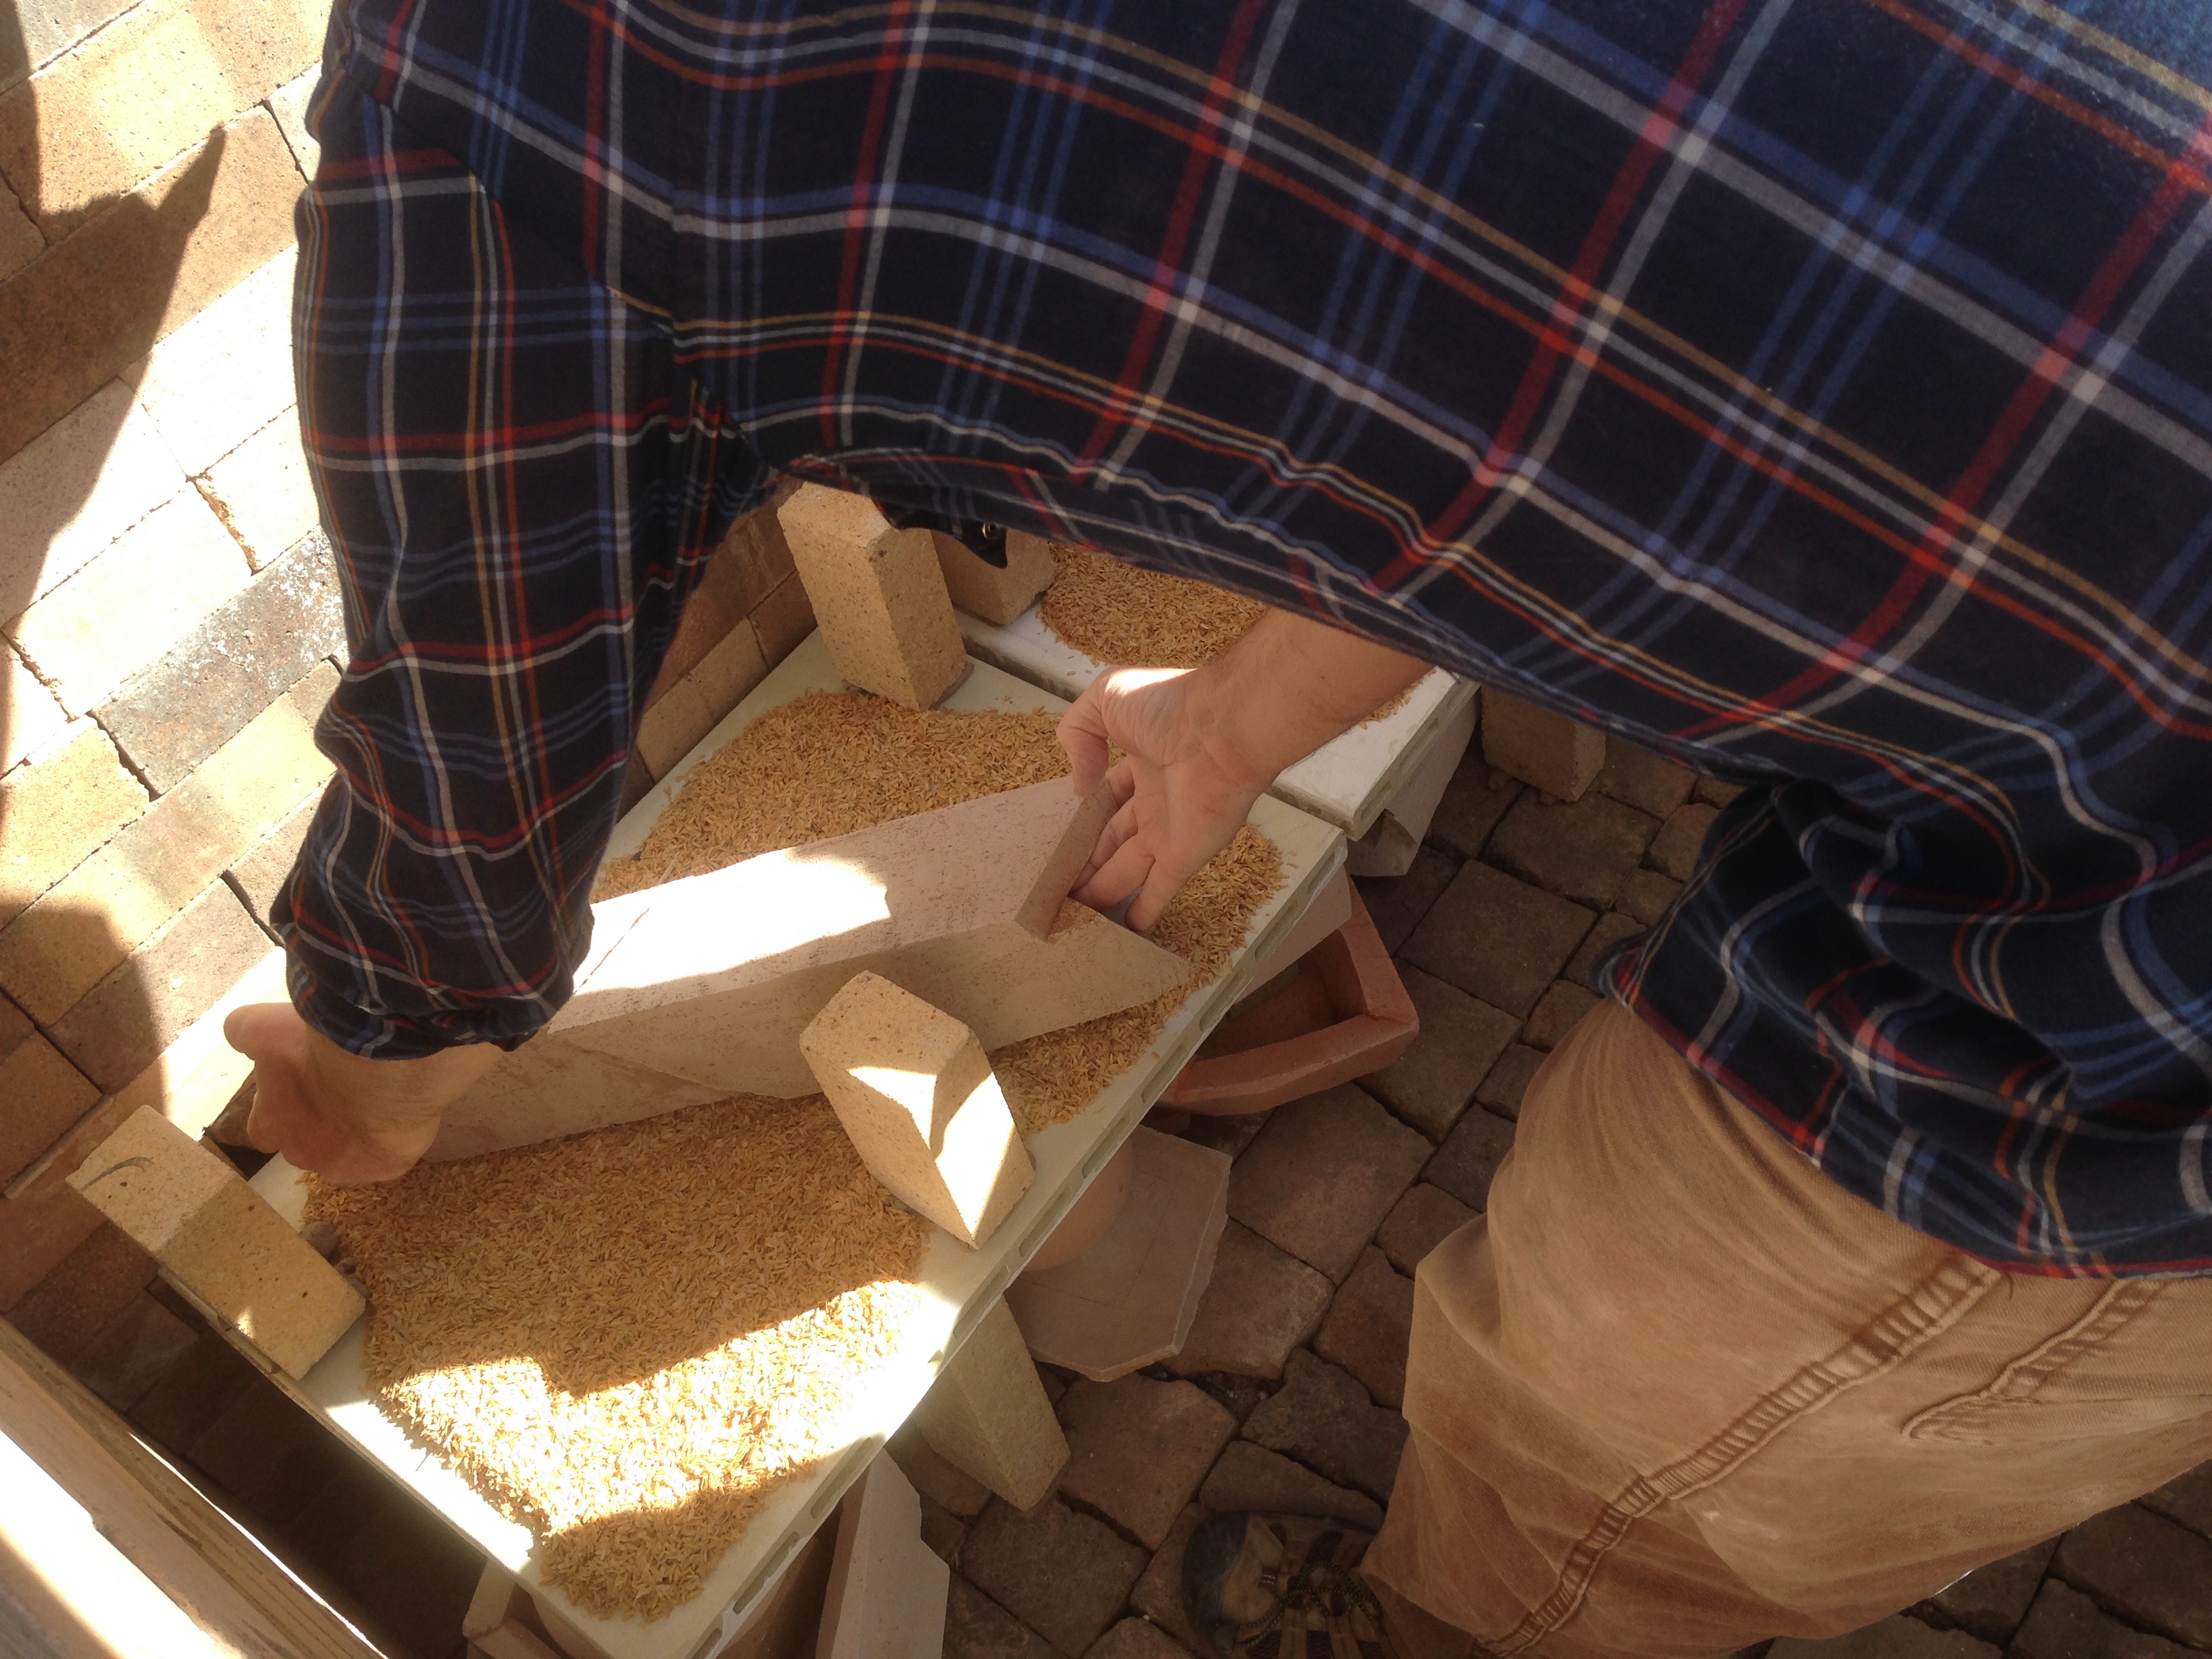
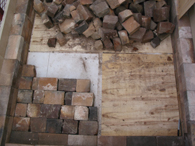
Raking the ember bed


Jonathan Cross has put together a firing schedule shown below. PDF Version
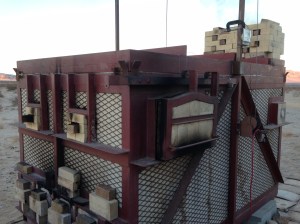
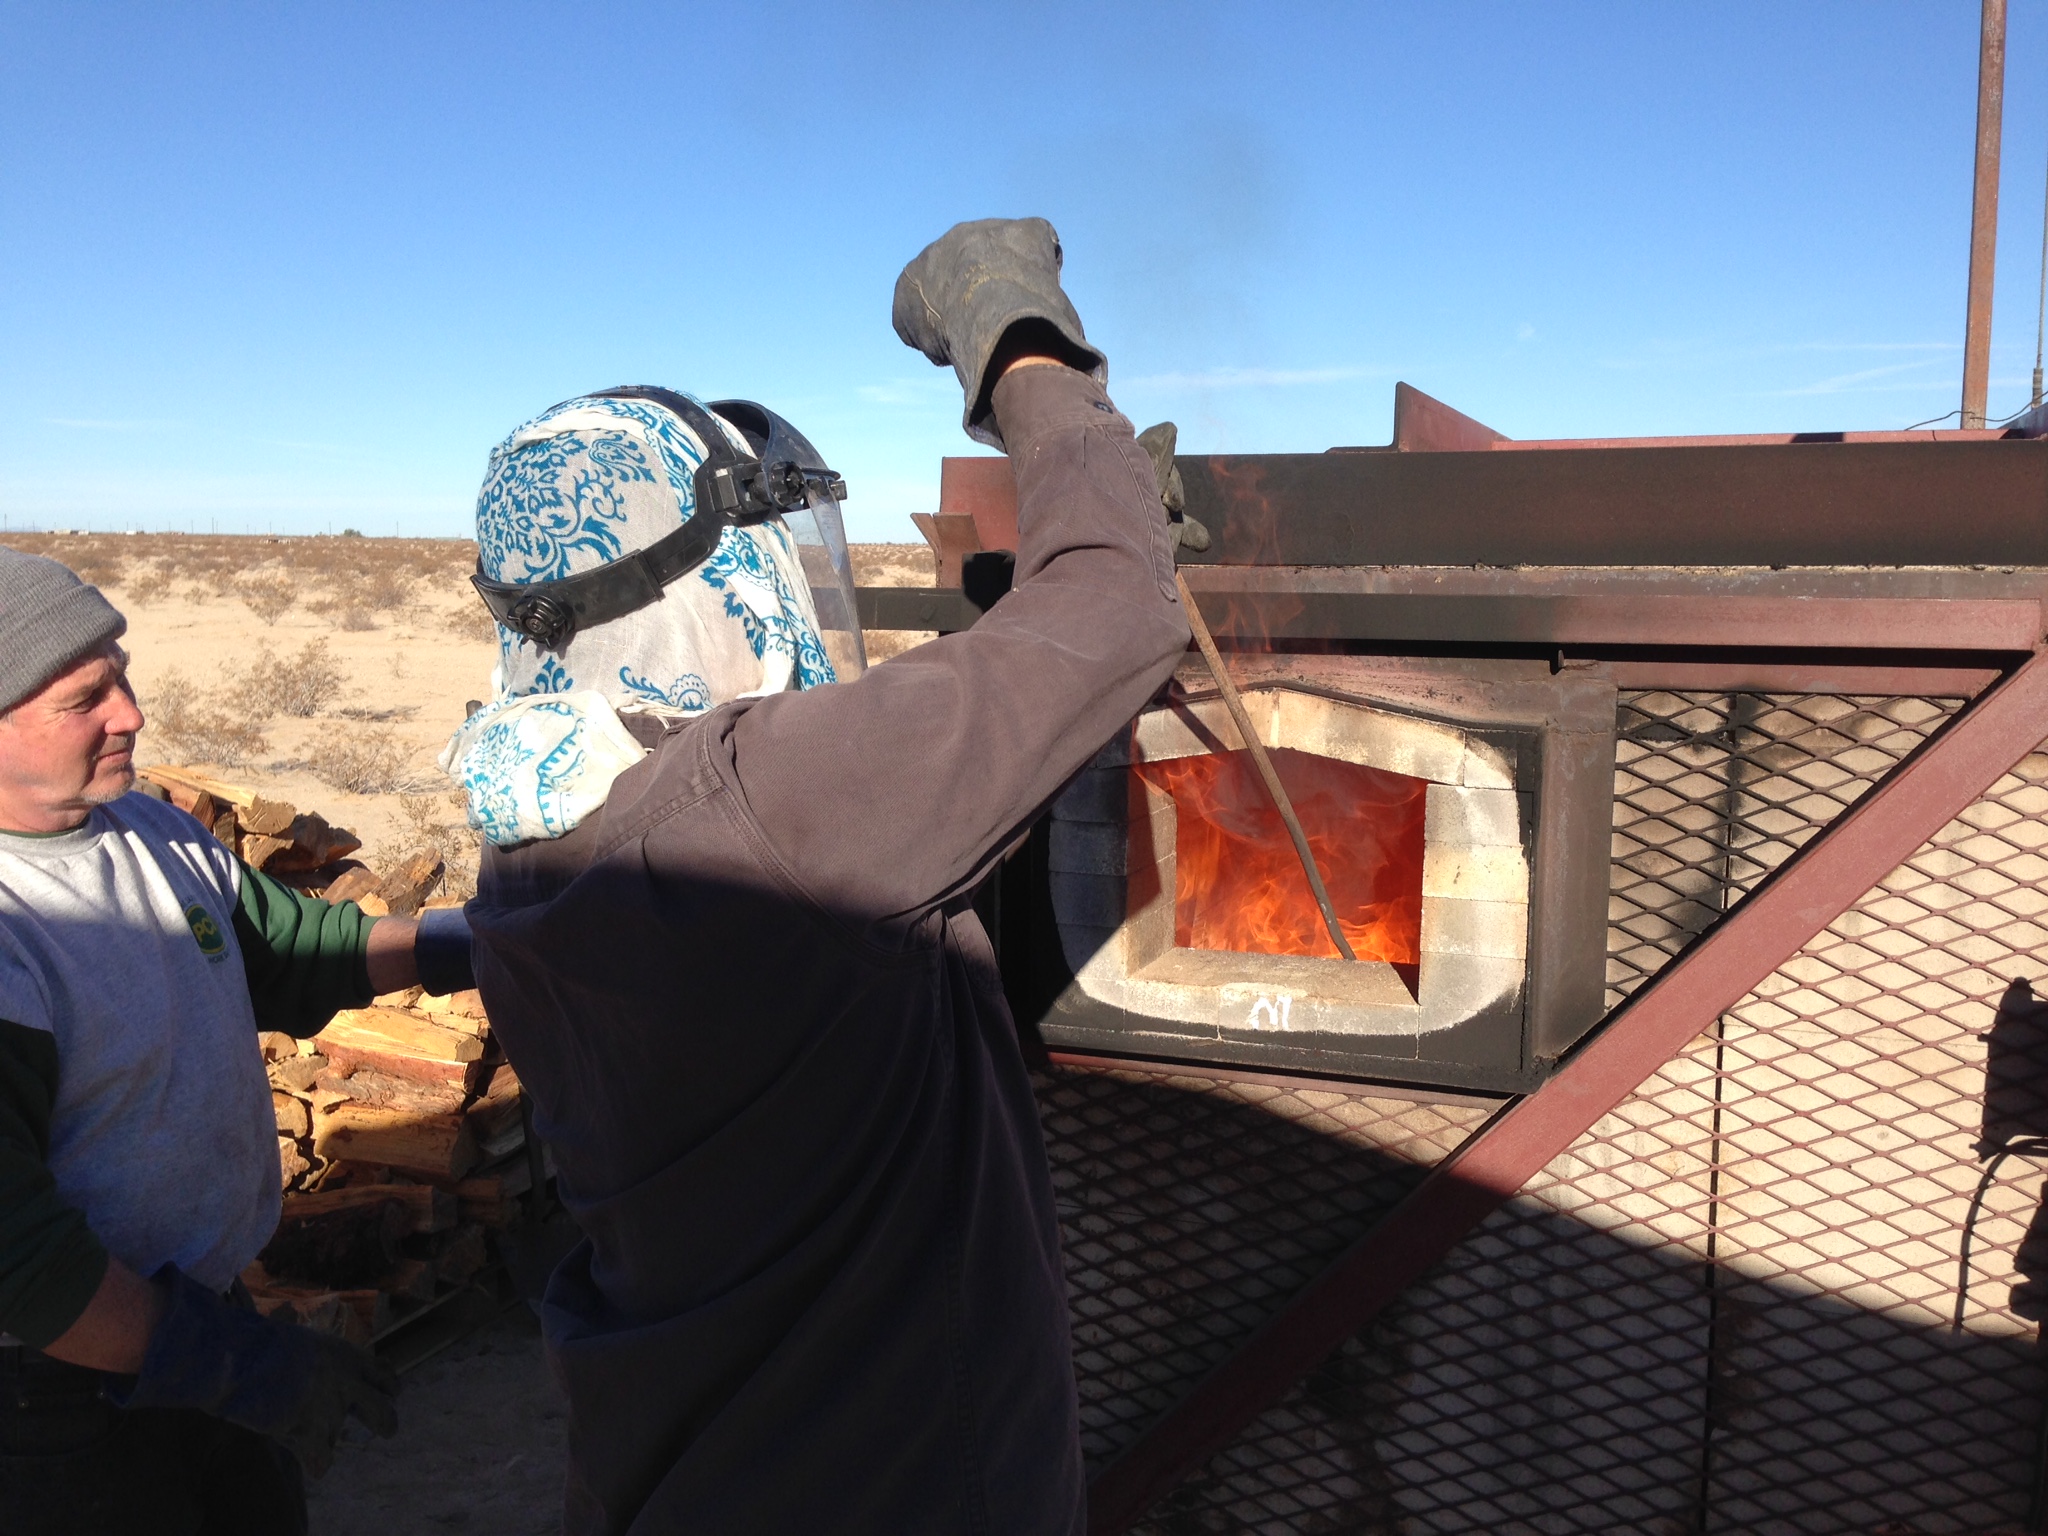
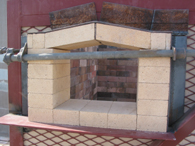
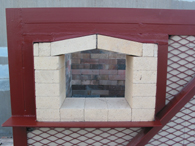
Firing the “Fire Box” kiln
Day 1-2 – Preheat with propane burner. 6-12 hours
Day 2-3 – Preheat kiln with wood. 24 hours
Day 3-5 – Firing work. 24-72 hours
Day 6 – Down firing / Reduction Cool (Optional) 6-12 hours
Wood 2-5 Cords of wood depending on the length of firing and ash build-up desired.
Firing Schedule
All work should be bisqued so that the preheating can proceed more rapidly. You still want to take time to preheat the kiln properly. The method for preheating that I use was introduced to me by Furutani Michio. His philosophy, which I can attest to from experience, is to fire the kiln first, then the work. This simply means you need to take a day to preheat the kiln and all of the kiln furniture so that you are not using up energy later in the firing.
I start with a propane burner in the front of the kiln over night. Simply open one of the primary airports and set the burner up inside, adjusting the flame so that it is not directly hitting any of the work. Secure the burner so that it cannot easily be knocked out of the primary airport by a passing animal in the night. The damper is closed and all view ports are open to allow moisture / steam from wadding to escape the kiln. Preheating with the burner can be any where from 6-12 hours. This is done over night to give your self a good nights rest.
The following morning, remove the propane burner from the primary airport. Temperature should be around 350F. Attach a new tank of propane (I use 15 gallon barbecue tanks) to the propane burner and place it in the passive damper of the chimney. Much of this heat is lost, but preheating the chimney is advantageous in many ways. First, it gives you an immediate draft through the kiln and helps to heat the ware chamber more evenly in the beginning of the firing when temperature differences from front to back and top to bottom can be extreme. Second, the burner in the chimney burns a lot of carbon and smoke passing through the chimney making for a cleaner firing in the beginning. The damper is open while the burner is in the passive damper. All view ports are closed with a brick and sealed with clay.
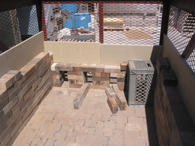
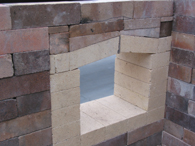
A small chamber is built outside of two of the primary ports with kiln shelves and bricks. A small fire is lit with kindling in this chamber. Wood is continually fed into this chamber, gradually increasing the size and amount of wood per stoke while pushing coals into the firebox. This process should take about 24 hours, gradually raising the temperature from 350F to 1000F.
Around 1000F, the firebox is hot enough to start stoking through the side door. Wood tossed into the firebox should immediately catch fire. If not, continue stoking through primary airports until wood catches fire through door stoking. (Check every 100 degrees). During this time the propane for the burner in the chimney will run out. Remove the burner and replace the passive damper. Dampers should be set to 1/4 open or about 2 inches of outside length to keep in heat, but still allow flow. Once stoking begins through the door, open all primary ports half way and begin stoking with 2 pieces of wood. Stoking should proceed this way allowing for a peak in temperature (read on the digital pyrometer), followed by a sustained drop of 5 -10 degrees. The goal at this point is two fold, to increase temperature and to create a small bed of coals to maintain heat. This method is used all the way up to 1800F or when cone 08-010 is bending.
Now, its time to start the body reduction (optional). Adjust the dampers to 1 inch open and increase the amount of wood to 4 pieces per stoke. Primary airports should be sealed to 1 inch as well to decrease oxygen in kiln. Maintain smoke in the stack, stoking when flames or smoke clear the stack. Body reduction can take as long as 6 hours with cone 04 dropping during this time.
After body reduction, it is time to climb to high temperature. Many choices can be made at this point. Firstly, open the dampers and primary airports all the way. Begin stoking 2 pieces of wood, stoking five degrees below the highest observed temperature during a stoke. Continue this pattern until the highest temperature desired is reached. Maintain a healthy coal bed that is white-hot. Every hour or so, use a piece of steel pipe to agitate the coals and keep any dead coal areas from forming. Dead coals are dark inside the kiln and can create insulated, under-fired areas of work. When the peak temperature is reached, the dampers and primary airports need to be adjusted to half way. The amount of wood used per stoke, and when to stoke, needs to be adjusted to stall or maintain temperature. Increasing the amount of wood to 4 pieces and stoking at the desired temperature is a good rule of thumb. An example would be stoking 4 pieces, watching the temperature drop, and then waiting until it climbs back to 2350F, and then stoking 4 pieces of wood again. How long you soak the kiln at peak temperature is a matter of taste. I recommend at least 2 hours at peak temperature to melt ash.
After this period of peak firing is completed, its time to cool the kiln. There are 3 basic ways to go about cooling. First, is letting the kiln cool naturally and slowly by closing all dampers, primary airports, and cone viewing ports, and letting the kiln sit for about 4 days to cool. Second, is to crash cool the kiln down to 1800F -1450F degrees in oxidation. This method requires that the dampers, primary air ports, and stoke door remain open until the bottom temperature is reached. Third, is to cool the kiln in reduction. Seal the kiln up tightly by closing all ports and then sealing them with a wet clay/sand slurry. In a side stoke port, a 2” x 2” opening is used to stoke a 1” x 12” piece of wood at around every 10 minutes to keep the kiln in reduction as it cools down to any where from 1800-1450 degrees.
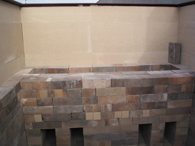
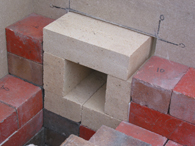
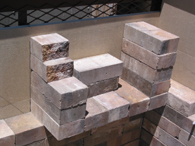
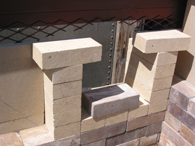
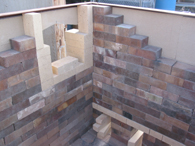
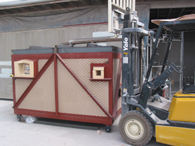
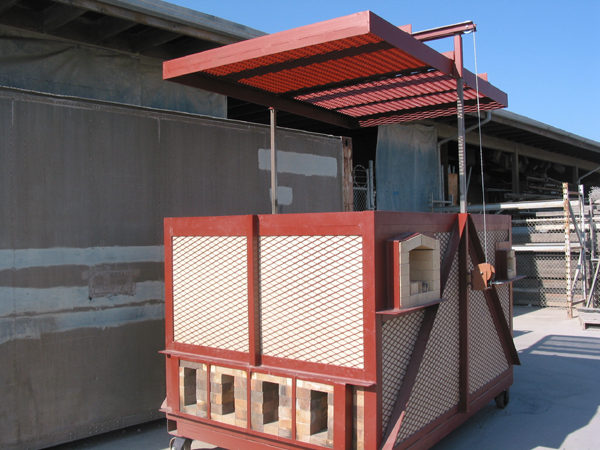
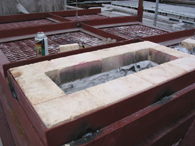
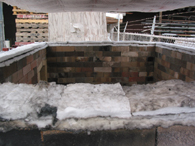
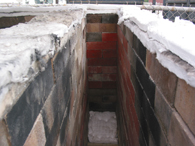
Kiln Construction – Designed and Built by Steve Davis in 2003


 copy")


")
")


Can U recommend a way to best insulate and protect a kiln built with 23K soft brick to be repurposed for several wood fire and soda ash fires? One person recommended lining the inside with ceramic blanket and heled in place with kiln shelves. What are your thoughts on this? I greatly appreciate any advice and suggestions!
Thank you for your time and expertise!
Sincerely,
Brandon Garis
No fiber. It get destroyed too easily. Just place kiln shelves against the K23s. You can use a 3/16 masonry drill bit that is 12 inches long to drill holes through the wall and kiln shelves. Hold shelves in place with nichrome wire. 15 gauge for side walls and 9 gauge for suspended shelves against the roof.