
4th of July test firing at Aardvark Clay & Supplies in 2021.
This kiln was designed for Bombay Beach Arts and Culture in Bombay Beach, California on the eastern shore of the Salton Sea.


Lay out dimensions based on brick and shelf sizing and work out from there.
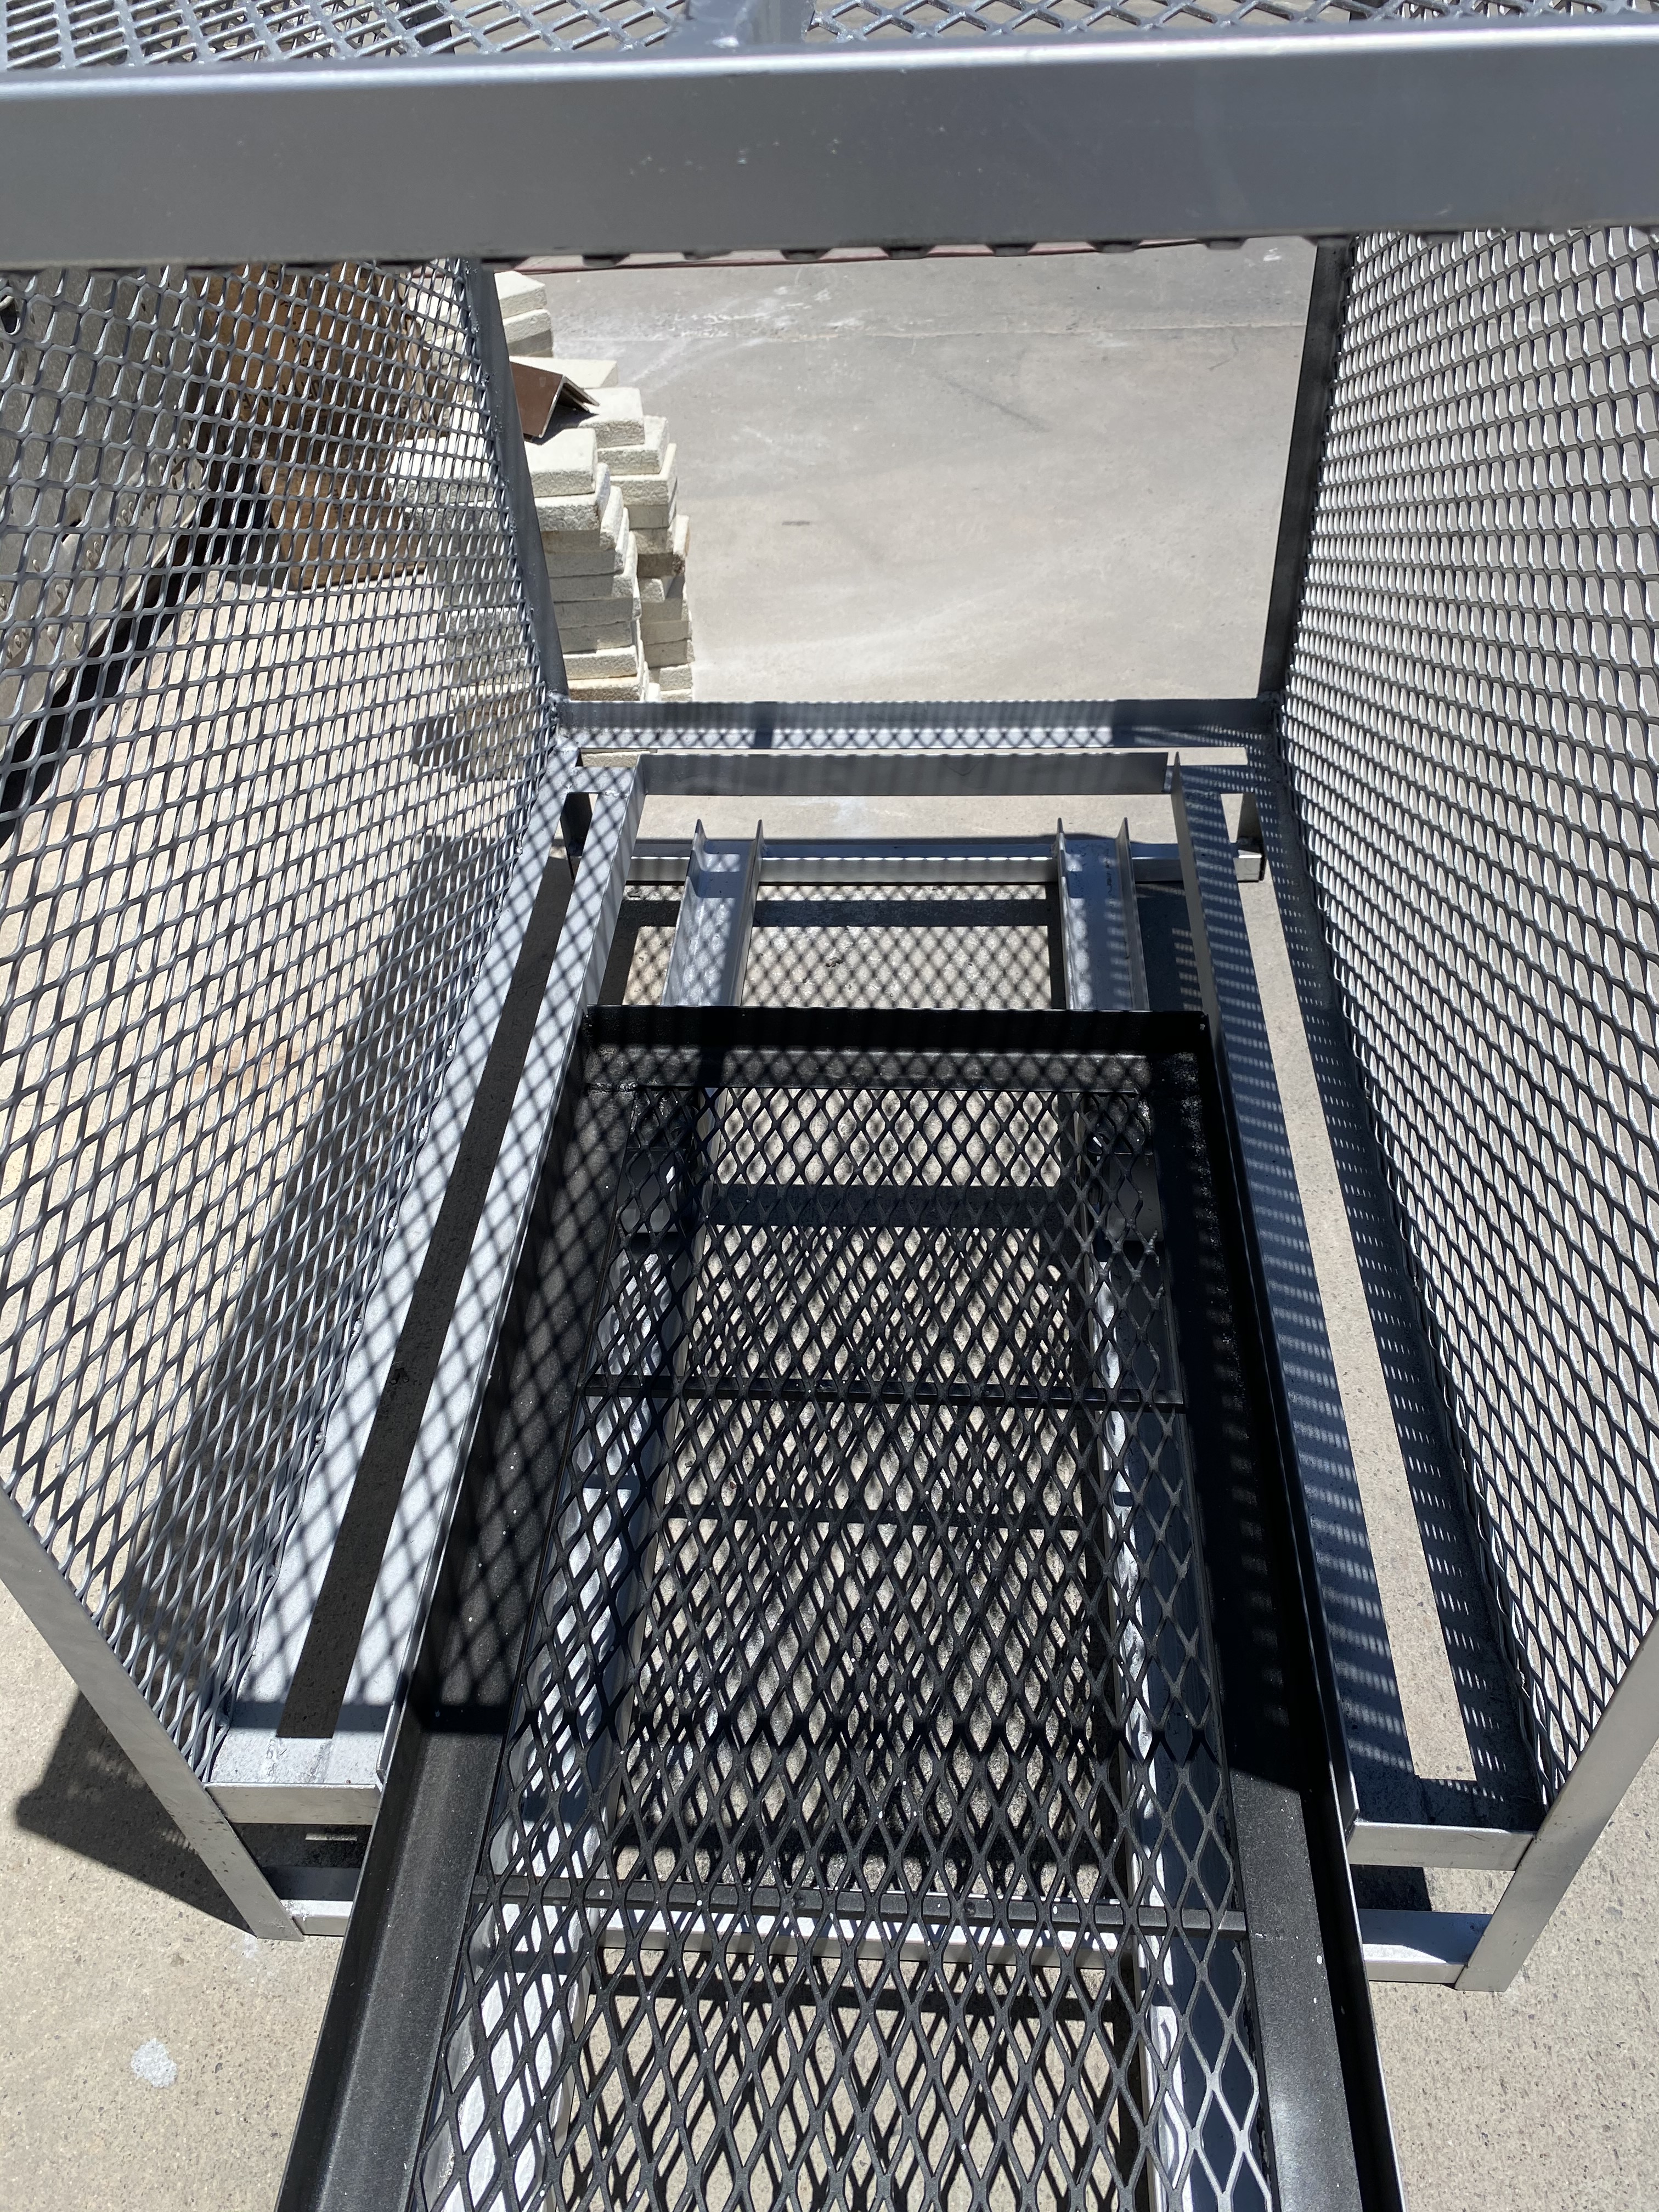

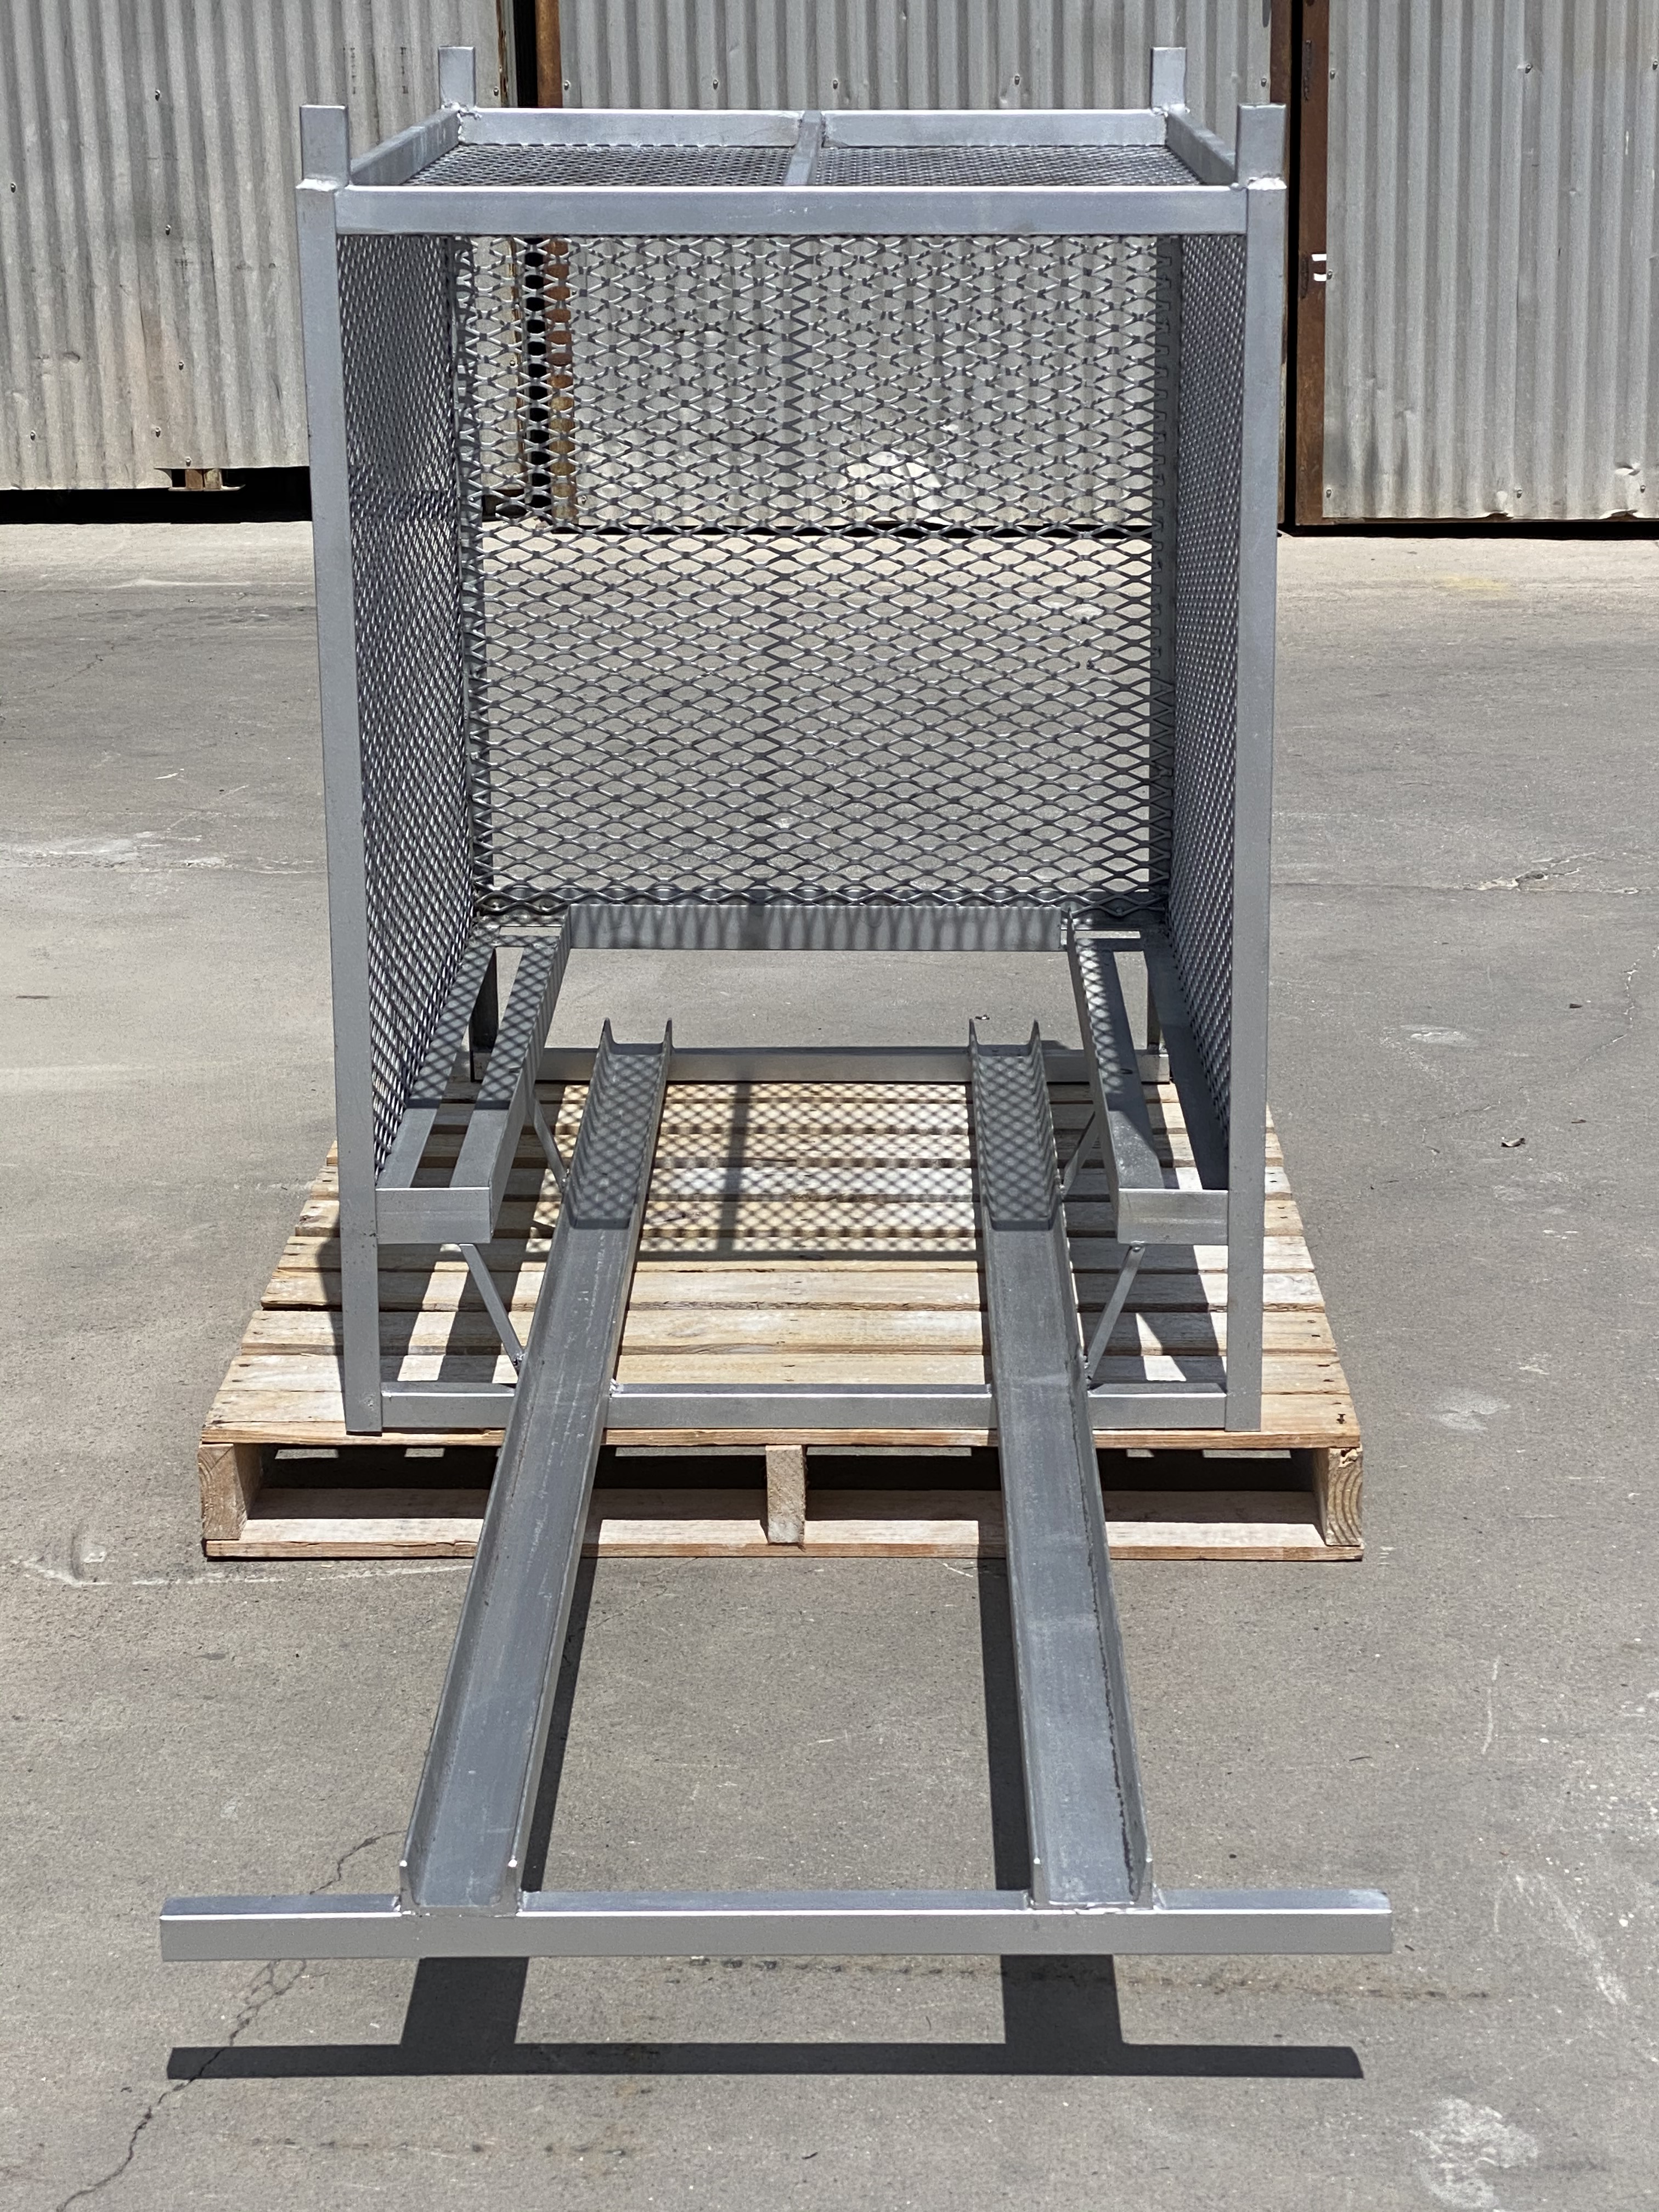
Maintain a quarter inch gap between outside edge of car and inside edge of side and rear floor framing.
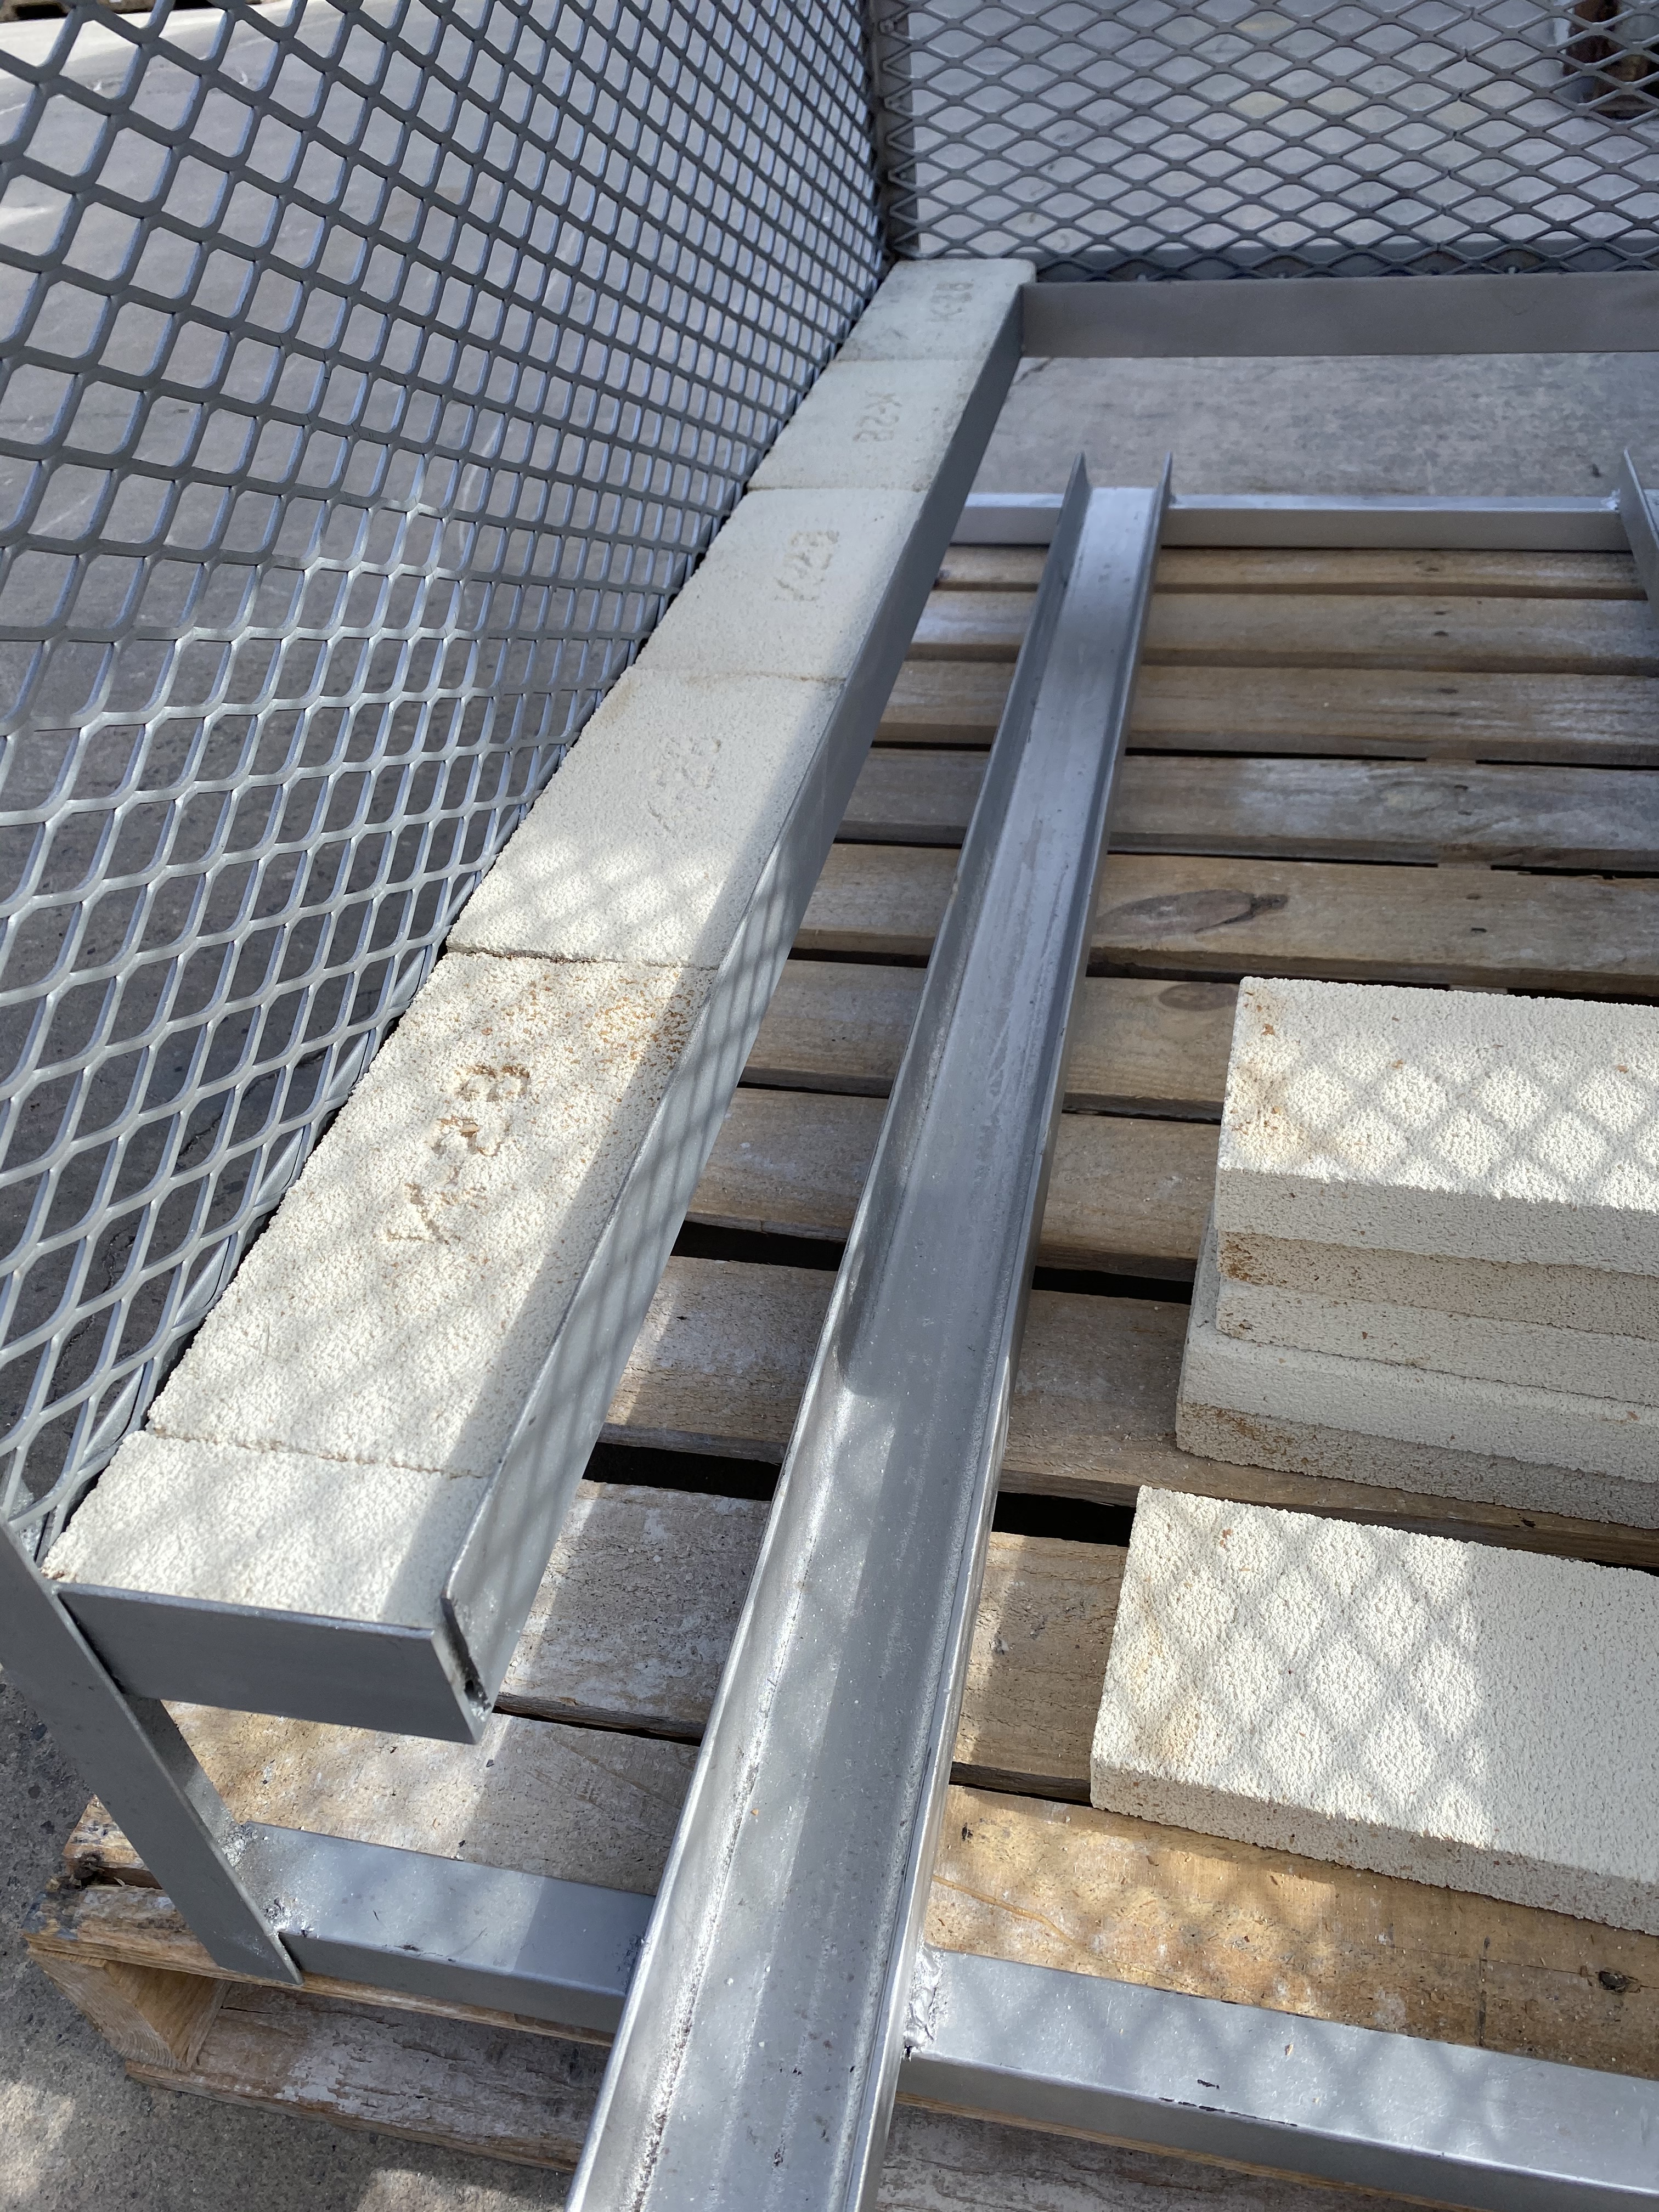
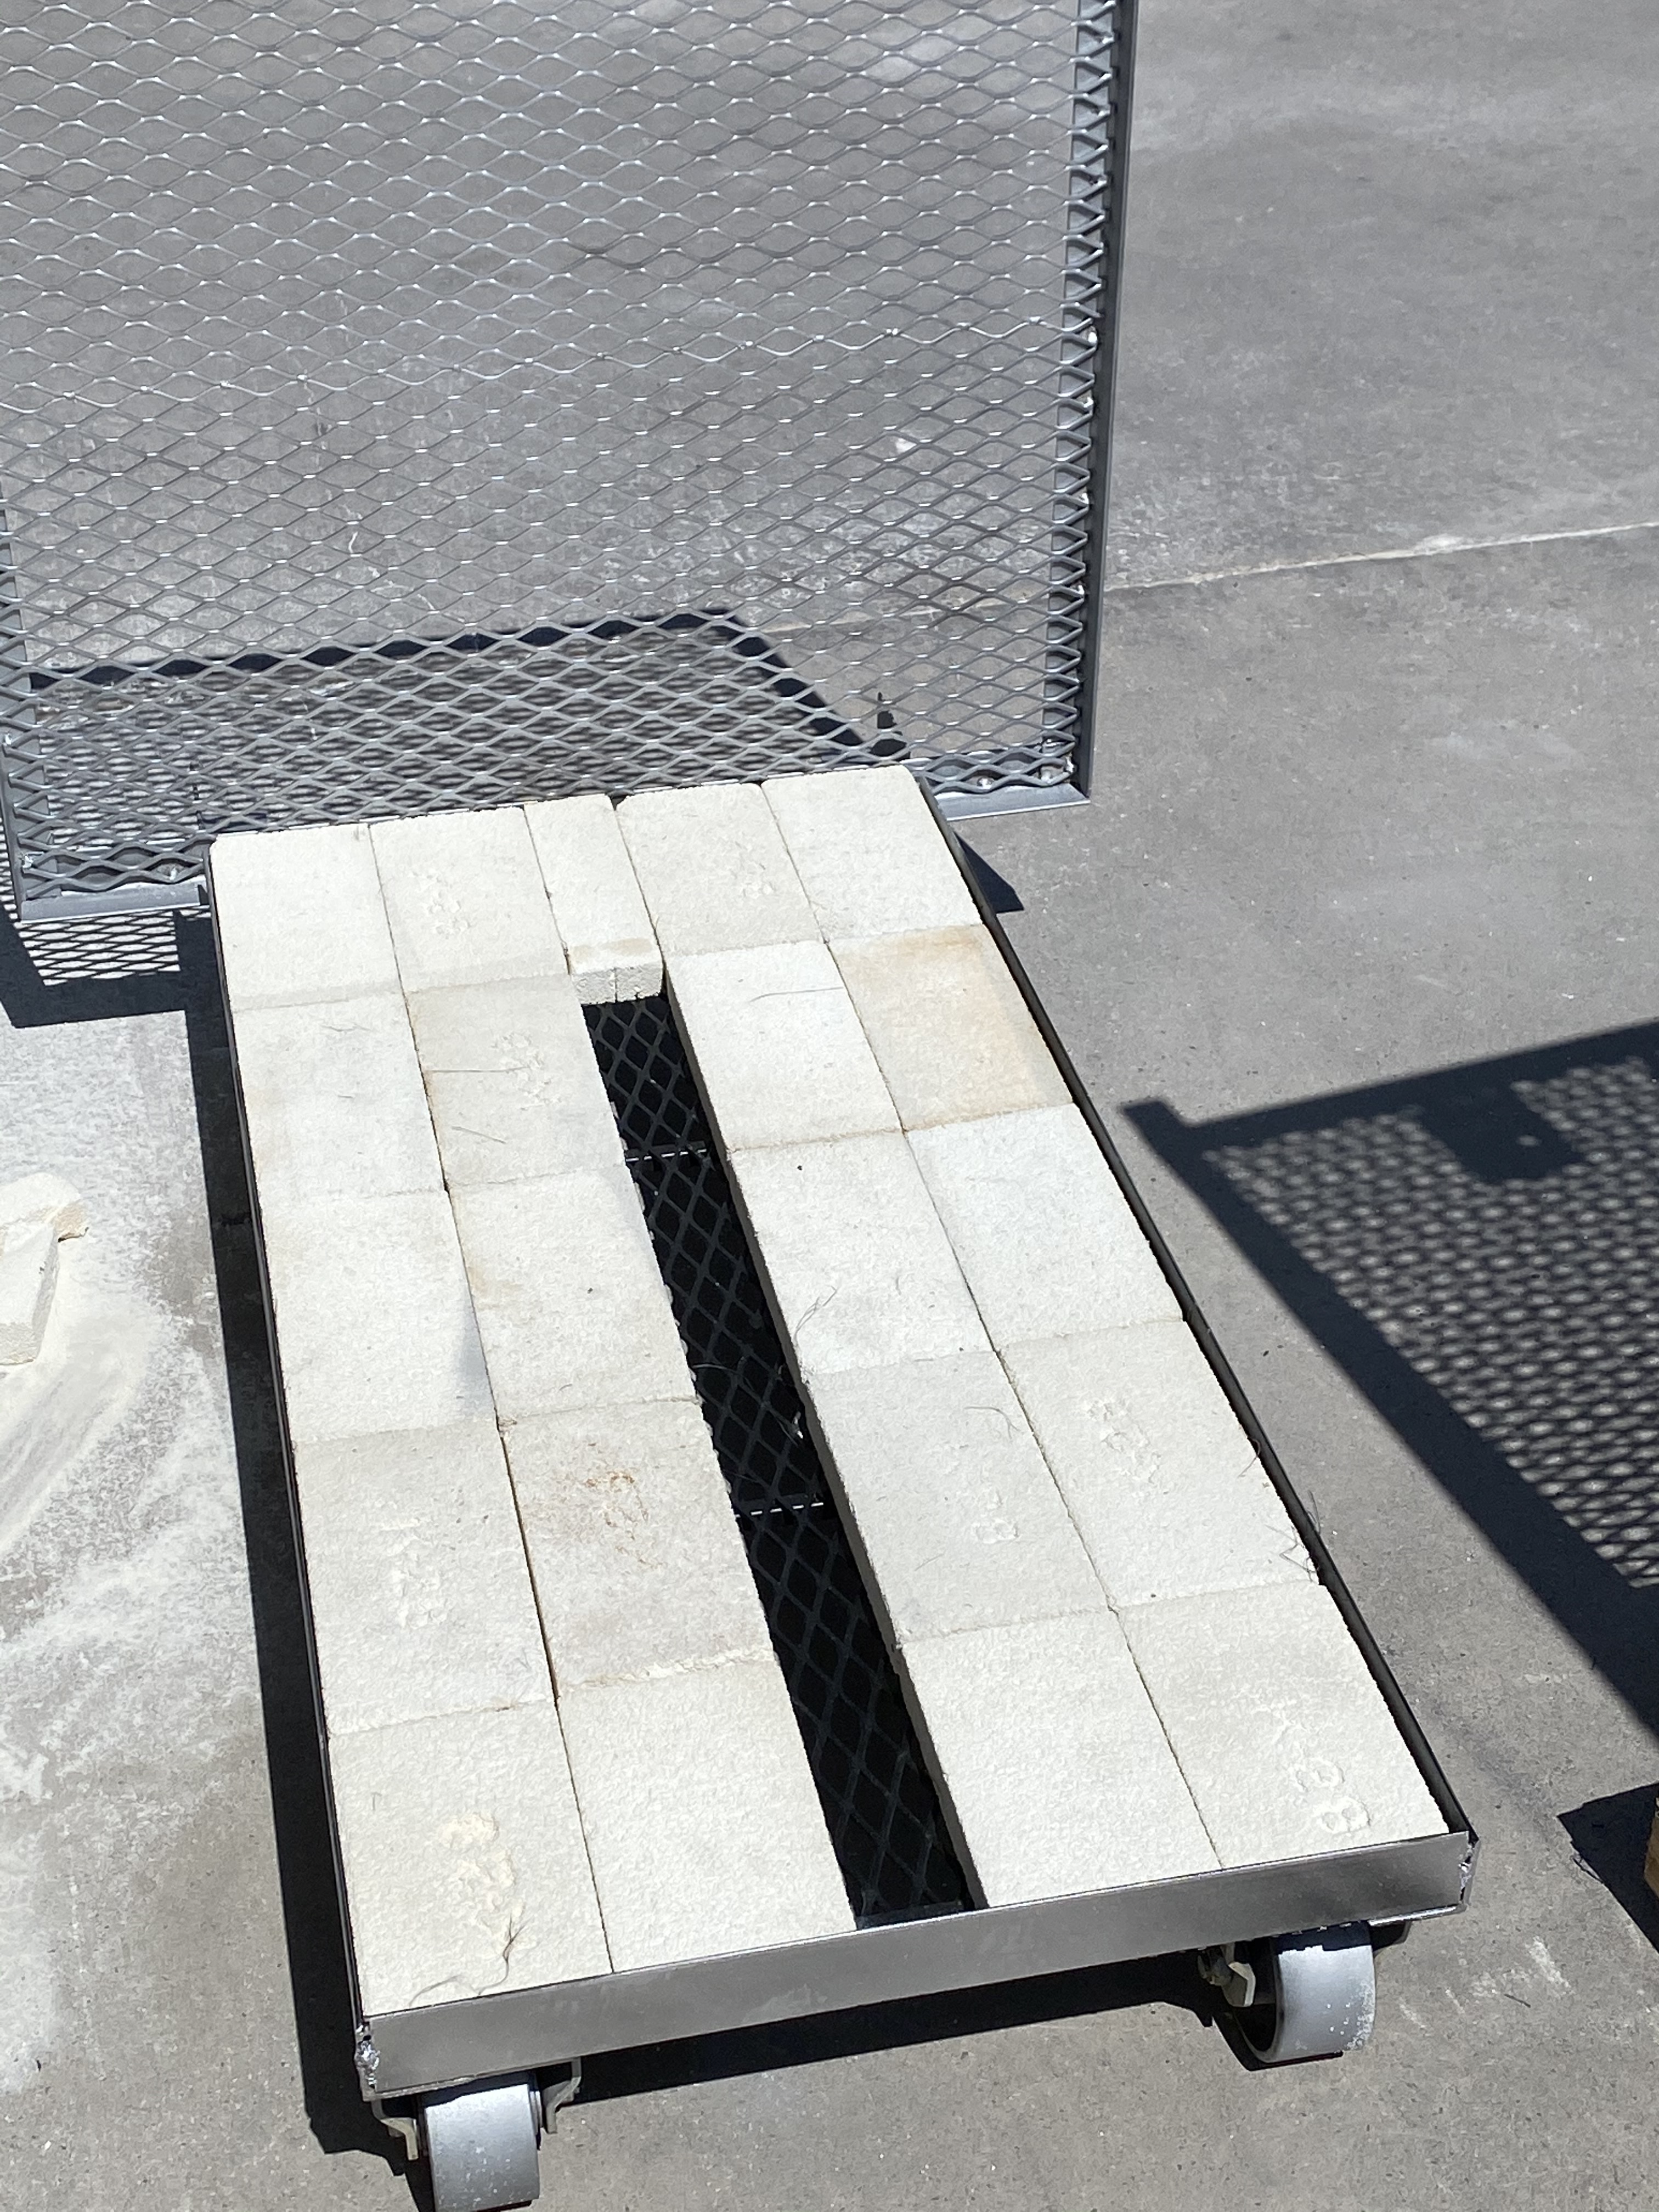
Soft brick splits inserted into 4-1/2 inch wide framing form the outside floor bricks. Kiln shelves that sit on the car will over lap the outside floor bricks by about 2 inches. The shelves need to clear the fiber side walls and still overlap these outside floor bricks. So plan on the car bed being at least a 1/4 inch above the outside floor bricks. If you screw up, you can always add a layer of grog or a thin sheet of fiber blanket on the car bed.

Keep full bricks on at outside edges.

Pin the door fiber in place before using ceramic buttons to be sure the fiber layout is good. Floor has 2 splits or a full brick thickness of 2-1/2 inches. The floor will have kiln shelves that exceed the width of the car and overlap outside floor bricks.
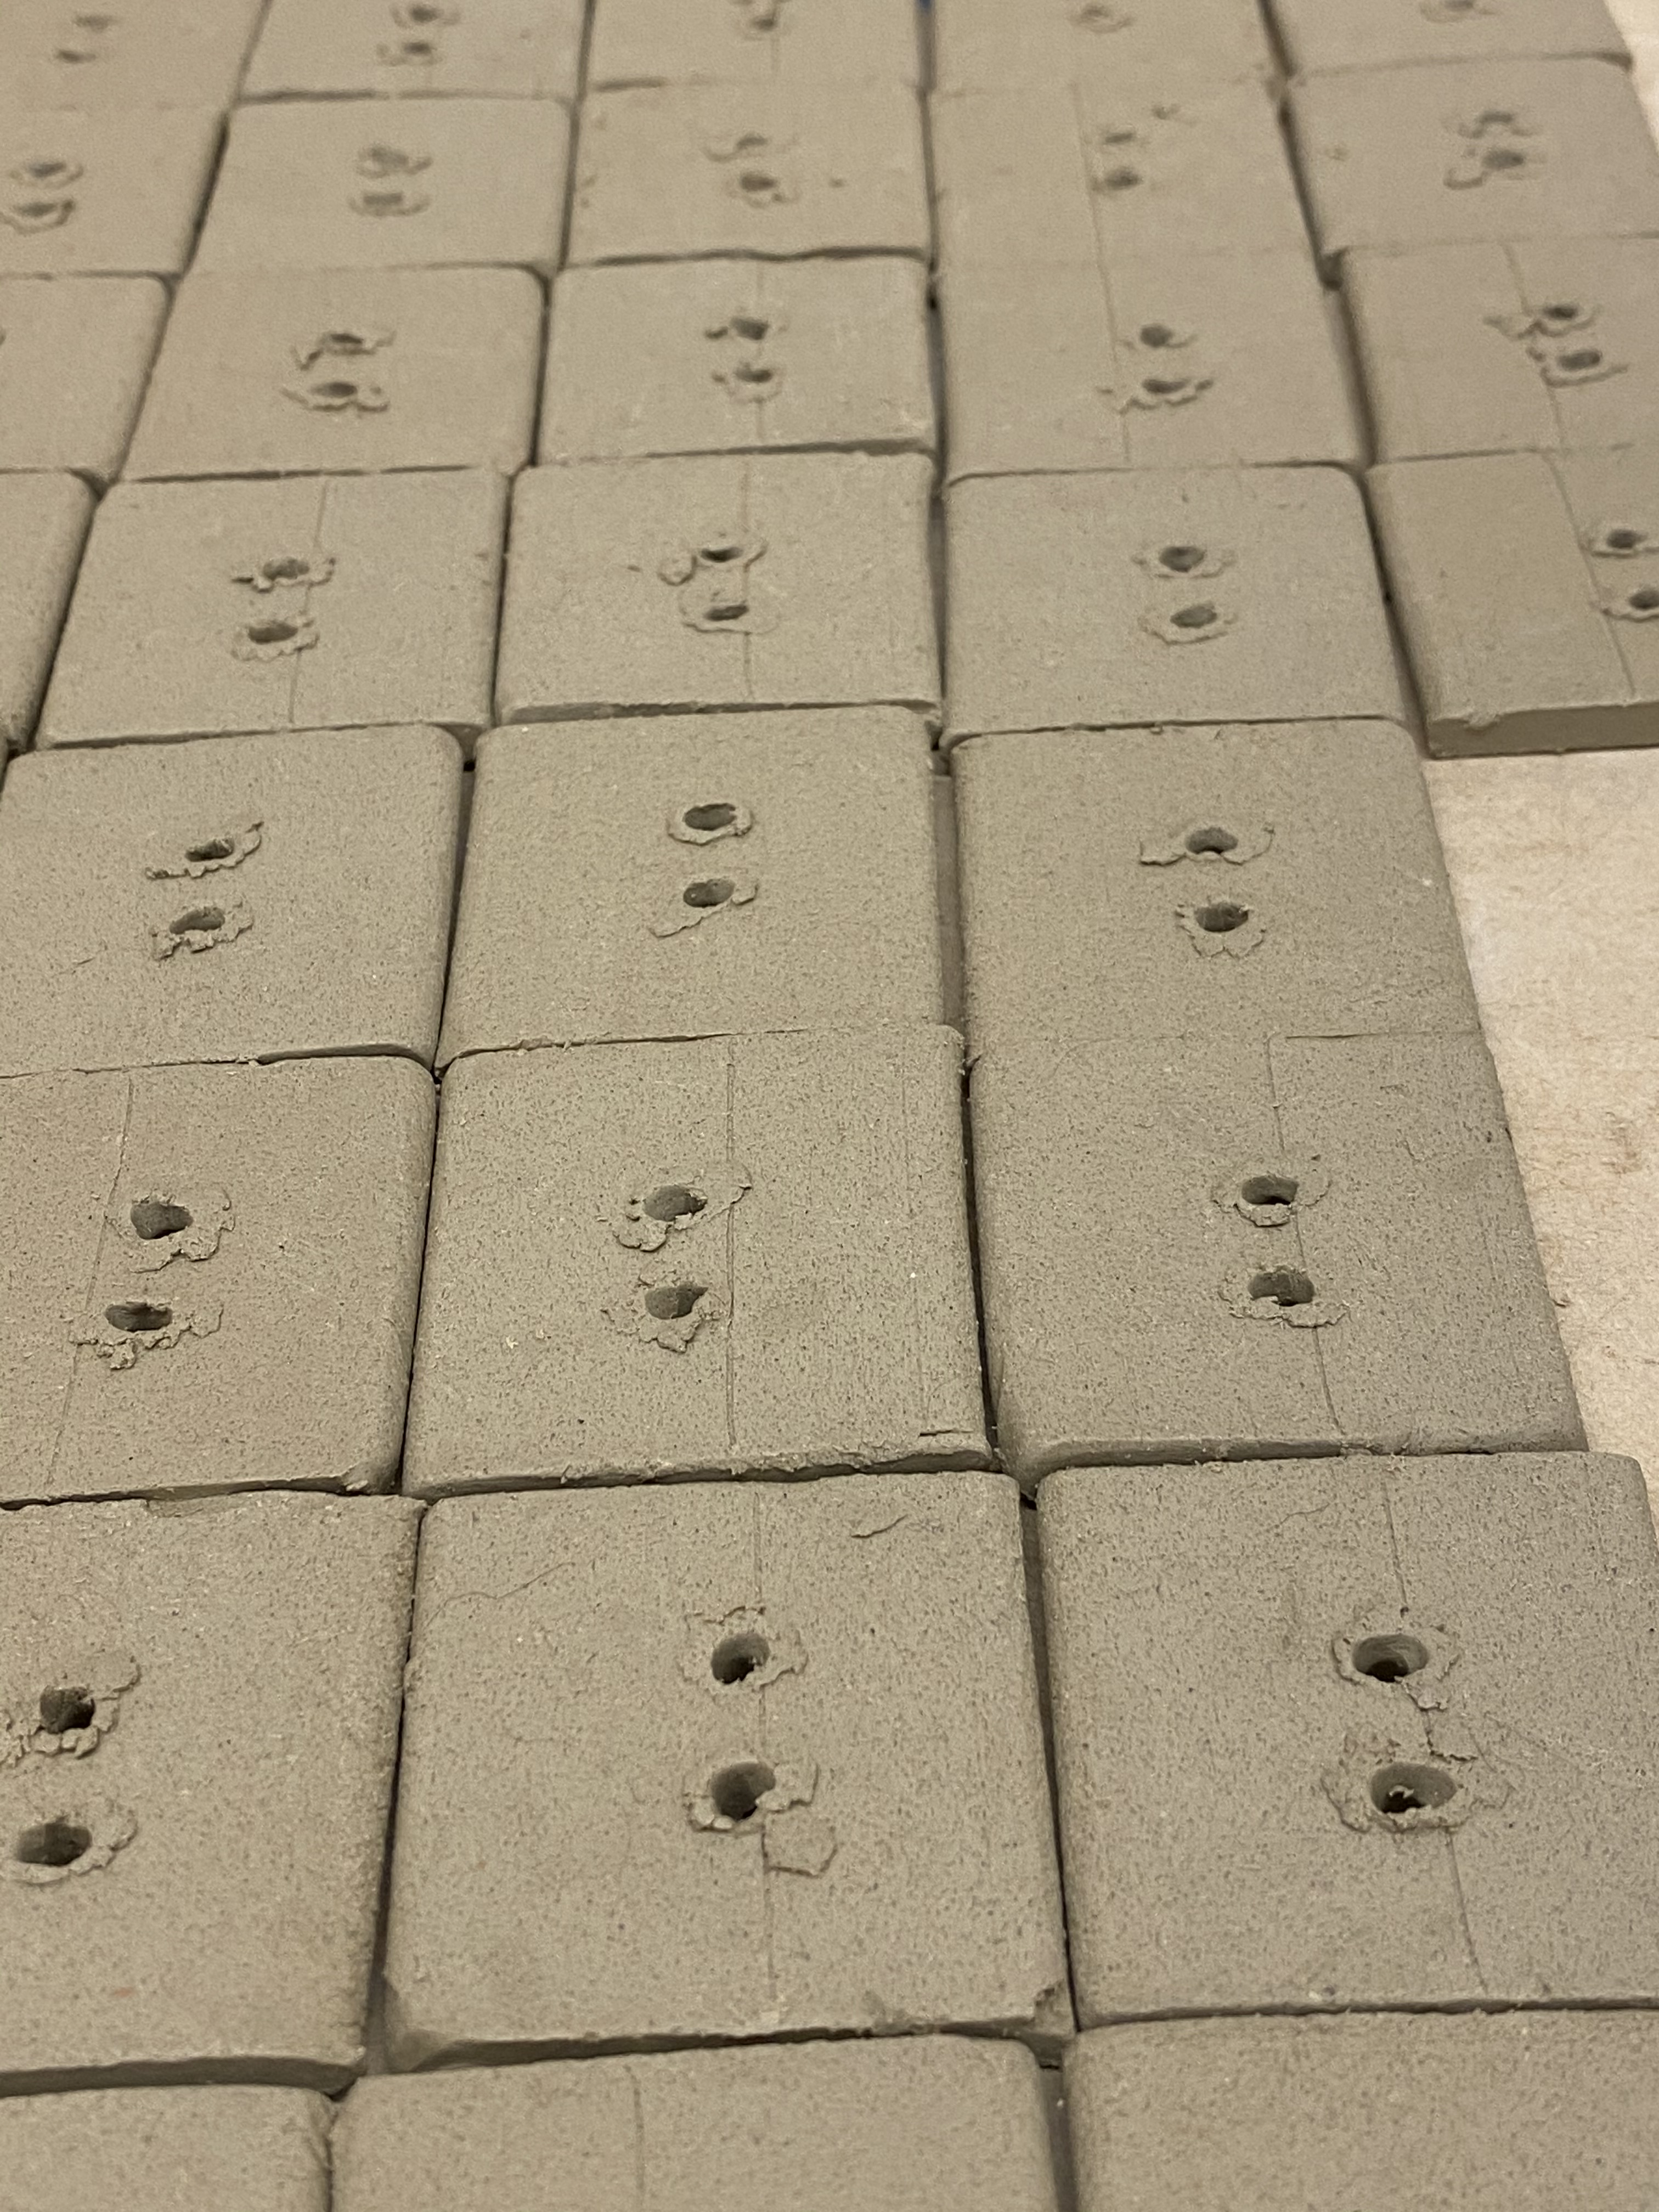

Use any cone 5-10 stoneware or raku clay body for ceramic buttons.

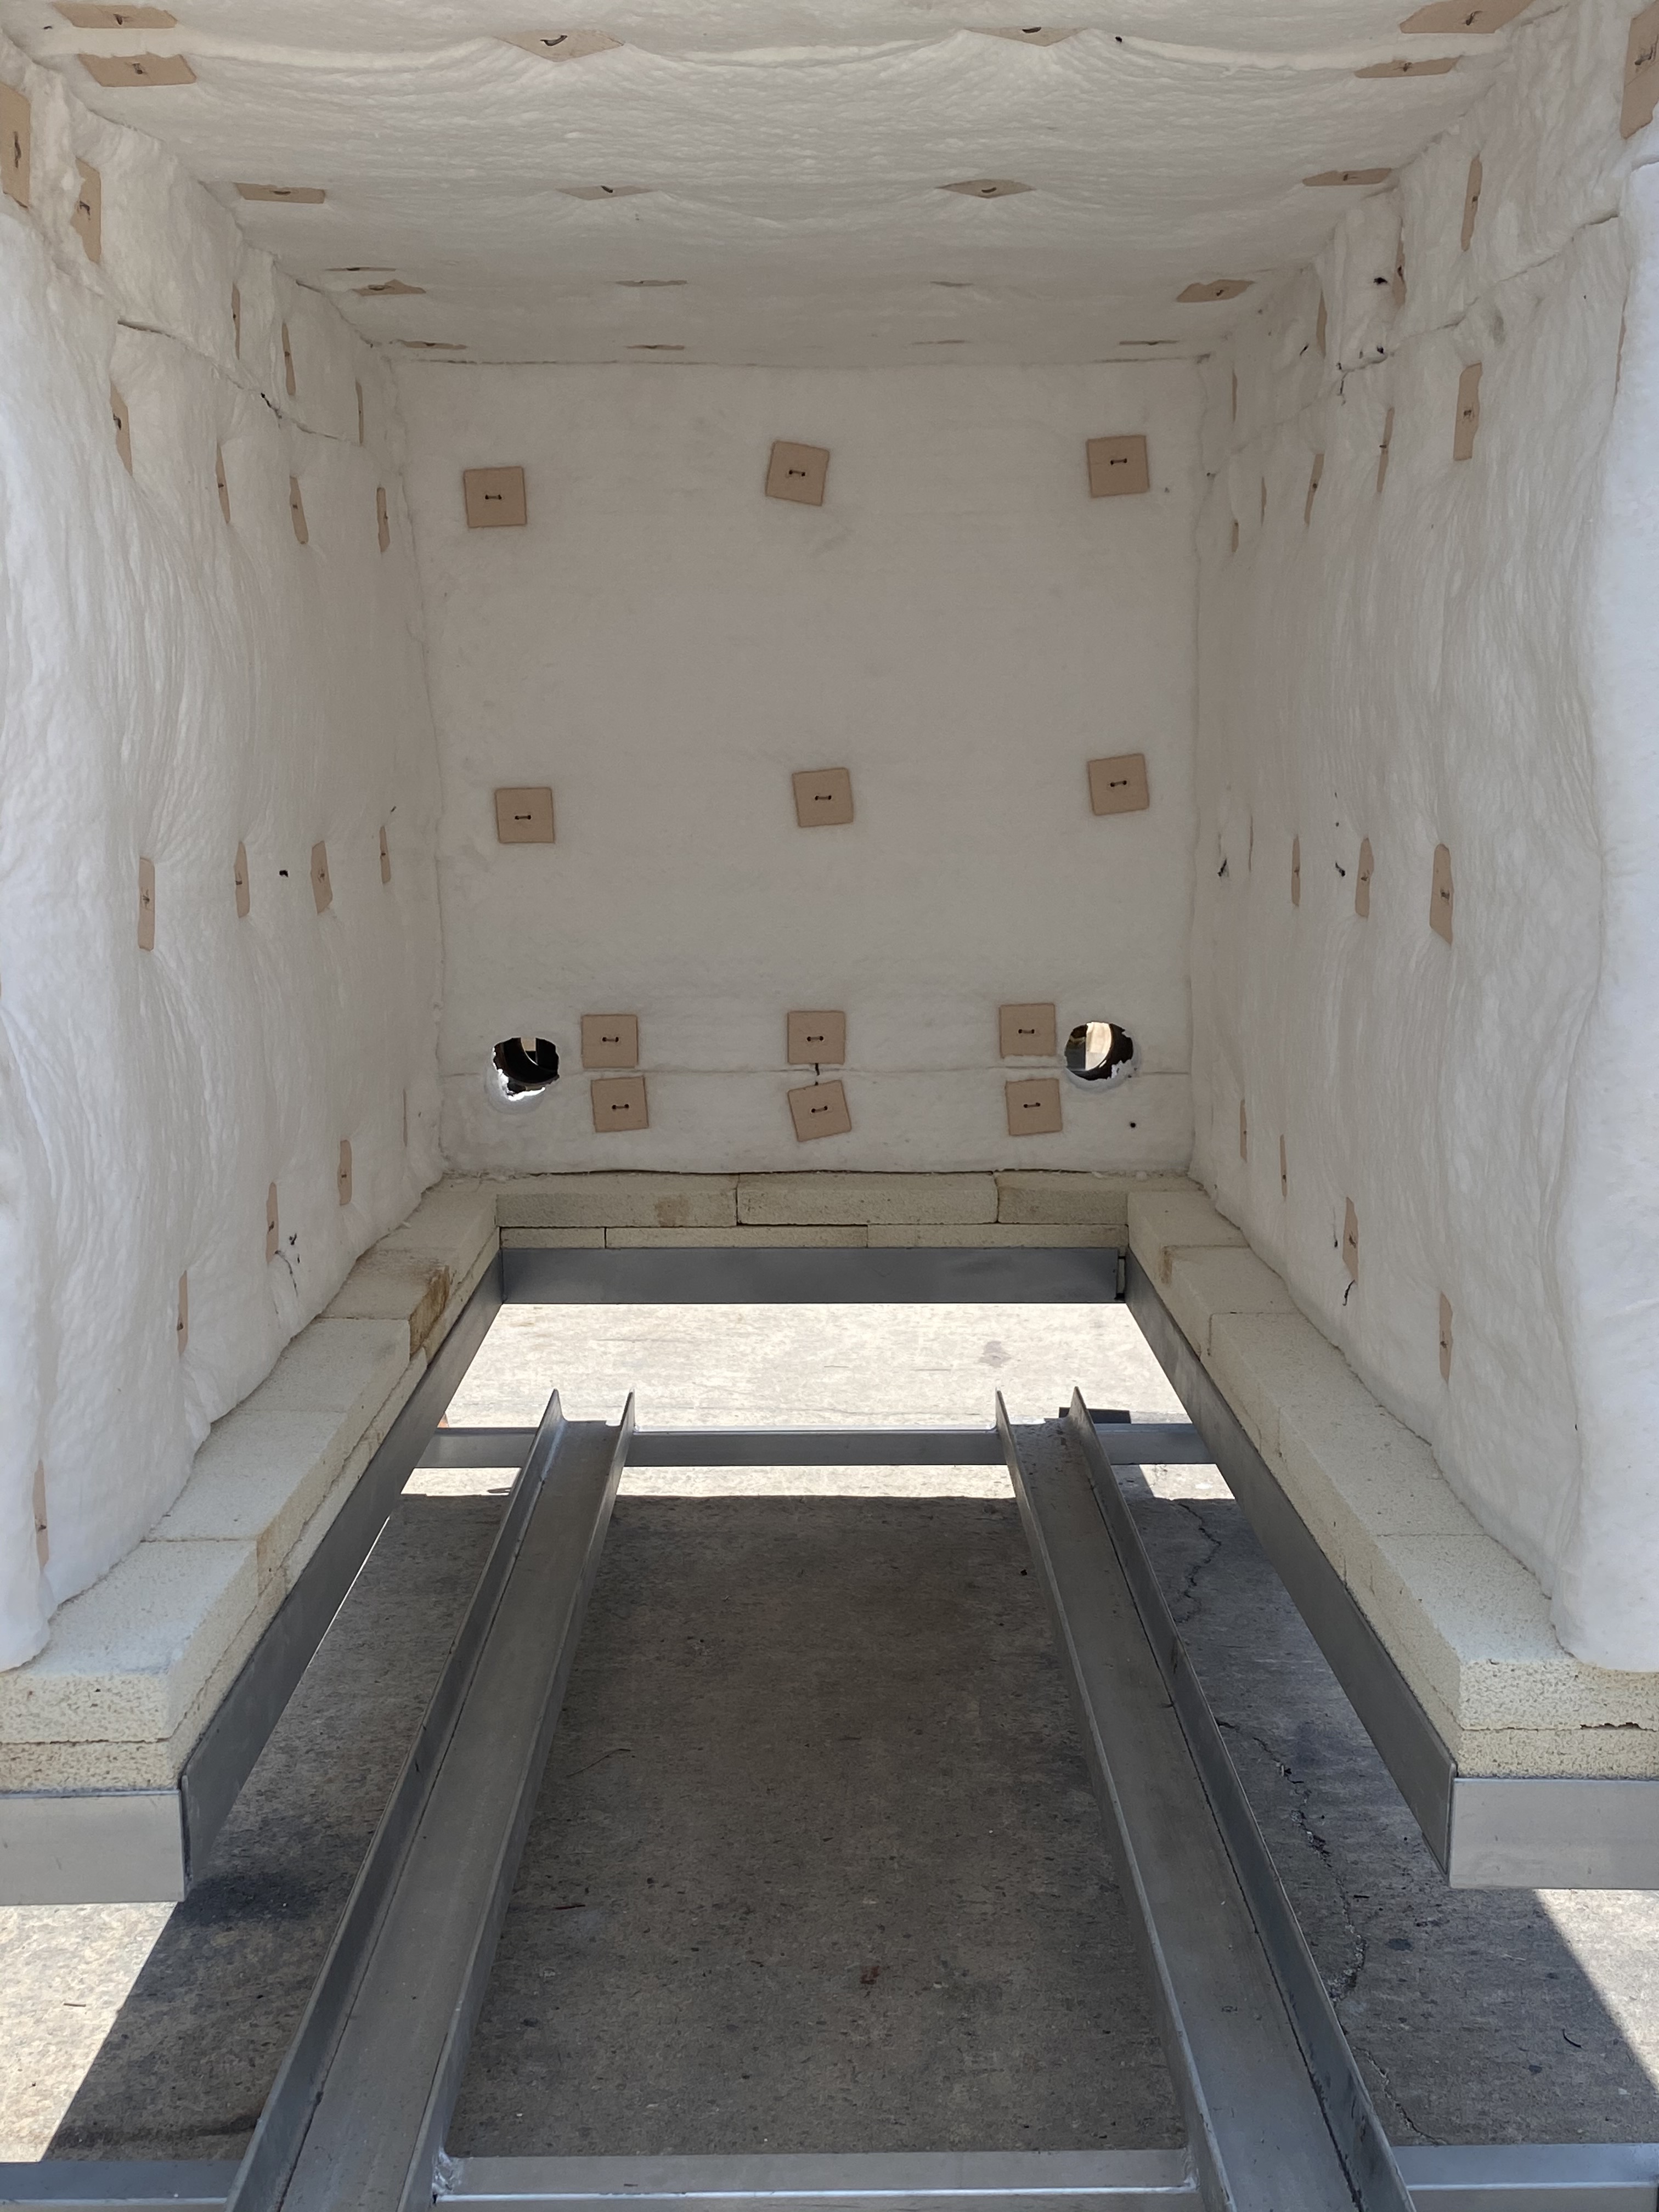
1 inch fiber blanket in place with nichrome wire. Then a second, overlapping layer is held in place with ceramic buttons and 15 gauge nichrome wire.


Measure placement of burners so they are about 2-3 inches above the outside edge of the floor. 2 burners are used to open up the middle of the kiln for placing wares and to deliver a balanced application of heat down the length of the kiln interior. Measure the height of the burners to determine the placement of the burner mounting plates. Then mark and cut out the expanded metal.


A soda can can be cut in half and screwed through the fiber to cut the hole. You can also wrap the fiber around the burner tube to hold the cutting edge of the soda can in a round shape. The burner bracket has been extended for better support of the burner. 18 inch wheels have been added for easy moving around the gravel grounds and Bombay Beach Arts and Culture. Wear gloves so you don’t cut your fingers and a N-95 face mask to keep the fibers out of your lungs.


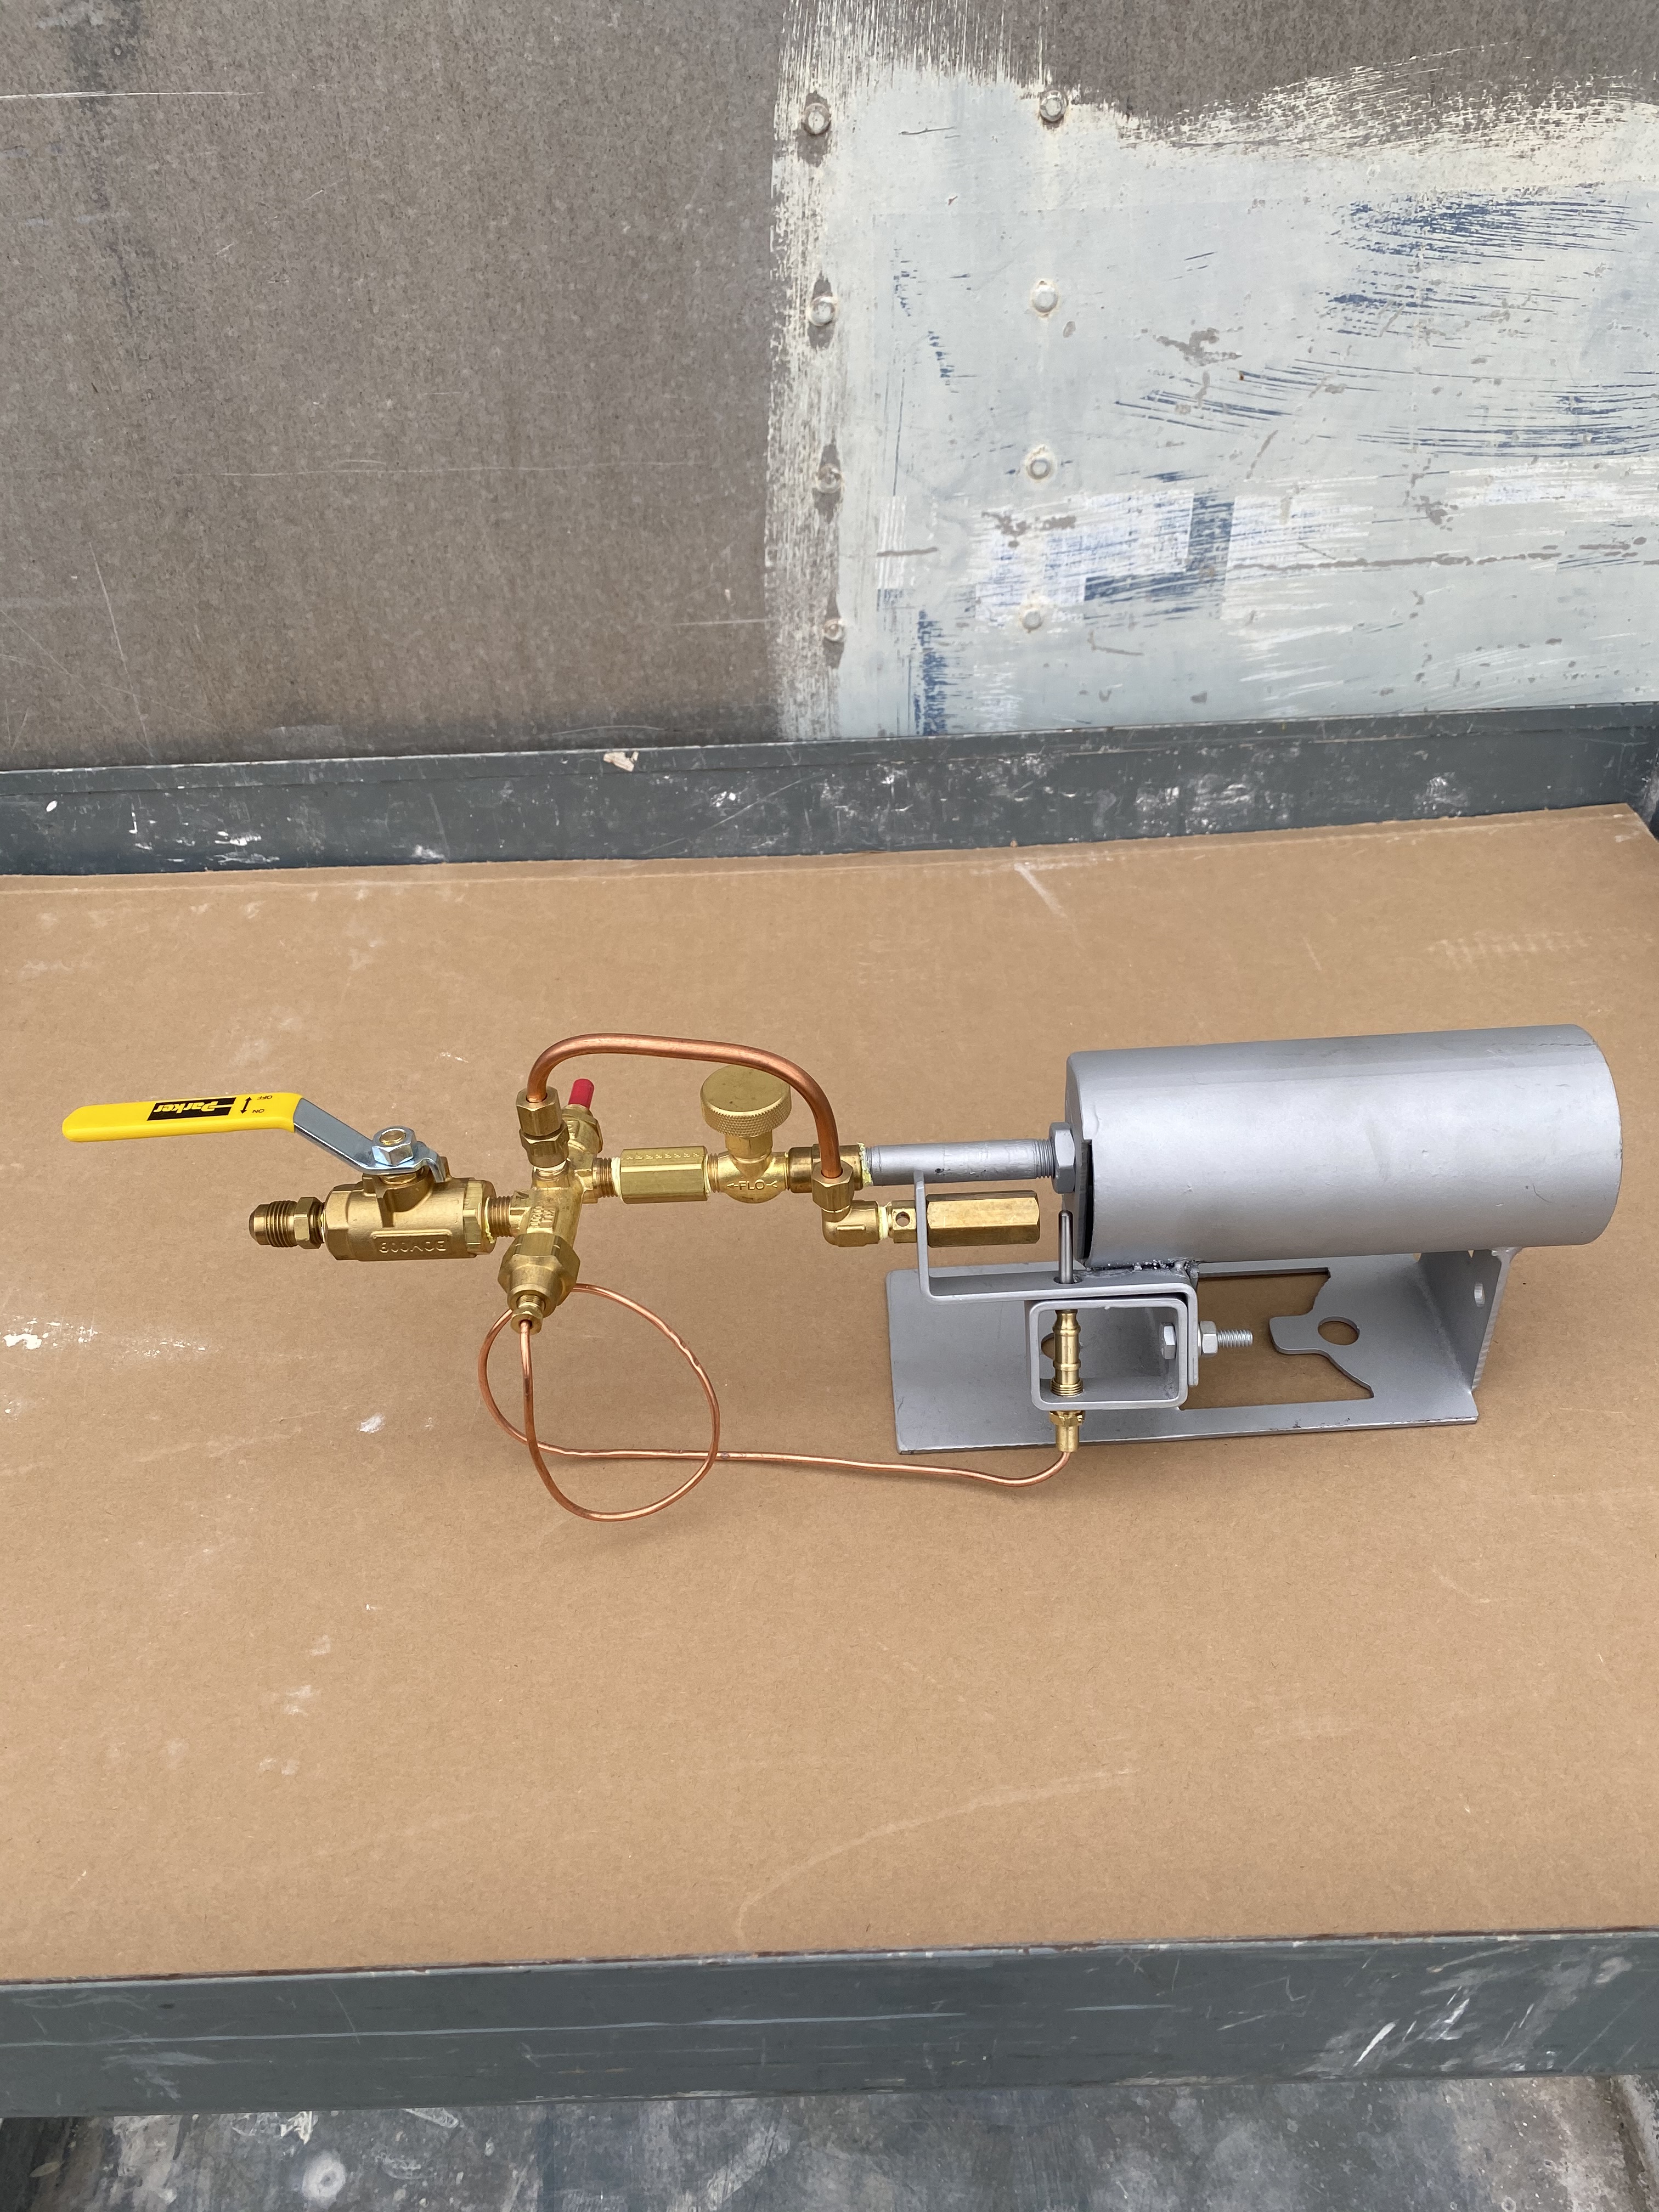
Burners are made by Burners Inc. 800-878-2876 burnersinc.com. These are a modified version of a FV-41 high pressure propane burner. Propane only. No natural gas. These run on 8 PSI and the kiln achieved 2050F in 30 minutes. The thermocouple pilot and bracket have been moved from the front of the burner to directly in front of the back of the burner tube. A pilot burner has been placed so the pilot flame heats the thermocouple and enters the back of the burner tube to ignite the burner. This is very stable and safe. There is a compression fitting at the back of the yellow-handled ball valve that connects to a 10 foot long, high pressure propane hose. The burners are held in place with small C clamps.


Place the peep hole at a height above where you will be placing shelves. (12 inches?) Form a cone holder built into a hand-thrown peep hole tube so you can easily see the cones. Use the soda can trick to cut the hole in the fiber. Then come around to the front of the door and remove expanded metal at the open of the peep hole tube.

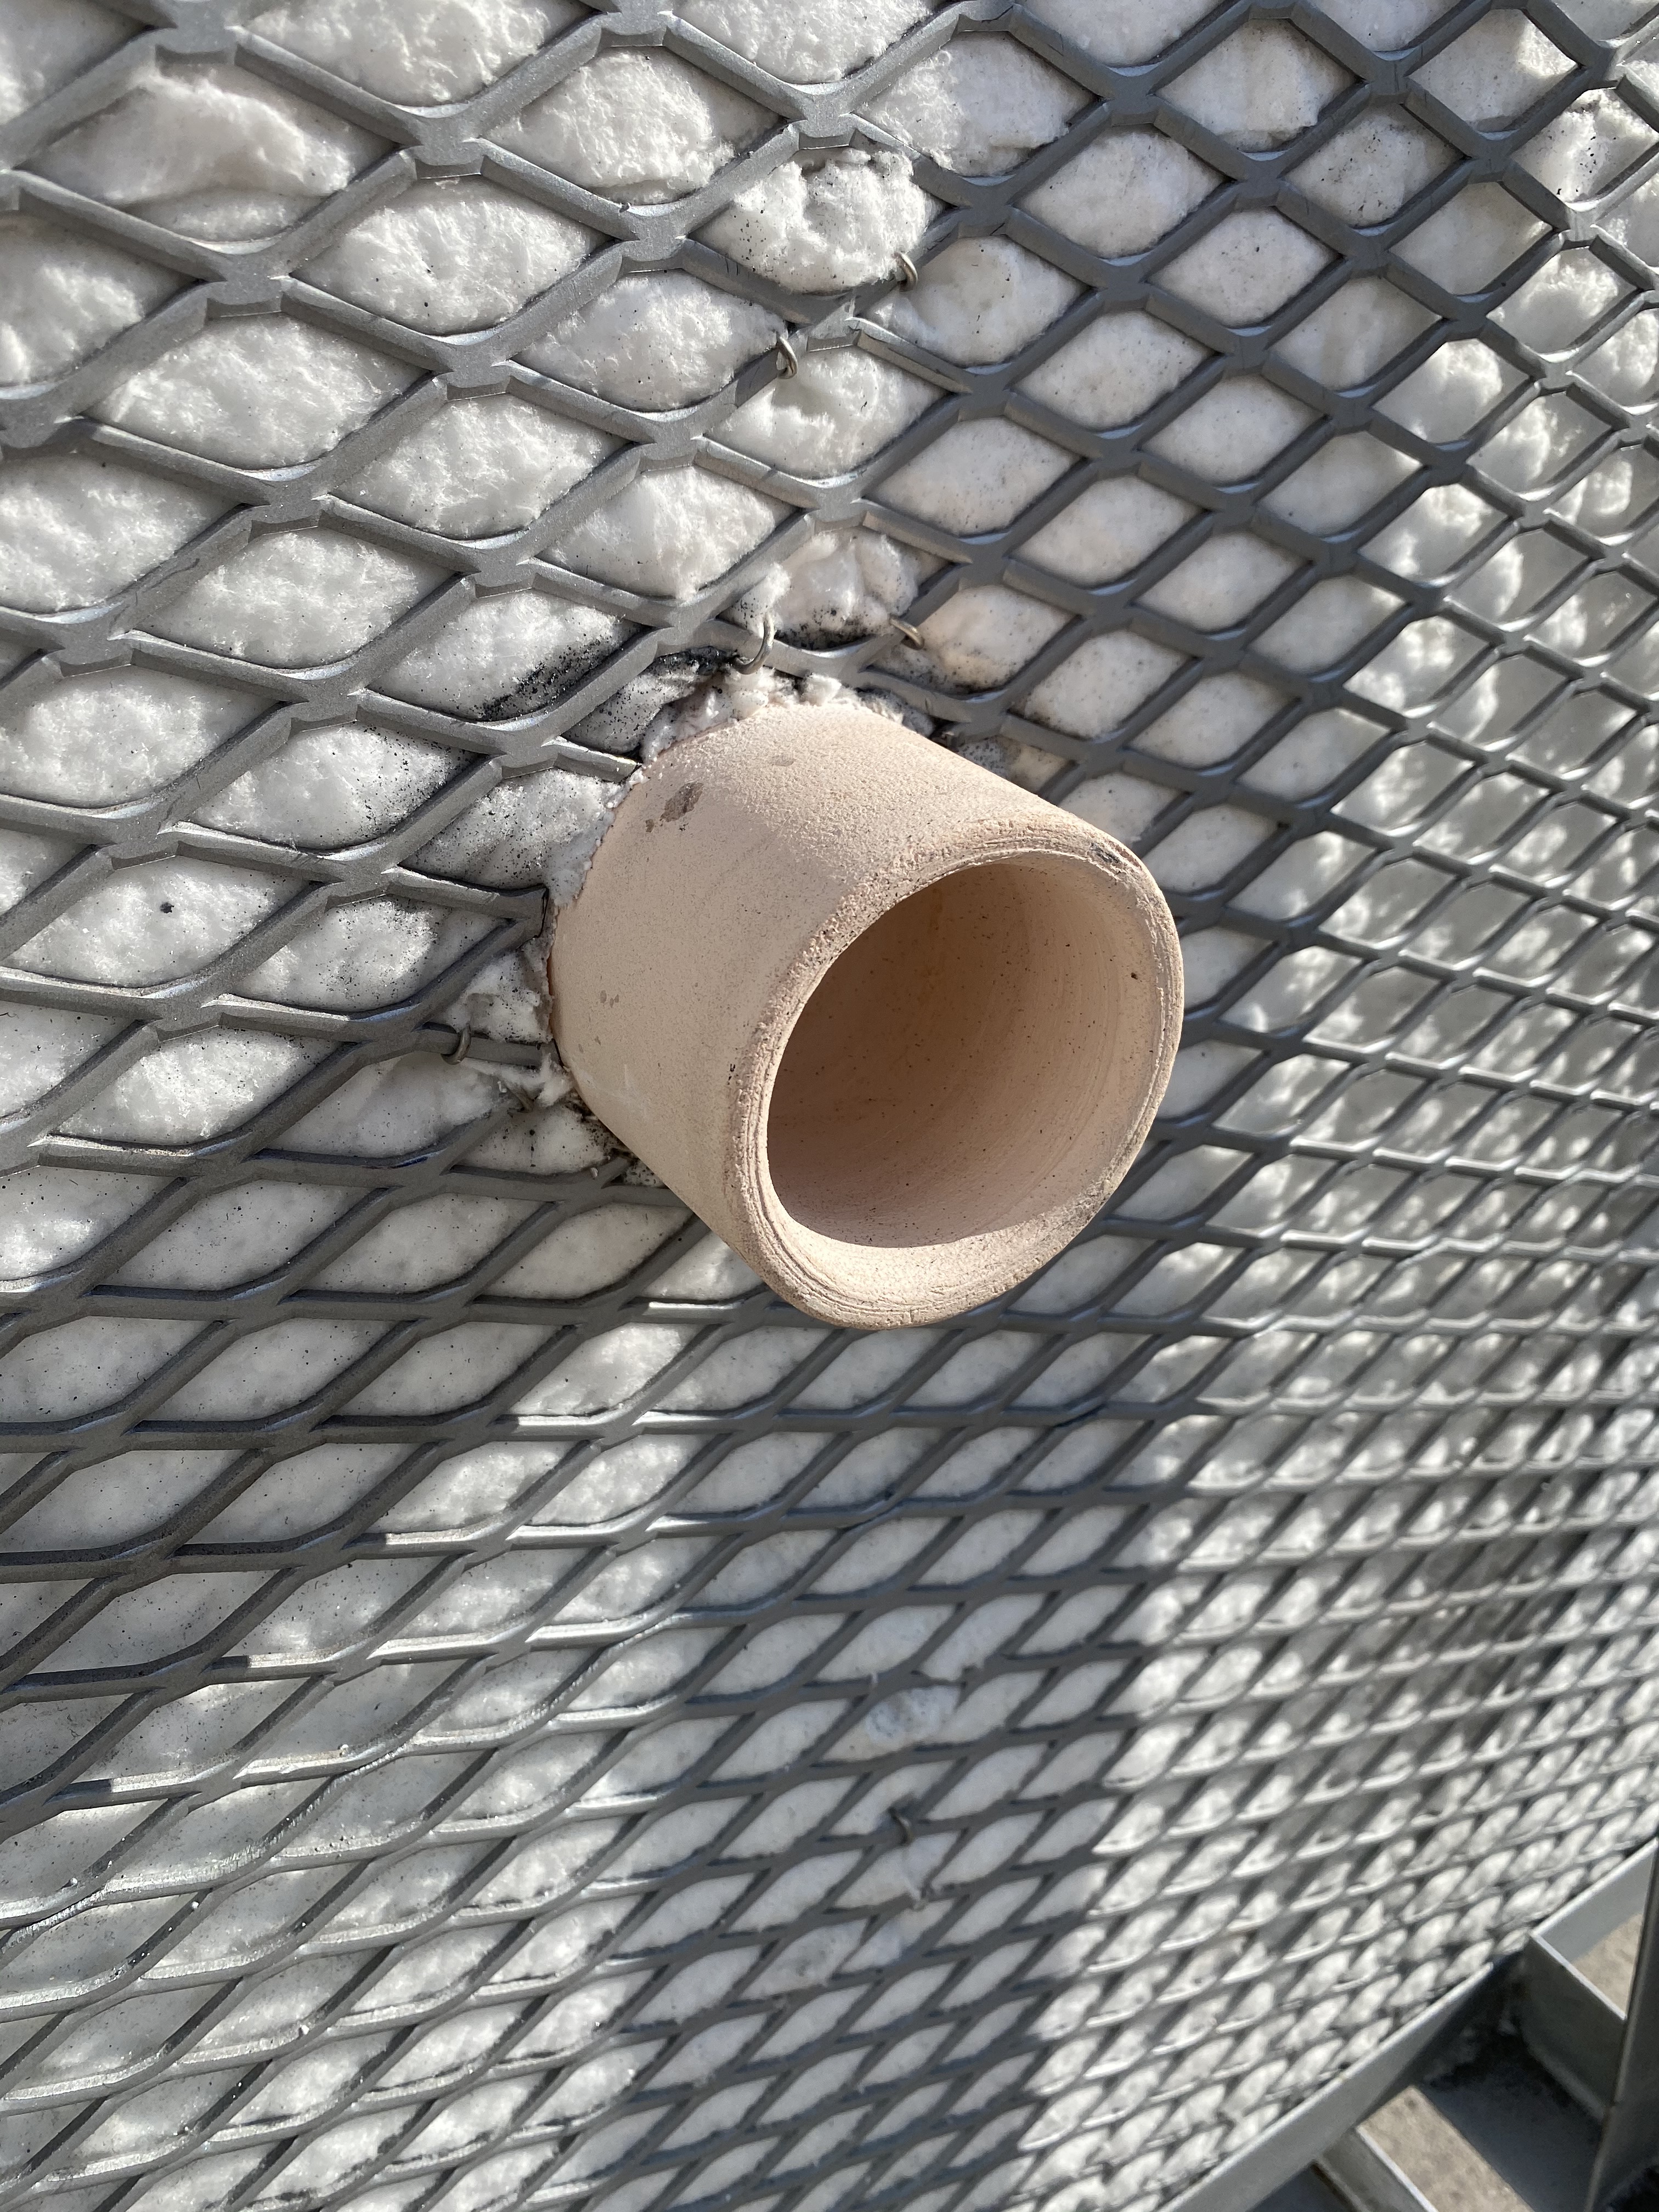
After the peep hole tube is compressed into the fiber wall, secure the peep hole with nichrome wire to the expanded metal frame.
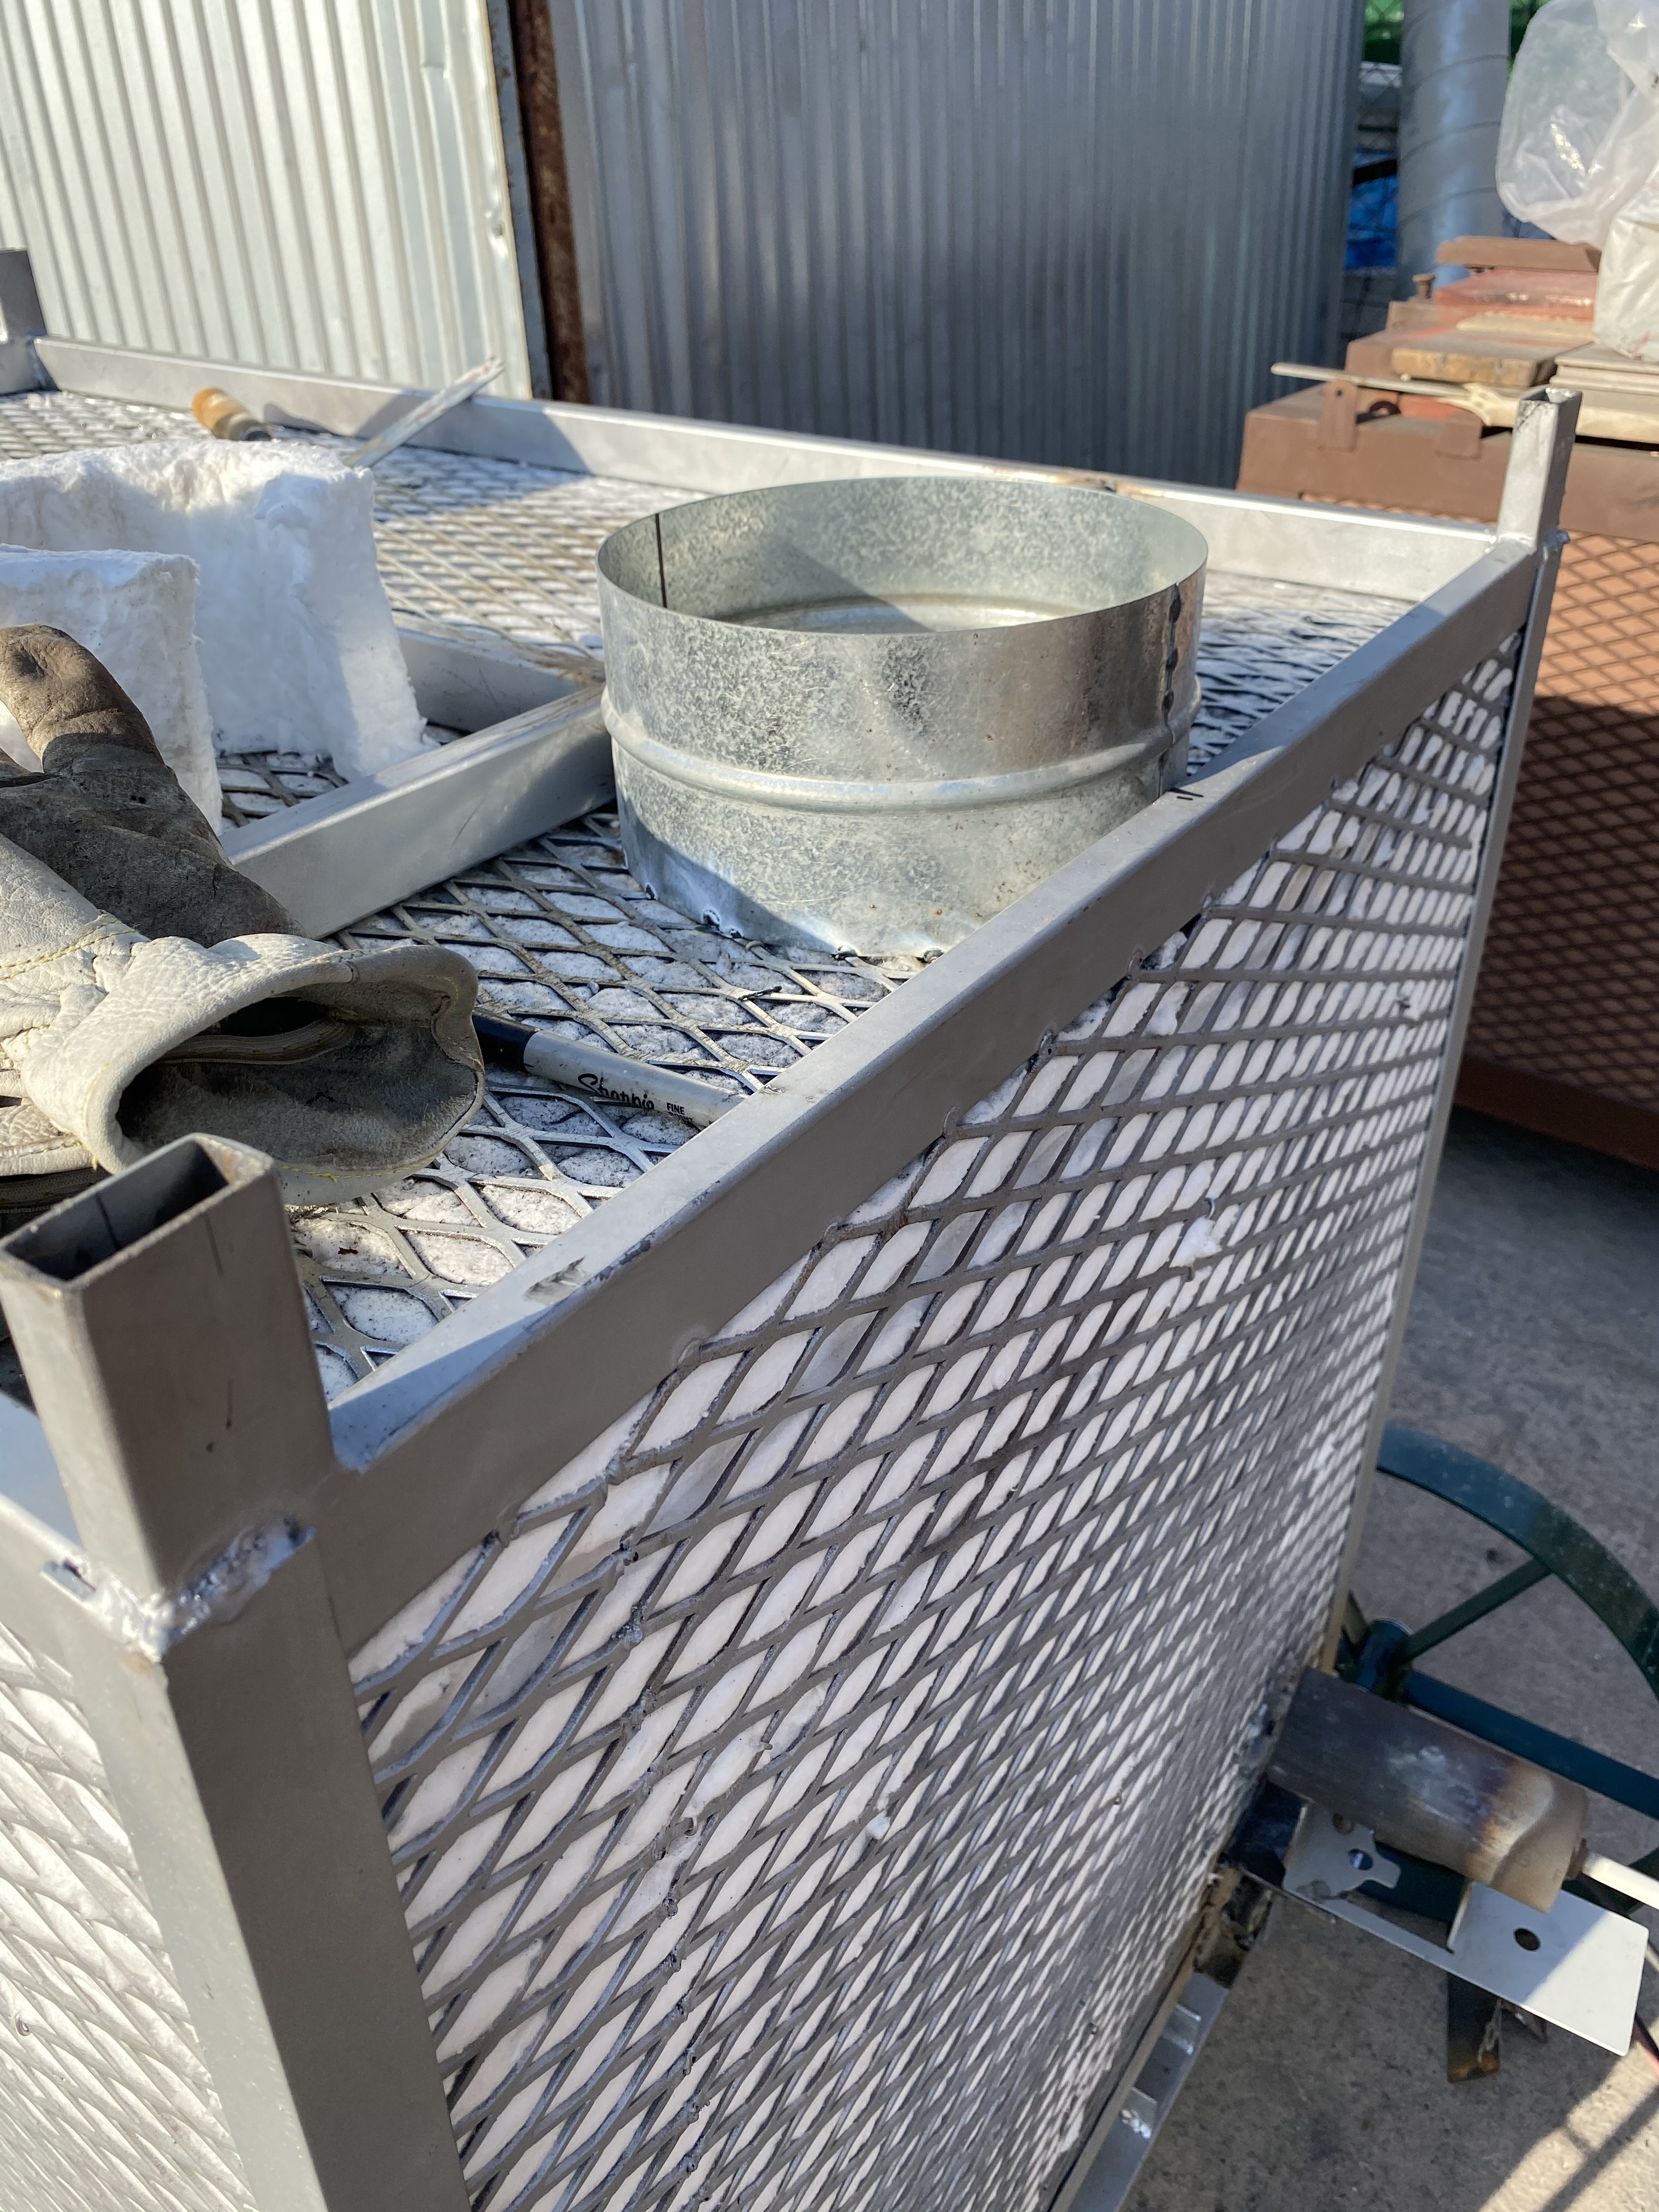
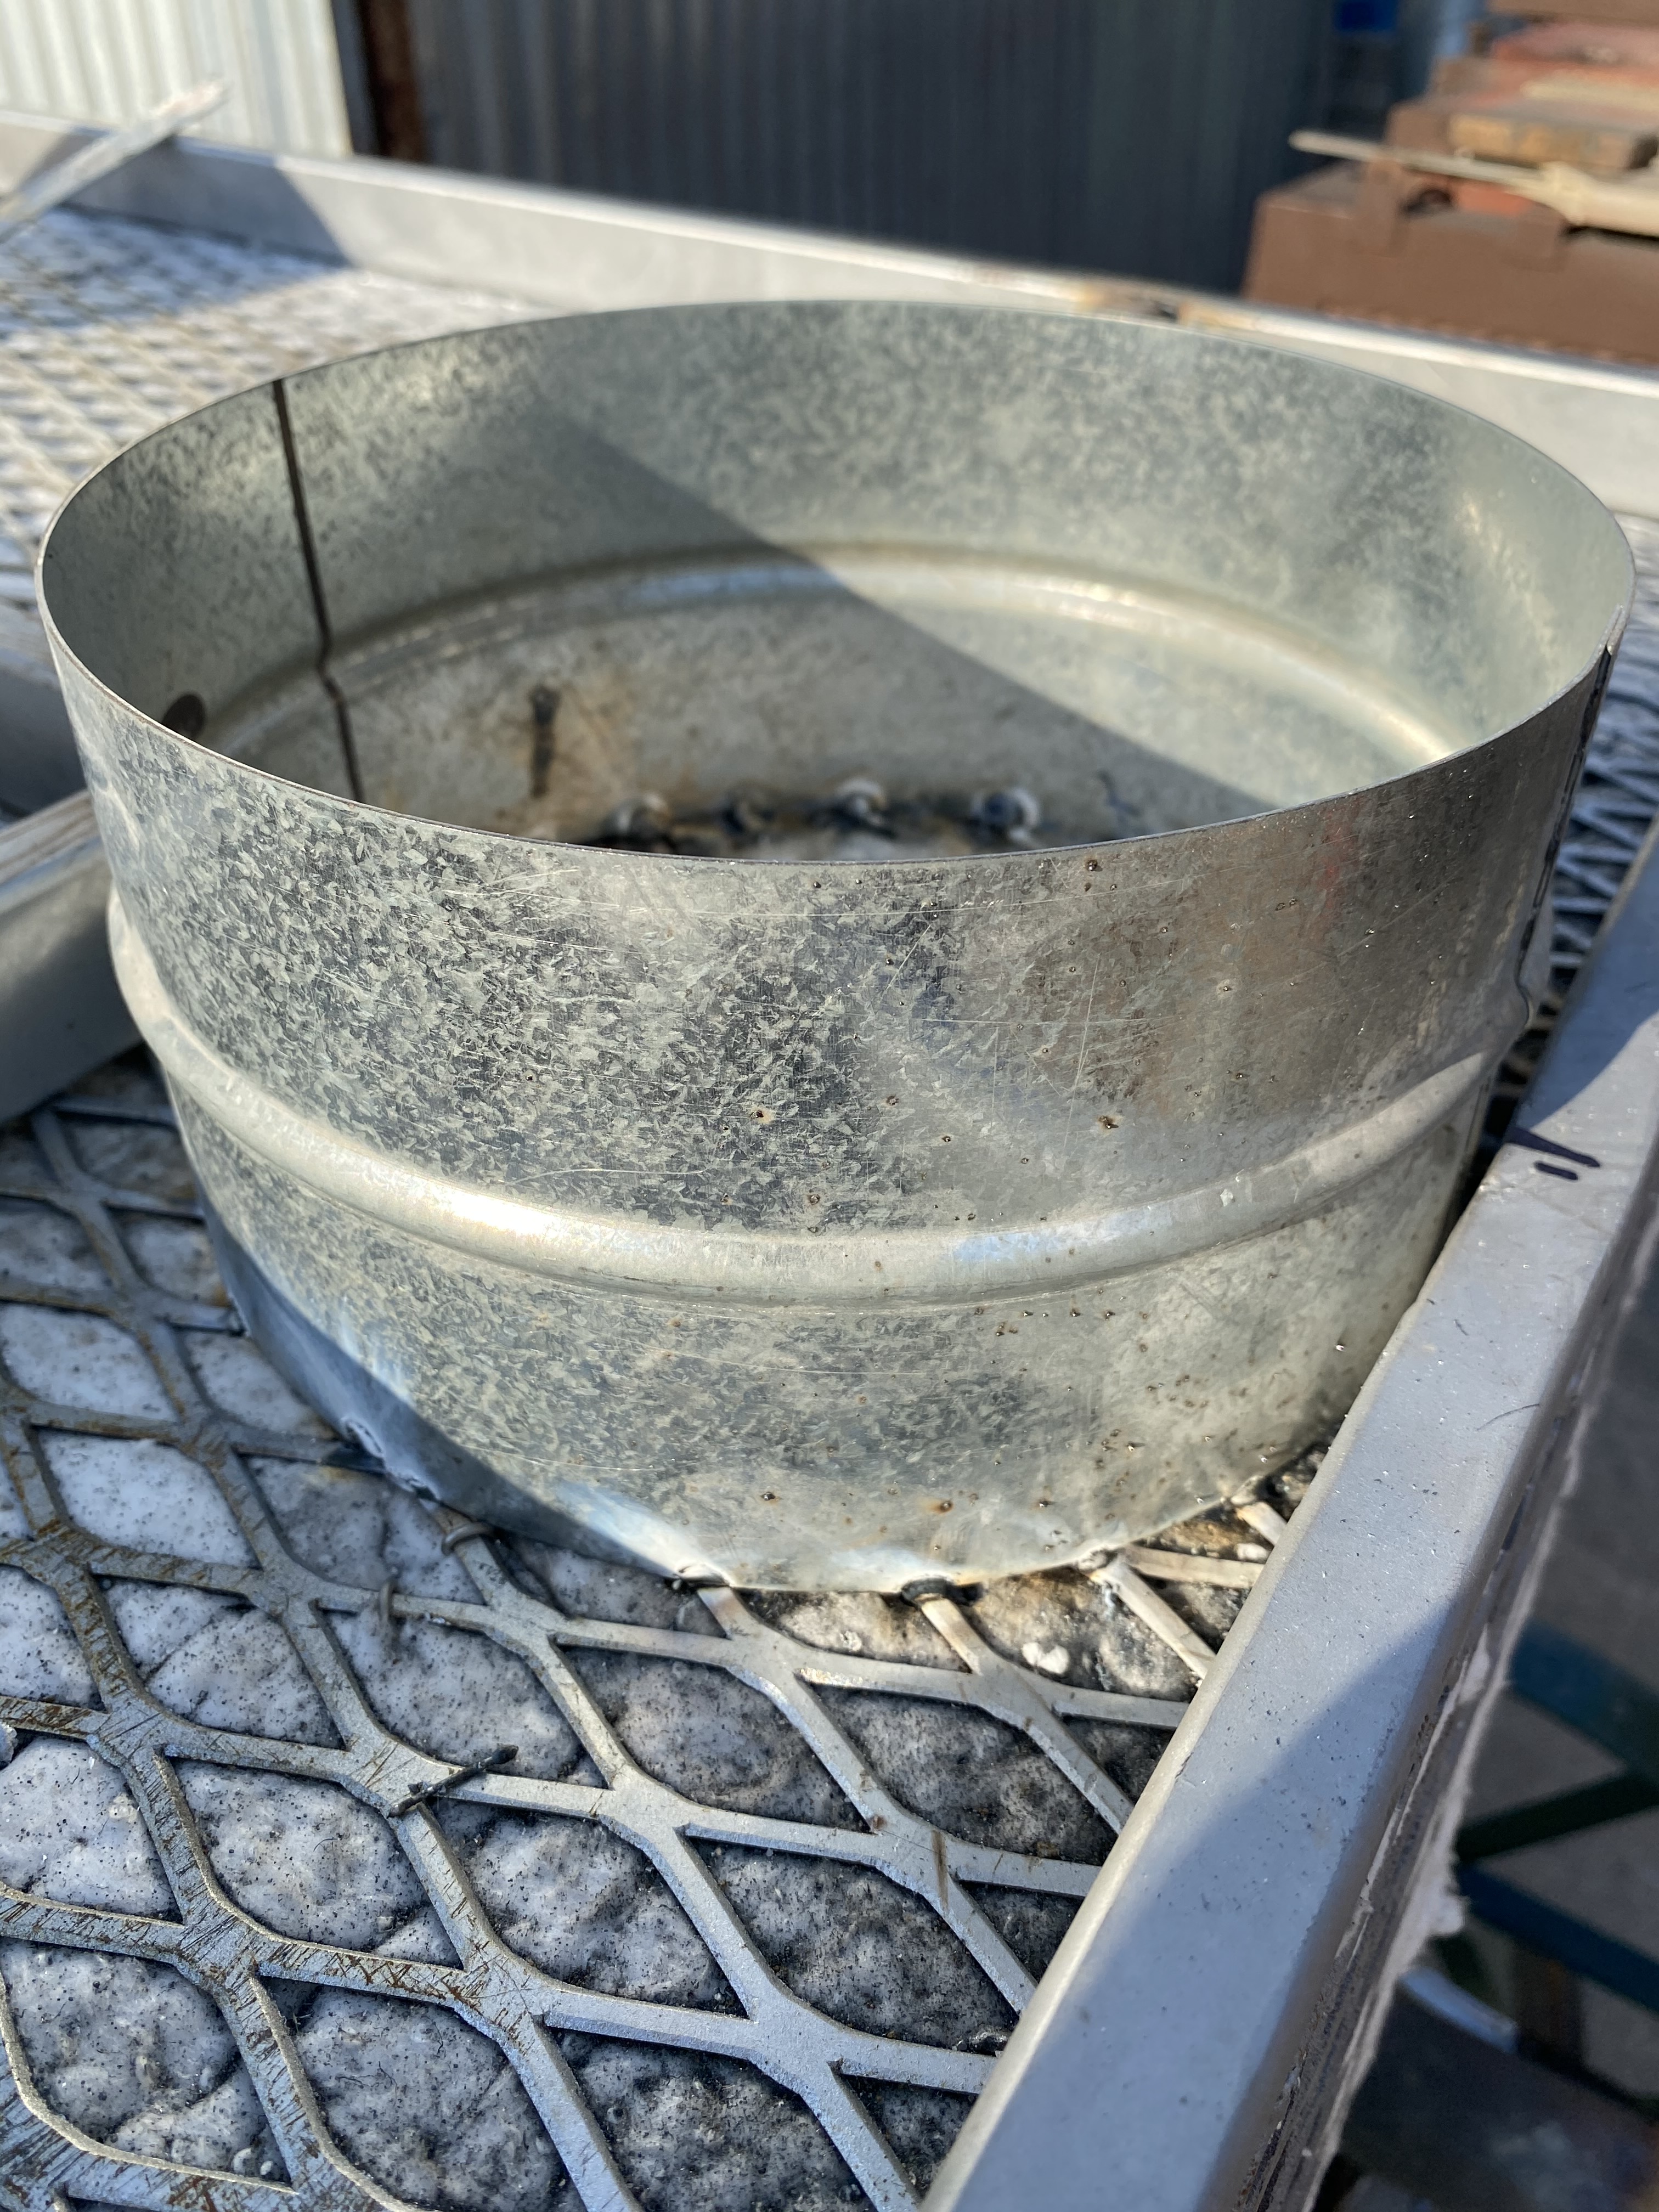
Center an 8 inch ducting collar at the rear of the kiln and spot weld in place.

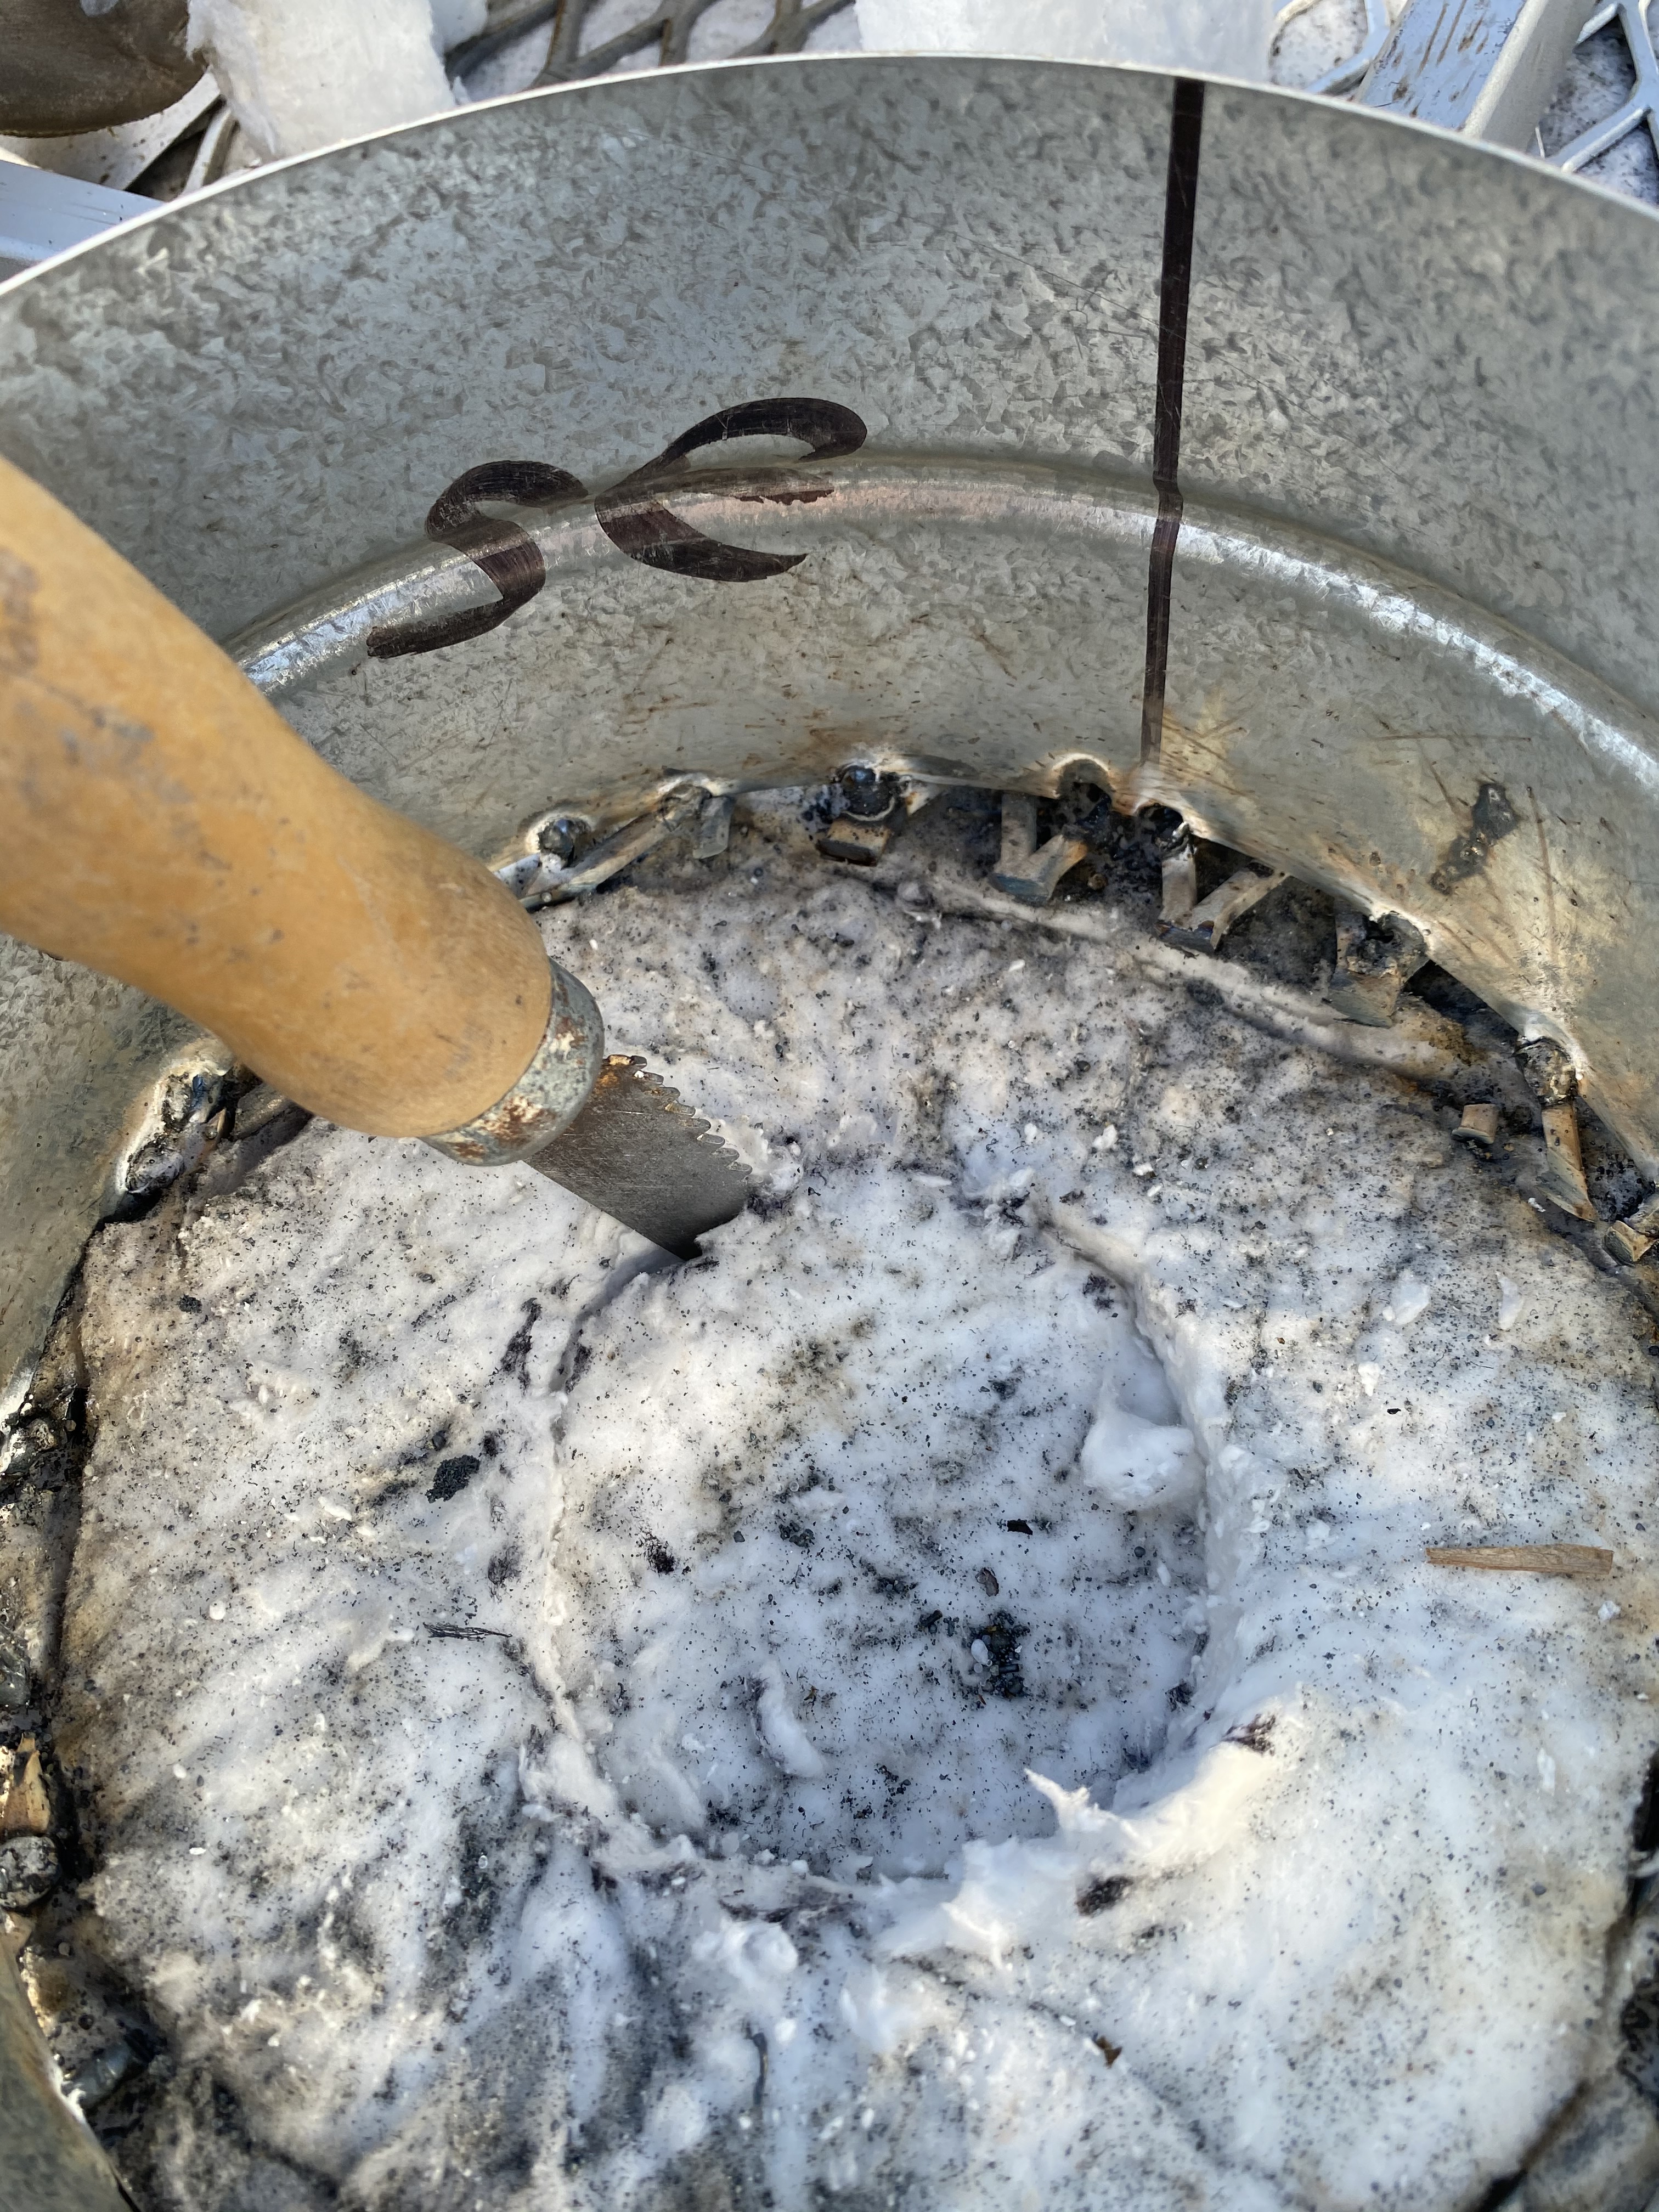
Place 2 inches of overlapping fiber into the collar. Then mark the inside edge in order to know where to cut a hole into the roof. A loose piece of fiber blanket can be used as a crude damper over the flue hole to hole in the heat at lower gas pressures.

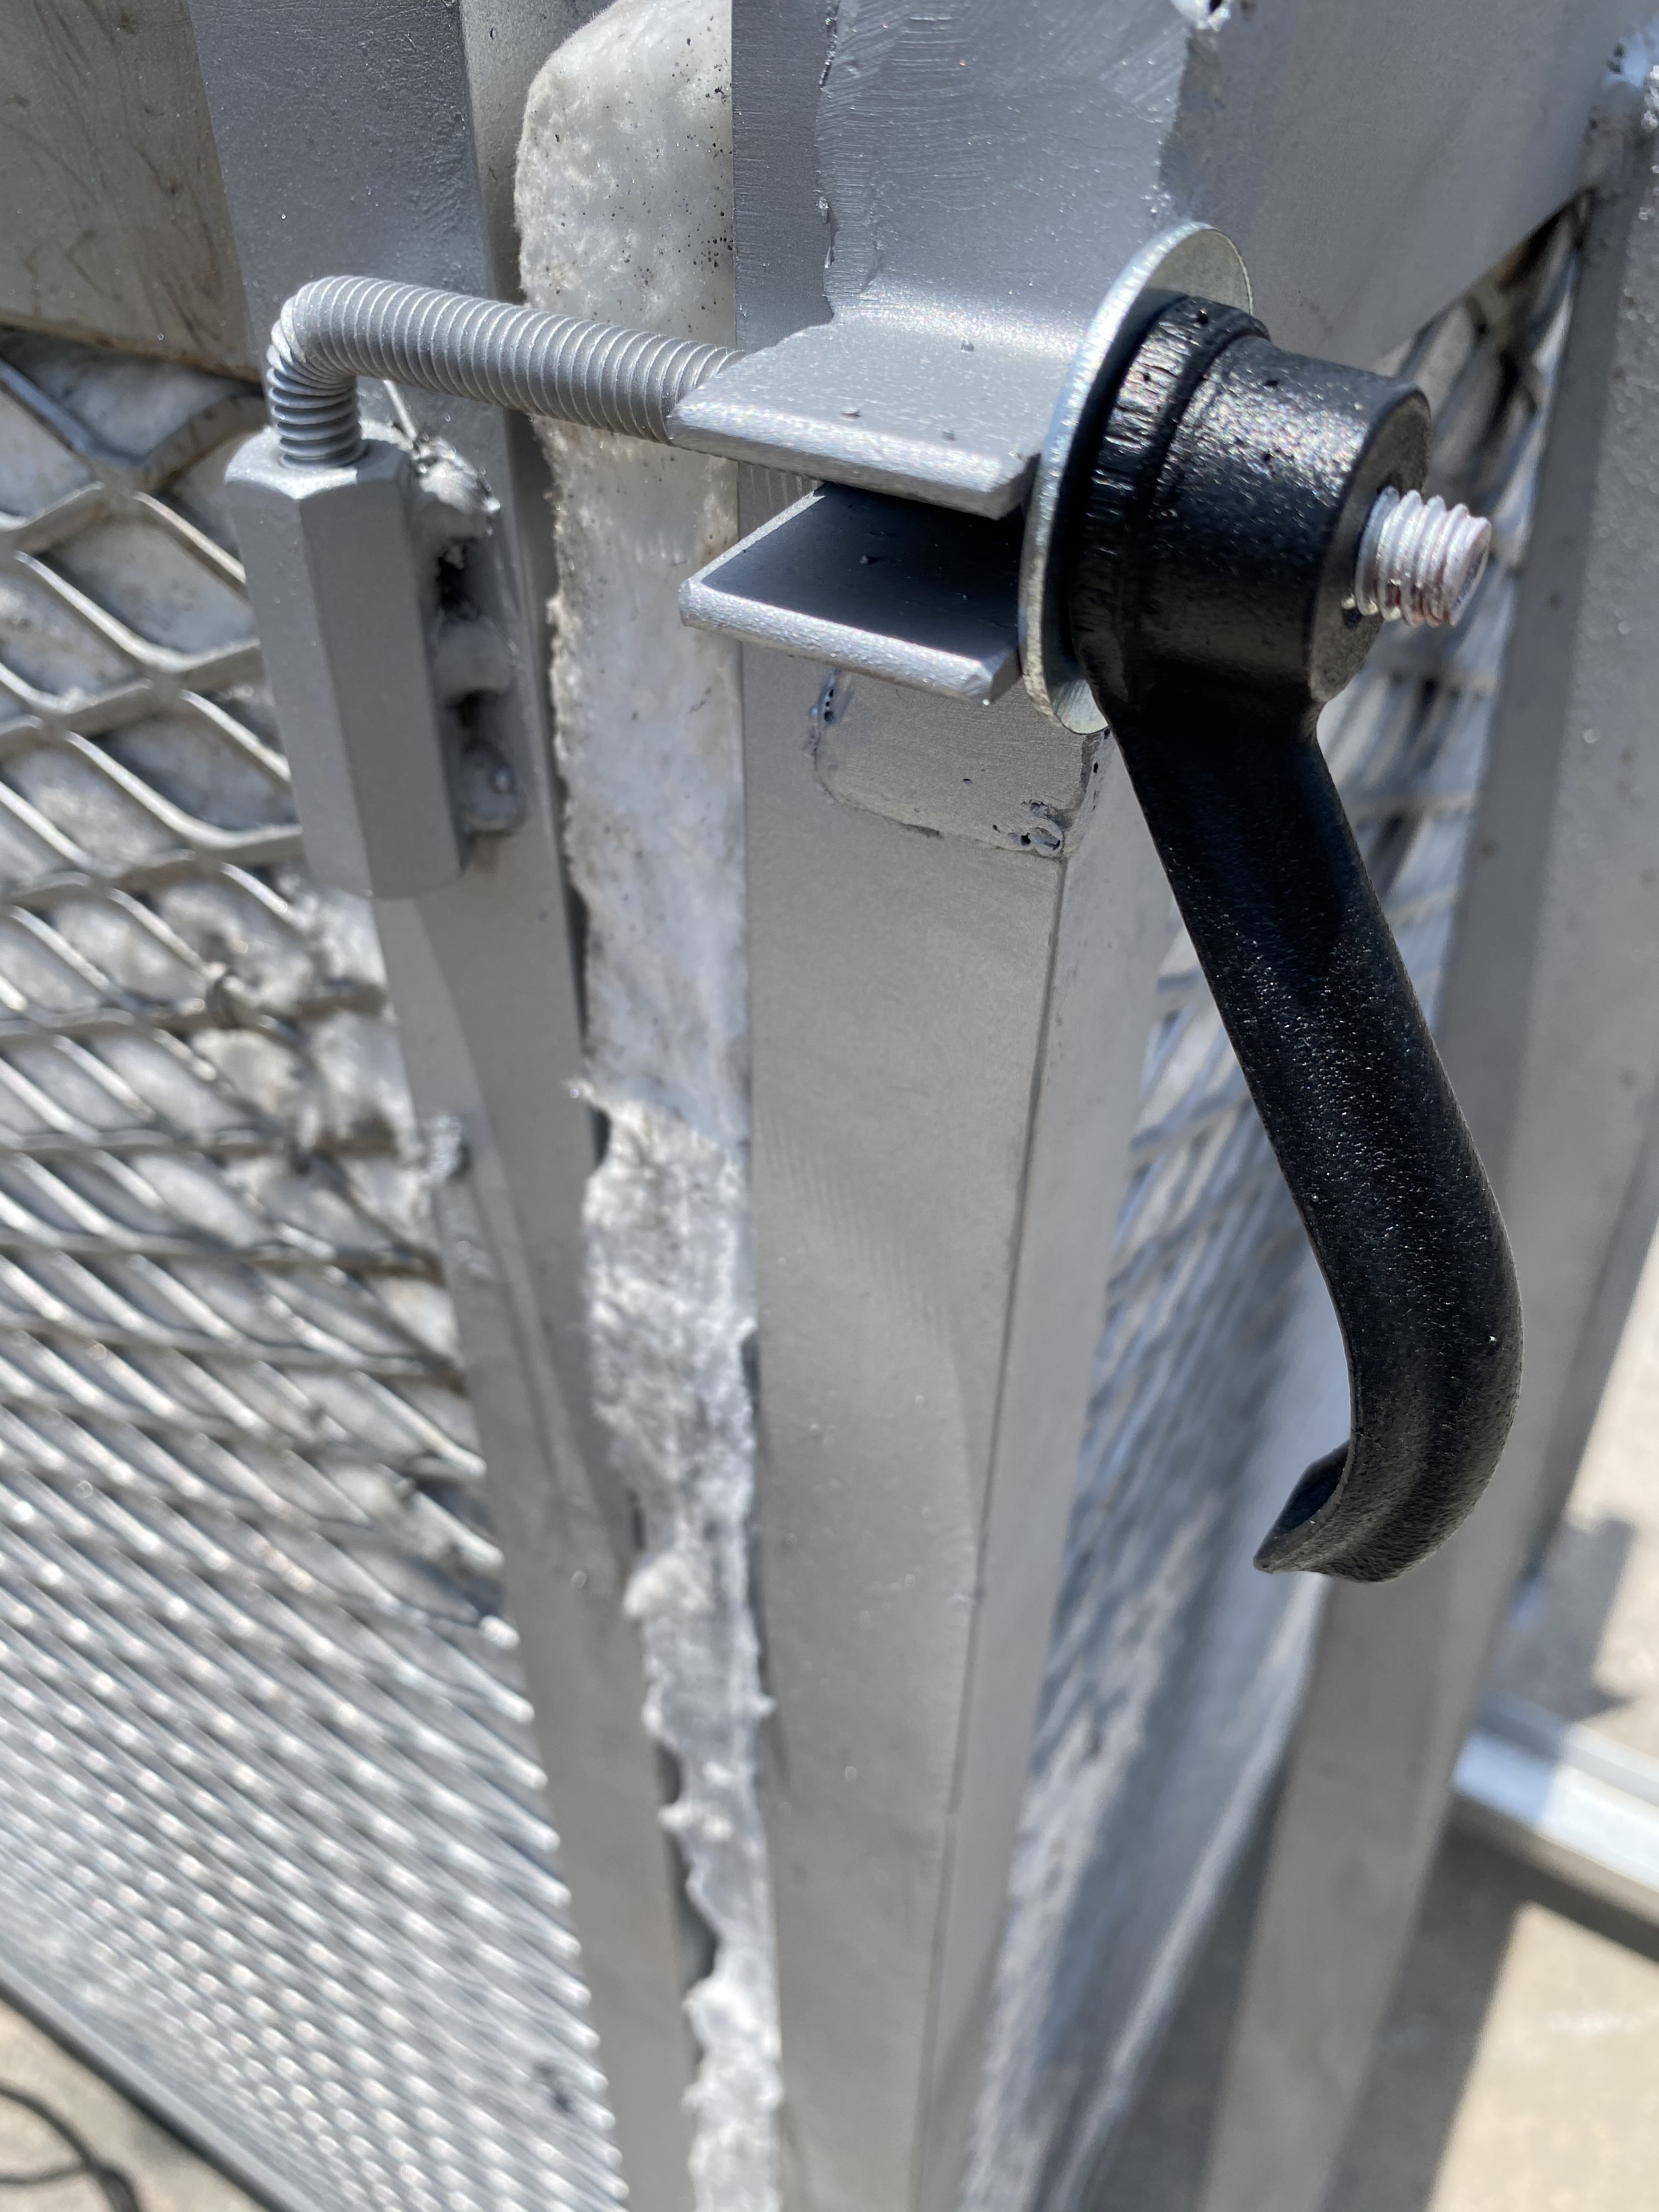
Sheet metal skins are self-tap screwed into 2 inch angle iron tabs that are welded into the frame. This gives the kiln a more finished look. Note the 4 door latches that have handles that screw onto threaded rod. The threaded rod is heated and bent to 90 degrees and threaded into a long hex nut. The hex nut is then welded onto the frame and aligned with angle iron catches in the door frame.

A digital thermocouple is an essential tool for measuring your air/fuel ratio of the kiln by viewing temperature increases or drops related to adjustments in gas and flue settings. The most efficient air/fuel ratio is the complete combustion of the fuel – CO2.

 copy")


")
")


