
(Another post by Hideo Mabuchi)
As some of you have heard off-and-on over the last year, I’ve been building a new Kazegama-style kiln up at Stanford University to use in ceramics and applied physics teaching. It is 100% inspired by what Steve has demonstrated but we thought it would be fun to try experimenting with some slightly different materials and design choices.
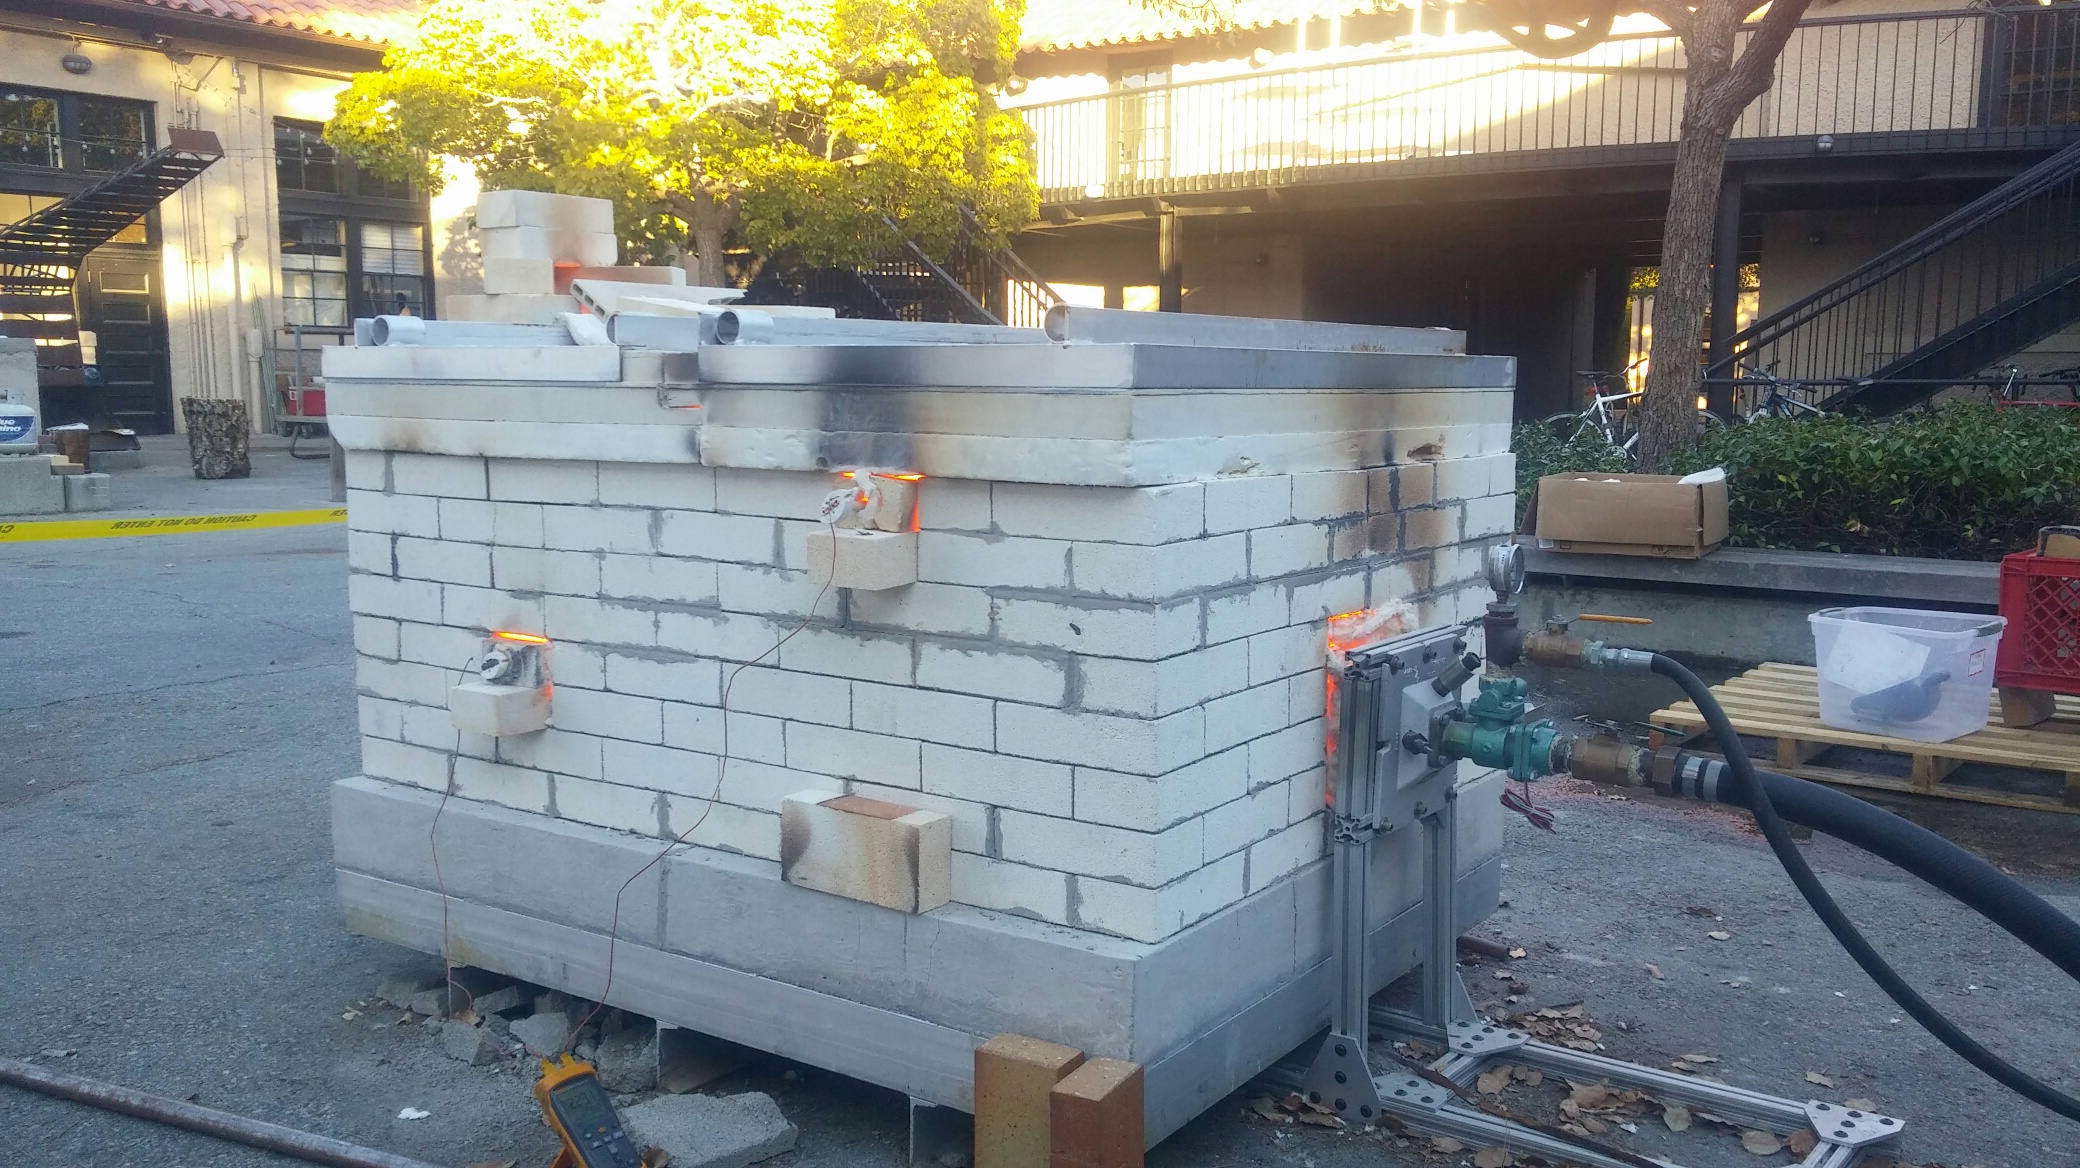
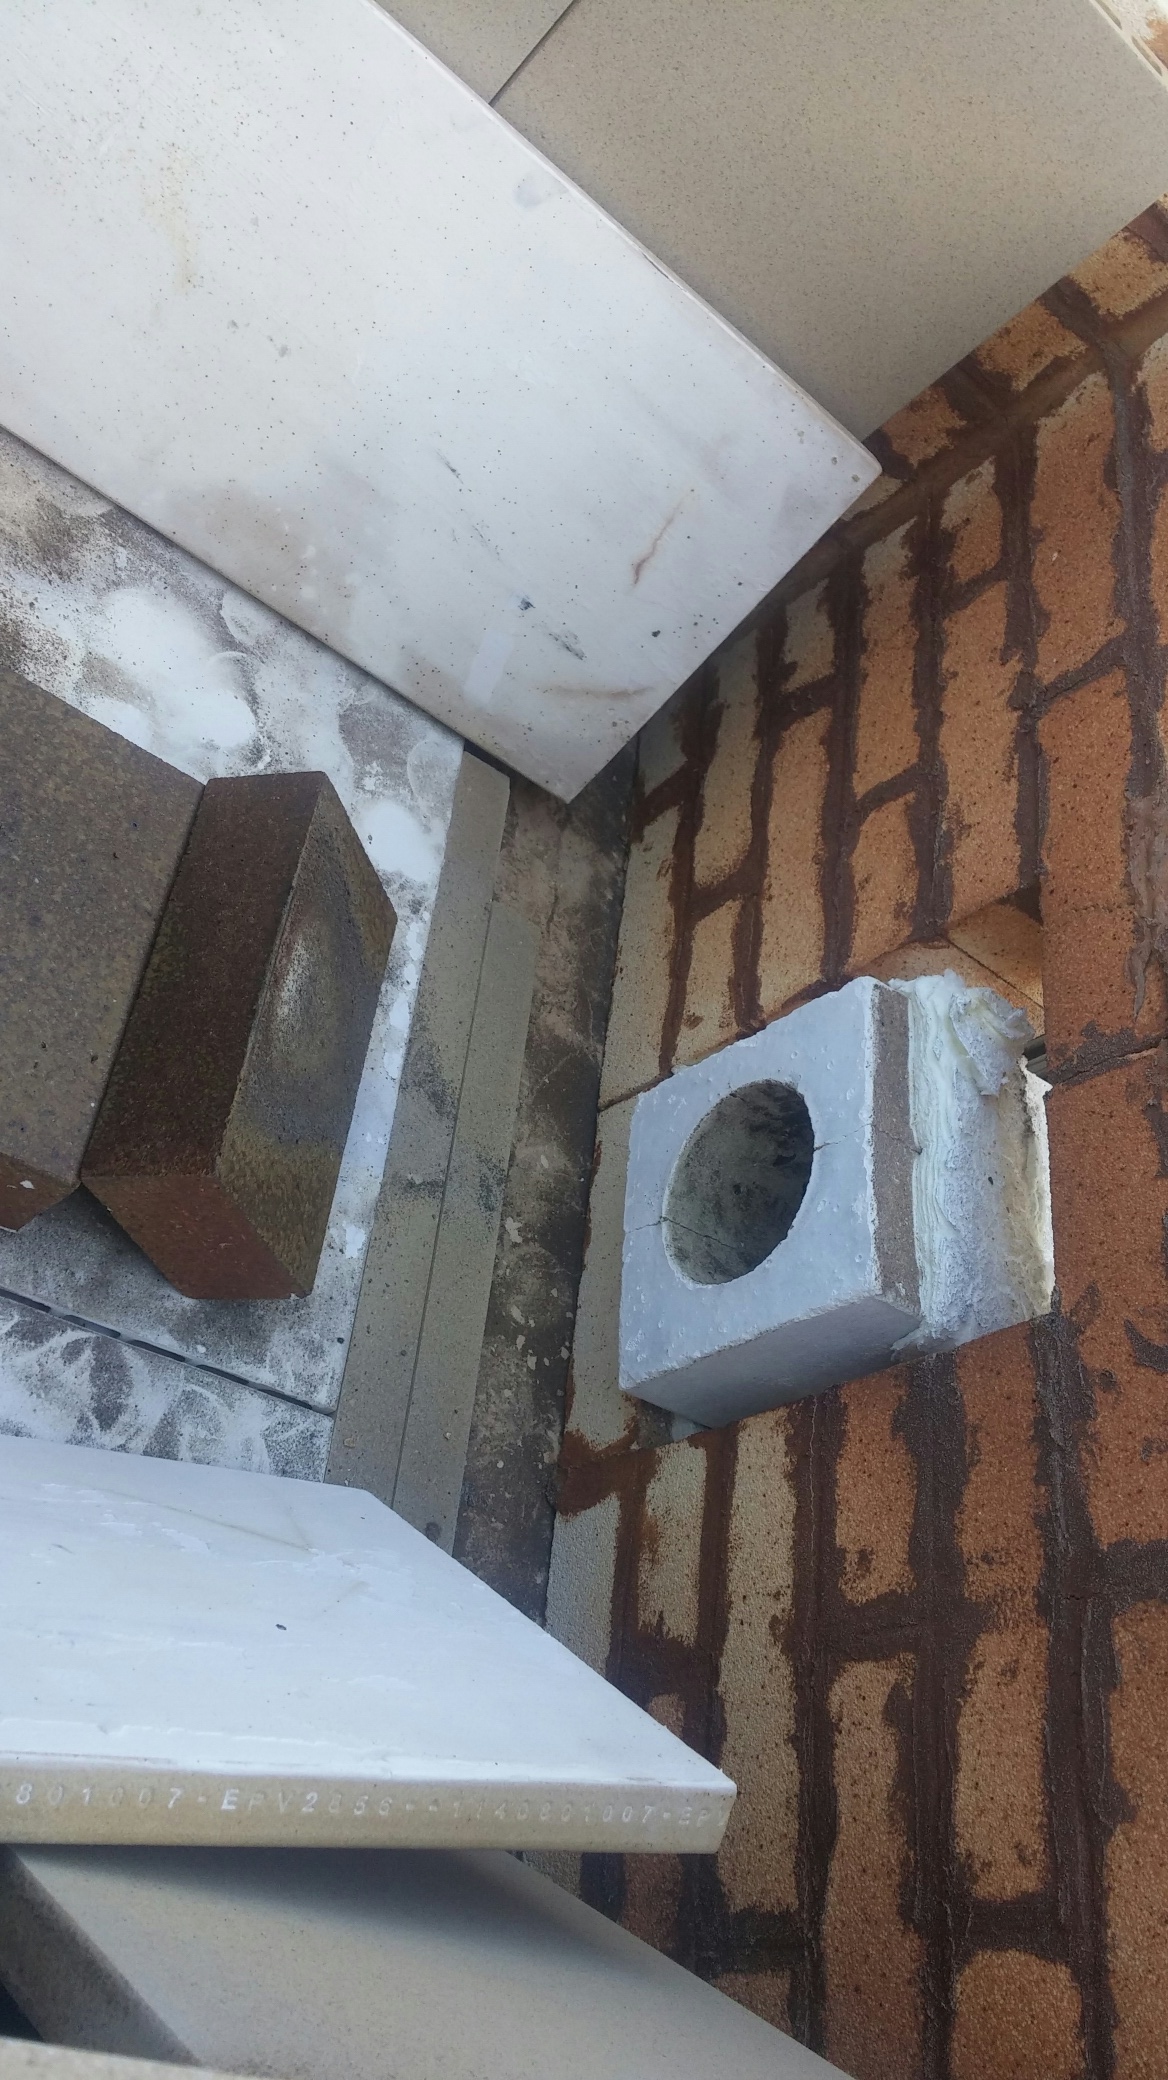
The floor (hearth) of the kiln is a 4′ x 5′ slab of castable refractory on an angle-iron frame that approximates a shipping pallet. Hence in principle the whole kiln can be moved around by a forklift or pallet jack. We are fortunate to have some space allocated to us (at least for now) in a parking lot-type area where we can just leave the kiln and cover it up with a tarp. The walls are insulating firebrick with sairset mortar, and there is a two-part lid made from angle-iron frames and several layers of fiberboard. The kiln is top-loading and two people can easily lift and carry away each half-lid. It is already becoming apparent that the fiberboard construction was not a great idea (I was warned of this, but decided to try it anyway) as they are starting to sag and crack a bit, but I think they’ll be structurally sound for many more firings.
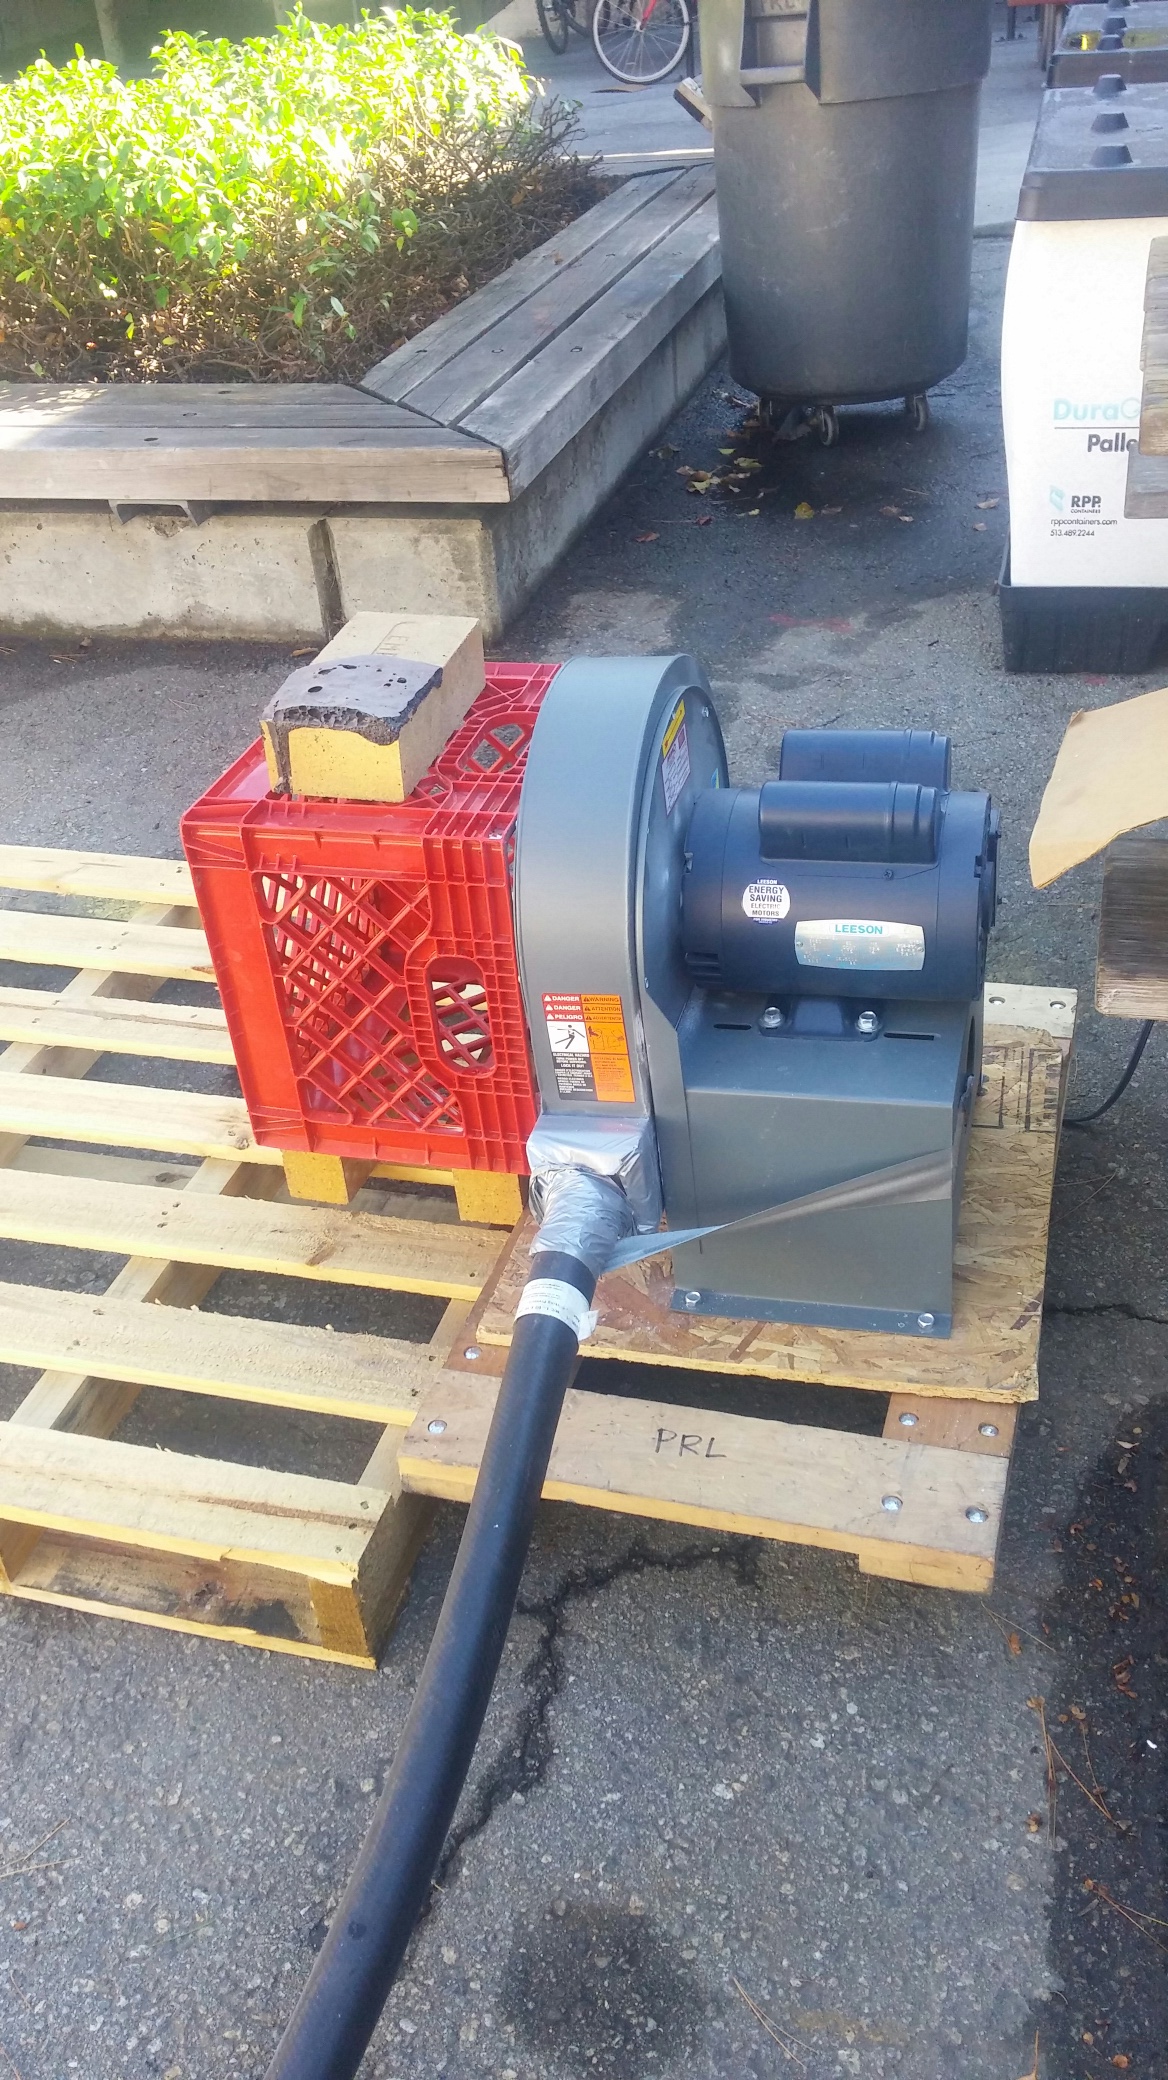
We use a single large burner with a rated capacity of 400,000 BTU/hour (Pyronics NM-301), fueled by LPG propane. The burner requires a fairly large combustion blower to provide air. In the photo below, the red plastic thing is a standard milk crate; this burner is pretty much the largest thing we could find that runs off of standard single-phase 110V electric. The blower has an intake into which one can feed ash, just like in Steve’s kiln.
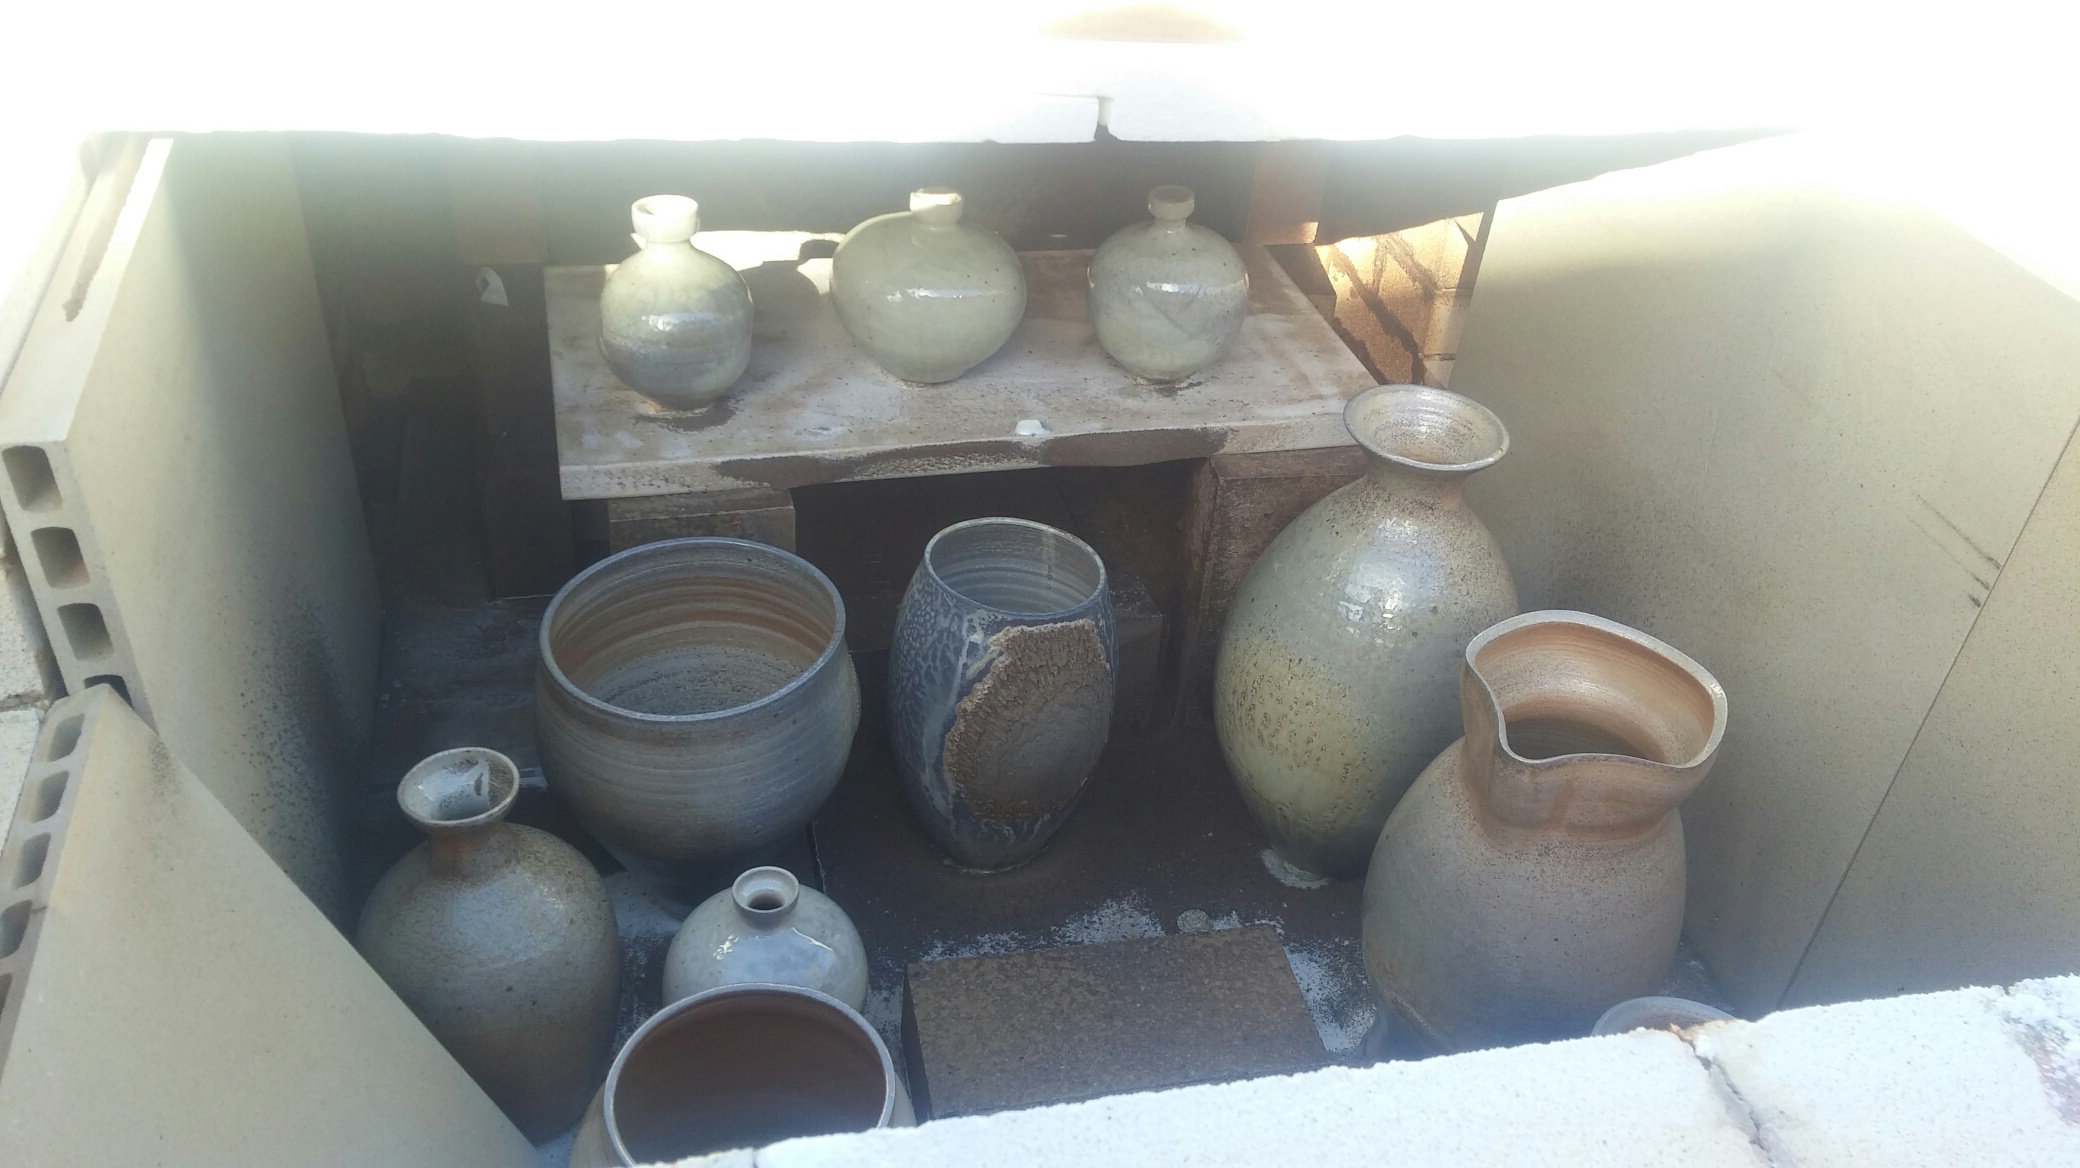
Yesterday (November 3, 2015) we did a cone 10 firing with wood ash introduced around cone 9 – some pots from the firing can be seen here. We lit the burner at 9:30am, let the temperature climb under oxidizing to neutral flame conditions for best heat generating efficiency, and hit high-fire temperatures by around 2/2:30pm. We then did a 45 minute reduction soak with the oxygen probe around 500, then introduced roughly a gallon of wood ash through the blower. After that cleared through the kiln we kept reducing (oxygen probe around 600) for about another hour, by the end of which the pyrometers were reading around 2300F (from prior experience, this would be a solid cone 10 in most parts of the kiln). We ended with about an hour of reduction cooling, by which I mean that we tried to turn down the burner as low as possible while keeping the oxygen probe around 700. In doing this it was important to pretty much block up the flue/chimney. Over the course of the hour the pyrometers dropped to just under 2000F. If we had had more time it would have been nice to see if we could go all the way down to the neighborhood of 1500F slowly in reduction, to encourage crystal growth and minimize re-oxidation of iron compounds.
Here are a couple of photos of the stacking area, first with and then without pots. As you can see there is one pot that was previously fused onto the floor shelves and we’re leaving it there as a sort of bag-wall.
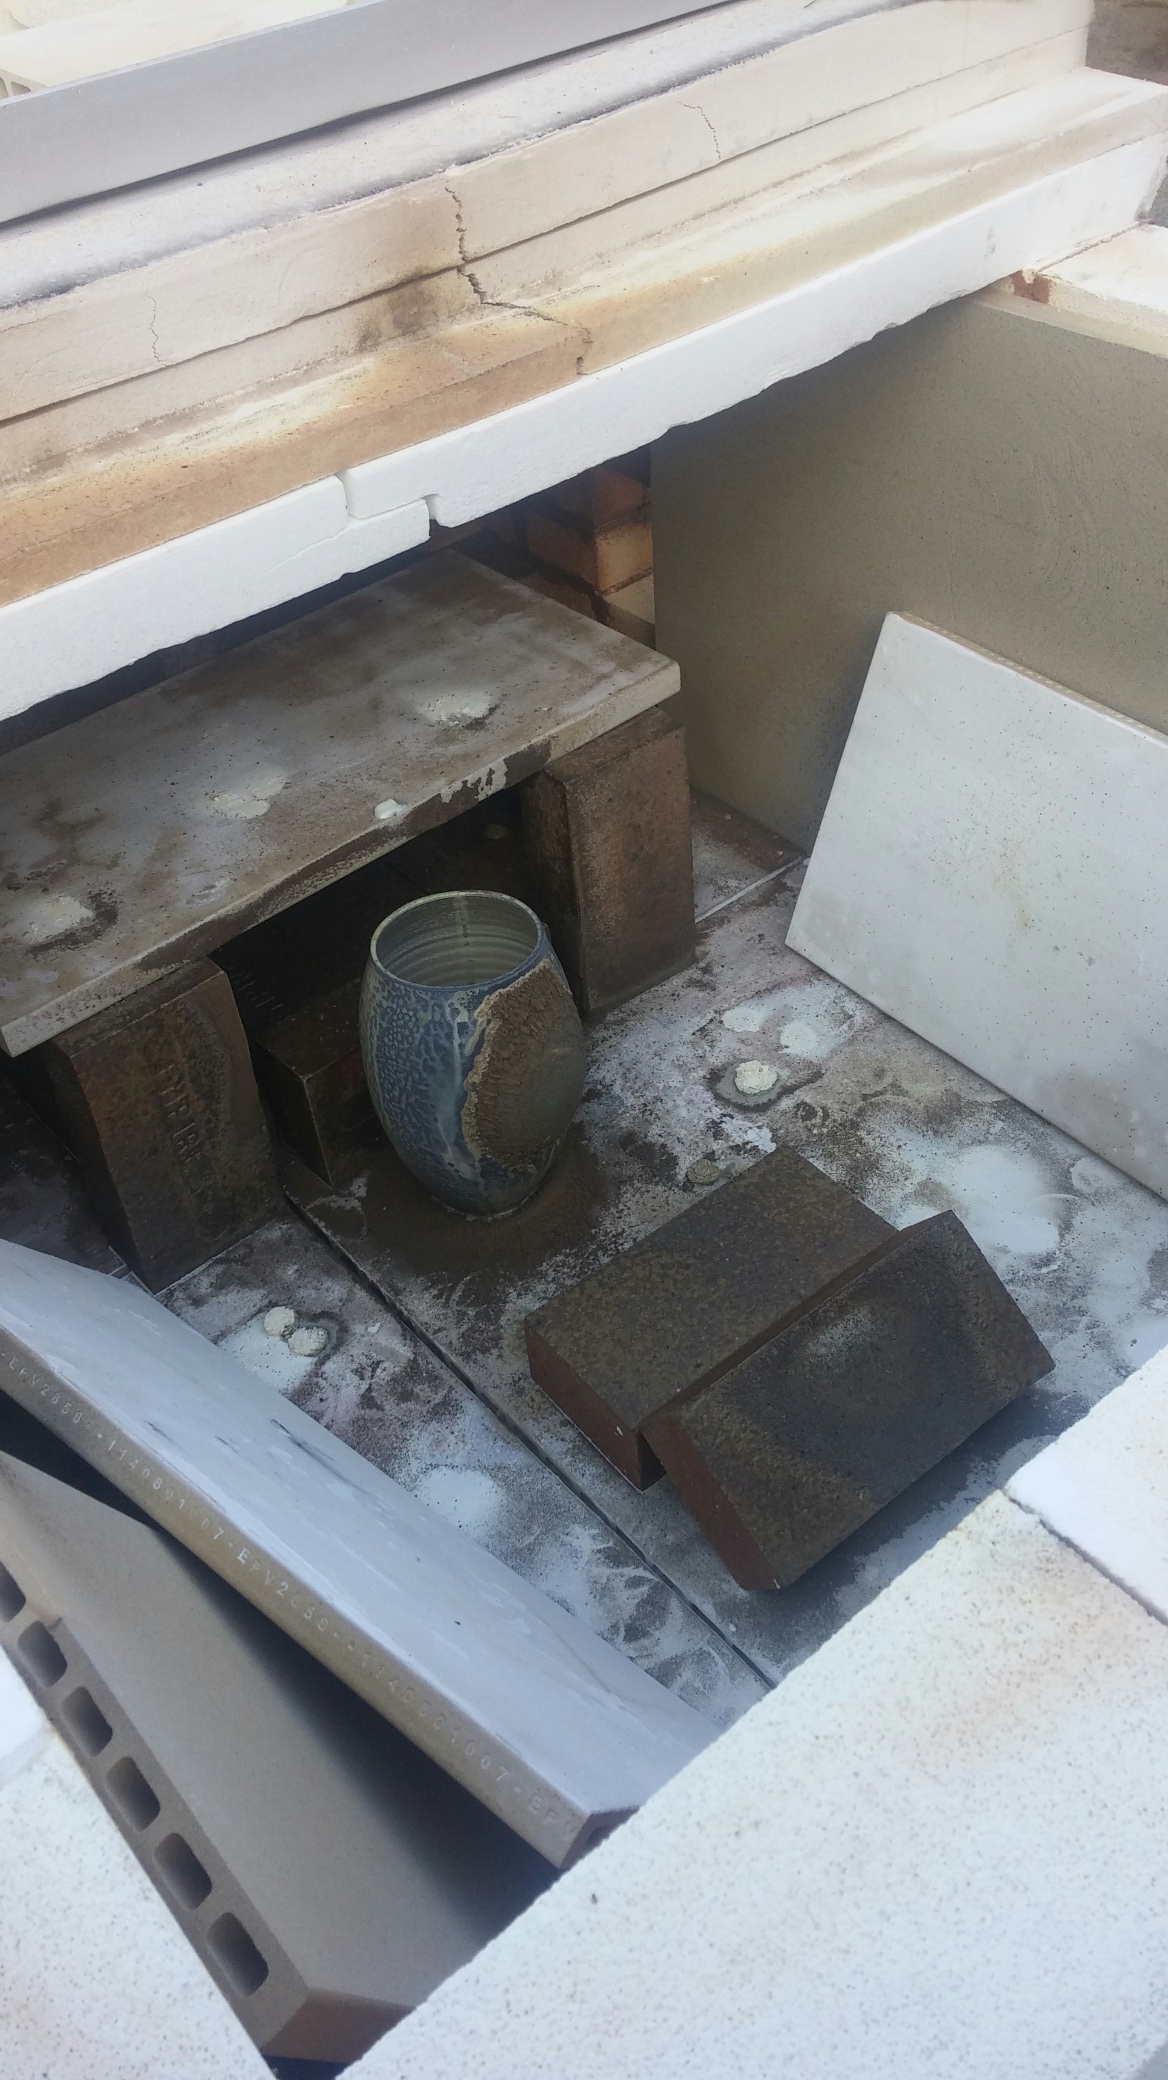
Finally here’s a view from inside the kiln looking at the inside of the front wall – you can see the refractory nozzle of the burner.

 copy")


")
")


