

Source: Kazegama Inc.
http://firemouse.me/stanford-kazegama-february-3-2016/
Firing was 6 hours in neutral/oxidation to reach cone 9, then ash introduced gradually over the course of a 3 hour reduction soak dropping cones 10/11. Firing ended with a 3 hour reduction cool down to about 1850F.
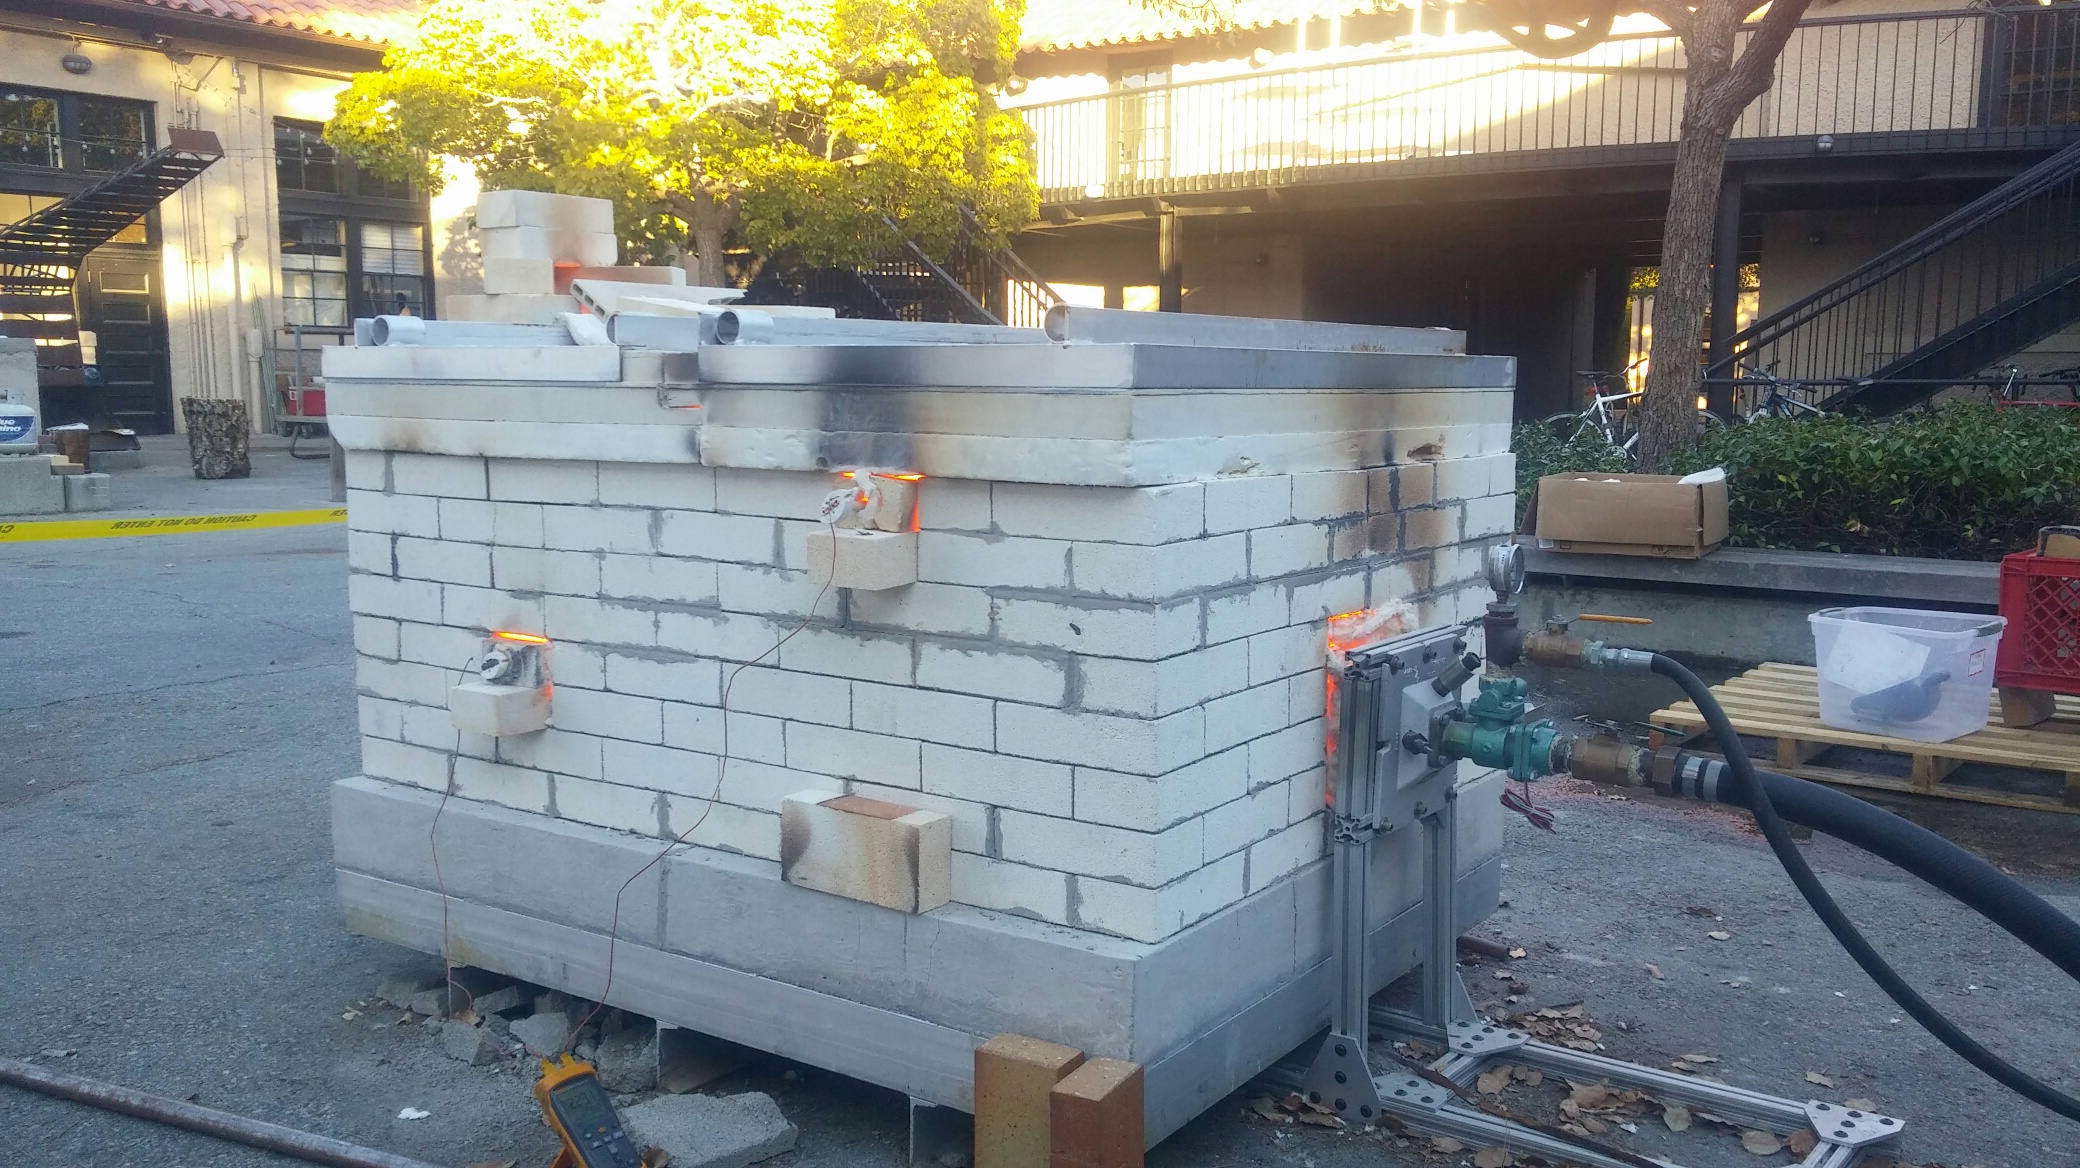
 Yesterday we fired the Stanford kazegama again and tried a new method of introducing the ash. Previously we fed the ash into the intake of our large combustion blower, following Steve’s original method, and this worked well except that many pots ended up with unfortunate clods of unmelted ash. In the above photo you can see a metal sealed can with a red rubber hose and larger diameter steel-mesh hose attached to the lid (the upside-down white plastic bucket isn’t doing anything). We put ash into the metal can, blow compressed air in through the red hose, and allow a well-dispersed stream of ash to enter the burner through the metal hose. The can is loaded only half-full with ash, and we didn’t screen the ash ahead of time. Some shaking of the can is necessary but the ash goes in gradually (we put in about a gallon over the course of about two hours) and without clods. Larger pieces of “sintered ash” get left in the bottom of the can, and probably help stir up the finer ash when shakin. You could do the same thing with any sealed container with bulkhead connectors. The can we use has 1/4″ NPT fittings.

Kazegama Rebuild – January 2016
For 15 years, my Kazegama was bolted to a trailer which allowed me to travel to different venues to put on Kazegama workshops. It has gone through many adjustments and changes due to the knowledge gained over many years of firing. Continue reading
Reduction cooling produces some amazing surfaces in wood fired ceramics as seen in the following pieces by Jonathan Cross and Mitch Iberg.

Johnathan Cross vessel from the Firebox kiln (Akagama) Continue reading

Simon Levin’s Yellow Halo, 8 in. (20 cm) in diameter, porcelain, Avery slip, decorative fire-clay wadding mark, anagama fired.
To Simon Levin, there is a science to every part of wood firing, including what goes into wadding and how it’s used in the loading and firing process. So he put together an overview of wadding based on his own experience and the experiences of other wood firing potters.
(Another post by Hideo Mabuchi)
As some of you have heard off-and-on over the last year, I’ve been building a new Kazegama-style kiln up at Stanford University to use in ceramics and applied physics teaching. It is 100% inspired by what Steve has demonstrated but we thought it would be fun to try experimenting with some slightly different materials and design choices.
The floor (hearth) of the kiln is a 4′ x 5′ slab of castable refractory on an angle-iron frame that approximates a shipping pallet. Hence in principle the whole kiln can be moved around by a forklift or pallet jack. We are fortunate to have some space allocated to us (at least for now) in a parking lot-type area where we can just leave the kiln and cover it up with a tarp. The walls are insulating firebrick with sairset mortar, and there is a two-part lid made from angle-iron frames and several layers of fiberboard. The kiln is top-loading and two people can easily lift and carry away each half-lid. It is already becoming apparent that the fiberboard construction was not a great idea (I was warned of this, but decided to try it anyway) as they are starting to sag and crack a bit, but I think they’ll be structurally sound for many more firings. Continue reading

Firebox from a 7 hour firing
By Steve Davis PDF Version
Many clay and glaze faults in ceramic wares are caused by incomplete burnout of carbon during the bisque firing. This can be attributed to a kiln operator’s lack of understanding about the chemistry that occurs during this first firing.
Carbon
Many materials used in ceramics contain carbonaceous matter, including organic carbon and binders, and inorganic carbon from clays, whiting, and dolomite. This carbon must be burned out (oxidized) during the bisque firing to ensure the best results possible in glaze firings. Bloating, black coring, pin holing, blisters, and poor color development are all the result of incomplete carbon burnout. To achieve the complete burnout of carbon (oxidation), you must have the following elements in place: oxygen, time, and temperature. Continue reading

 copy")


")
")


